
Create Donation Pages
Need to set up a new Donation Page from scratch? This overview will help you out, from the very beginning, to adding content, to page settings and publishing.
📚 Create Content > Pages > Donation Pages
Before we get started
Why a Donation Page is important
Greenpeace is the only global environmental charity that accepts no corporate or government donations to maintain a much needed independent voice. This means we rely on individual supporters to fund our work, and the online donation pages connected to our P4 sites are extremely important to our cause. This page will help you integrate your donation tools with Planet 4.
Online donation pages represent the classic way to fundraise in institutional Greenpeace websites, providing easy way to donate to our Organisation.
Online donation pages usually consist of two subpages. The first page usually holding the form, donation amounts, accepted forms of payment (Credit Cards, PayPal, Direct Debit, etc..). The second page is the one people are redirect to once they submit the donation, also called “thank you” page.
Online donation pages are usually set up in external tools, usually custom pages connected to a local payment processor (or Gateway), which collects the donation and process it, before injecting it in the Organisation’s bank account. Every NRO is free to use the tool they prefer and fits their needs best.
Important information
🤔 Key info : Greenpeace International does not provide a global donation platform tool. Every NRO is free to use whichever donation platform they prefer and fits their needs the best.
There is documentation available on how to build a donation page using the following systems:
Creating a new page
New page
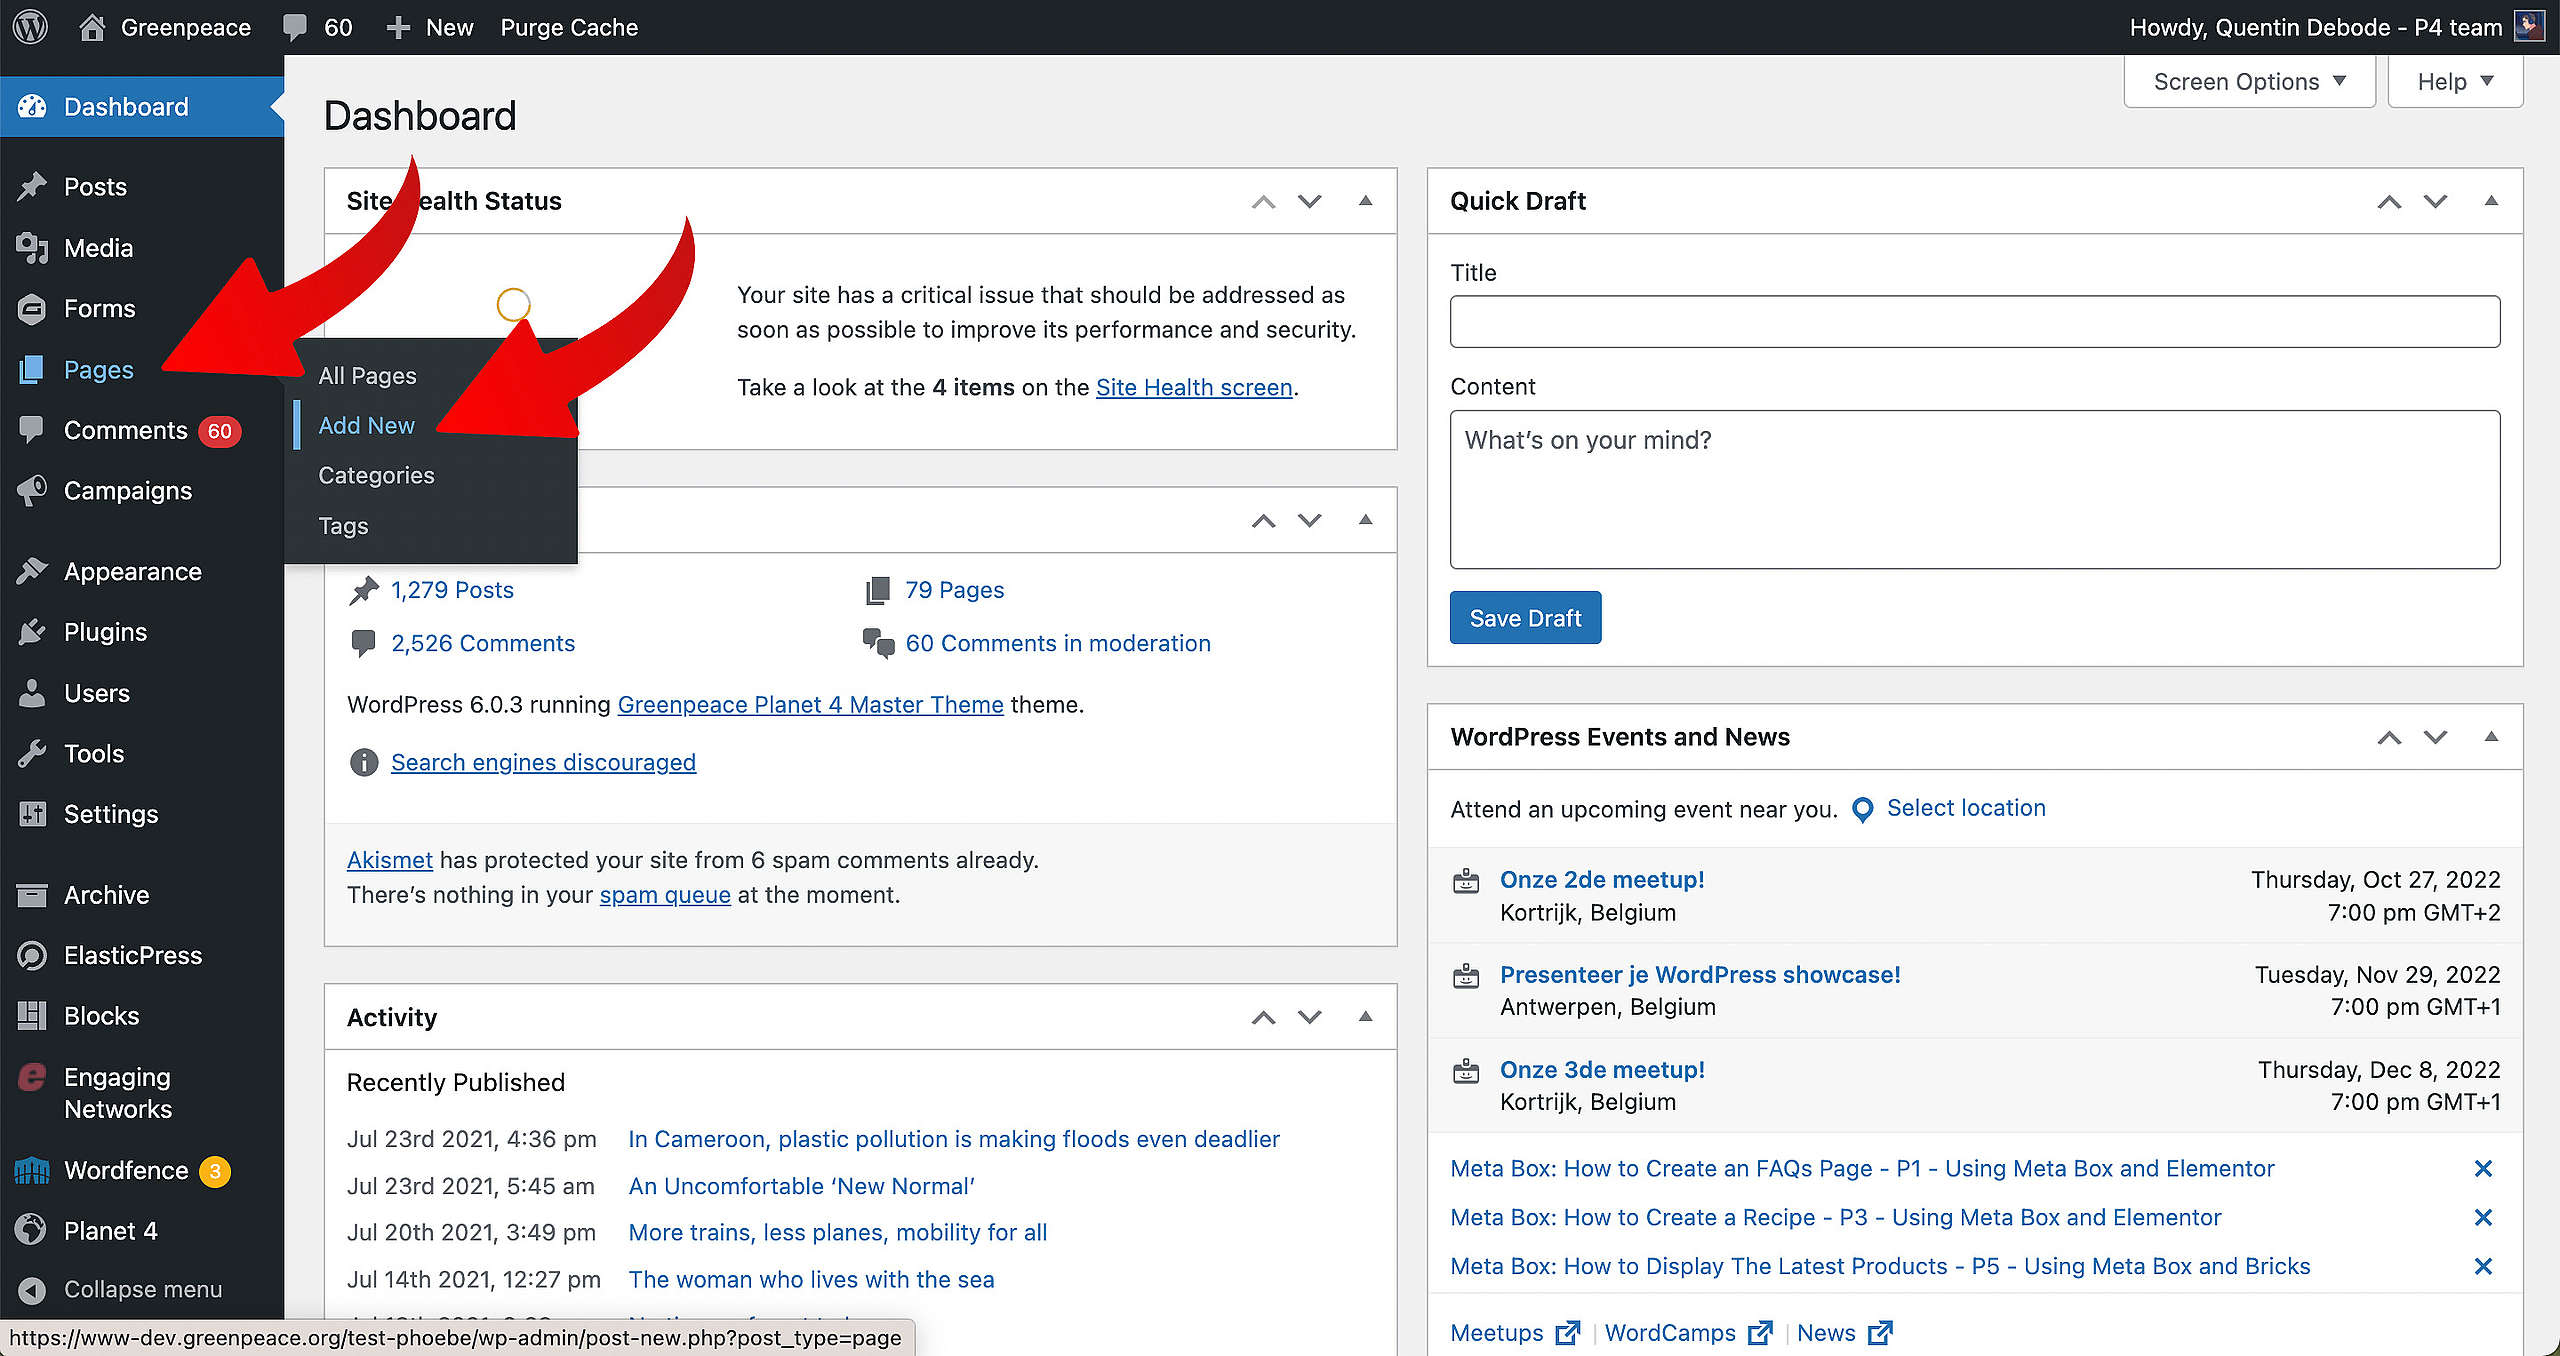
🔎 Where can I find this ? Dashboard > Pages > Add new
Let’s start. First, go to your Dashboard and select “Pages”. You’ll be able to create a new page there, by clicking “Add New”.
When you’re loaded into your new page, you’ll get a screen where you can select a pre-existing pattern. We recommend picking a blank page and start from there.
🤔 Key Info : Don’t forget to Save your page from time to time by clicking “Save Draft”.
Content
You can add (and/or remove) Blocks and Patterns, by clicking the Plus sign or removing a block on the Block itself.
From there on, you’re free to fill the page however you prefer. Things that are often good to put on Donation pages is reasons why donating to Greenpeace is important, recent wins, what your NRO is working on, … stuff like that. Keep in mind to not put too many buttons on the page that exit to somewhere else. The main focus should always be towards the action of donating.
🧑💻 To learn more about Blocks, go to this page in the Handbook.
More on Creating and Managing Pages
Video
All you need to know about how Navigation, content types and pages interact with one another is in the P4 Admin Video.
- 00:55 Homepage, Act and Explore pages
- 15:00 Page Blocks
- 16:55 Navigation and Footer
- 21:05 Settings
- 26:26 Categories and Tags
- 32:55 Issue pages
- 37:55 Tags page
- 39:00 Take Action pages
🤔 Tip : Need subtitles? Enable them in the YouTube Video Progress Bar! You can do this by adding the timecodes in the description of your YouTube video.
Links & Resources
“Checking technical options, we discovered…” – Technical investigation
Architectural strategy – Multi-instances approach decision
Creating the first prototype – implementing Multi-instance P4 sites