
Need to set up a new Sitemap Page from scratch? This overview will help you out, from the very beginning of the taxonomy, to page settings and publishing.
📚 Create Content > Pages > Sitemap
Shape your Planet 4 Taxonomy
See the step by step guide to creating your new taxonomy. This is a thought-intensive exercise, so take your time and rely on the community to get it right.
Create your sitemap
Preparations
A Sitemap’s main benefit is to give users an overview of the site’s areas in a single glance. They are useful as a secondary navigation aide, but research shows it’s not an element that users normally search for or that is highly used for navigation. Nevertheless, they do help a few people and they incur very little cost, so they’re worth keeping around.
The most intuitive way to guide users through your content is to insert the sitemap in your Footer.
The sitemap template currently takes and shows the following data:
- Categories
- Pages
Keep in mind: This is only enabled when Feature Flag is active: Planet 4 > Navigation > New Information Architecture
Creating and Publishing the Page
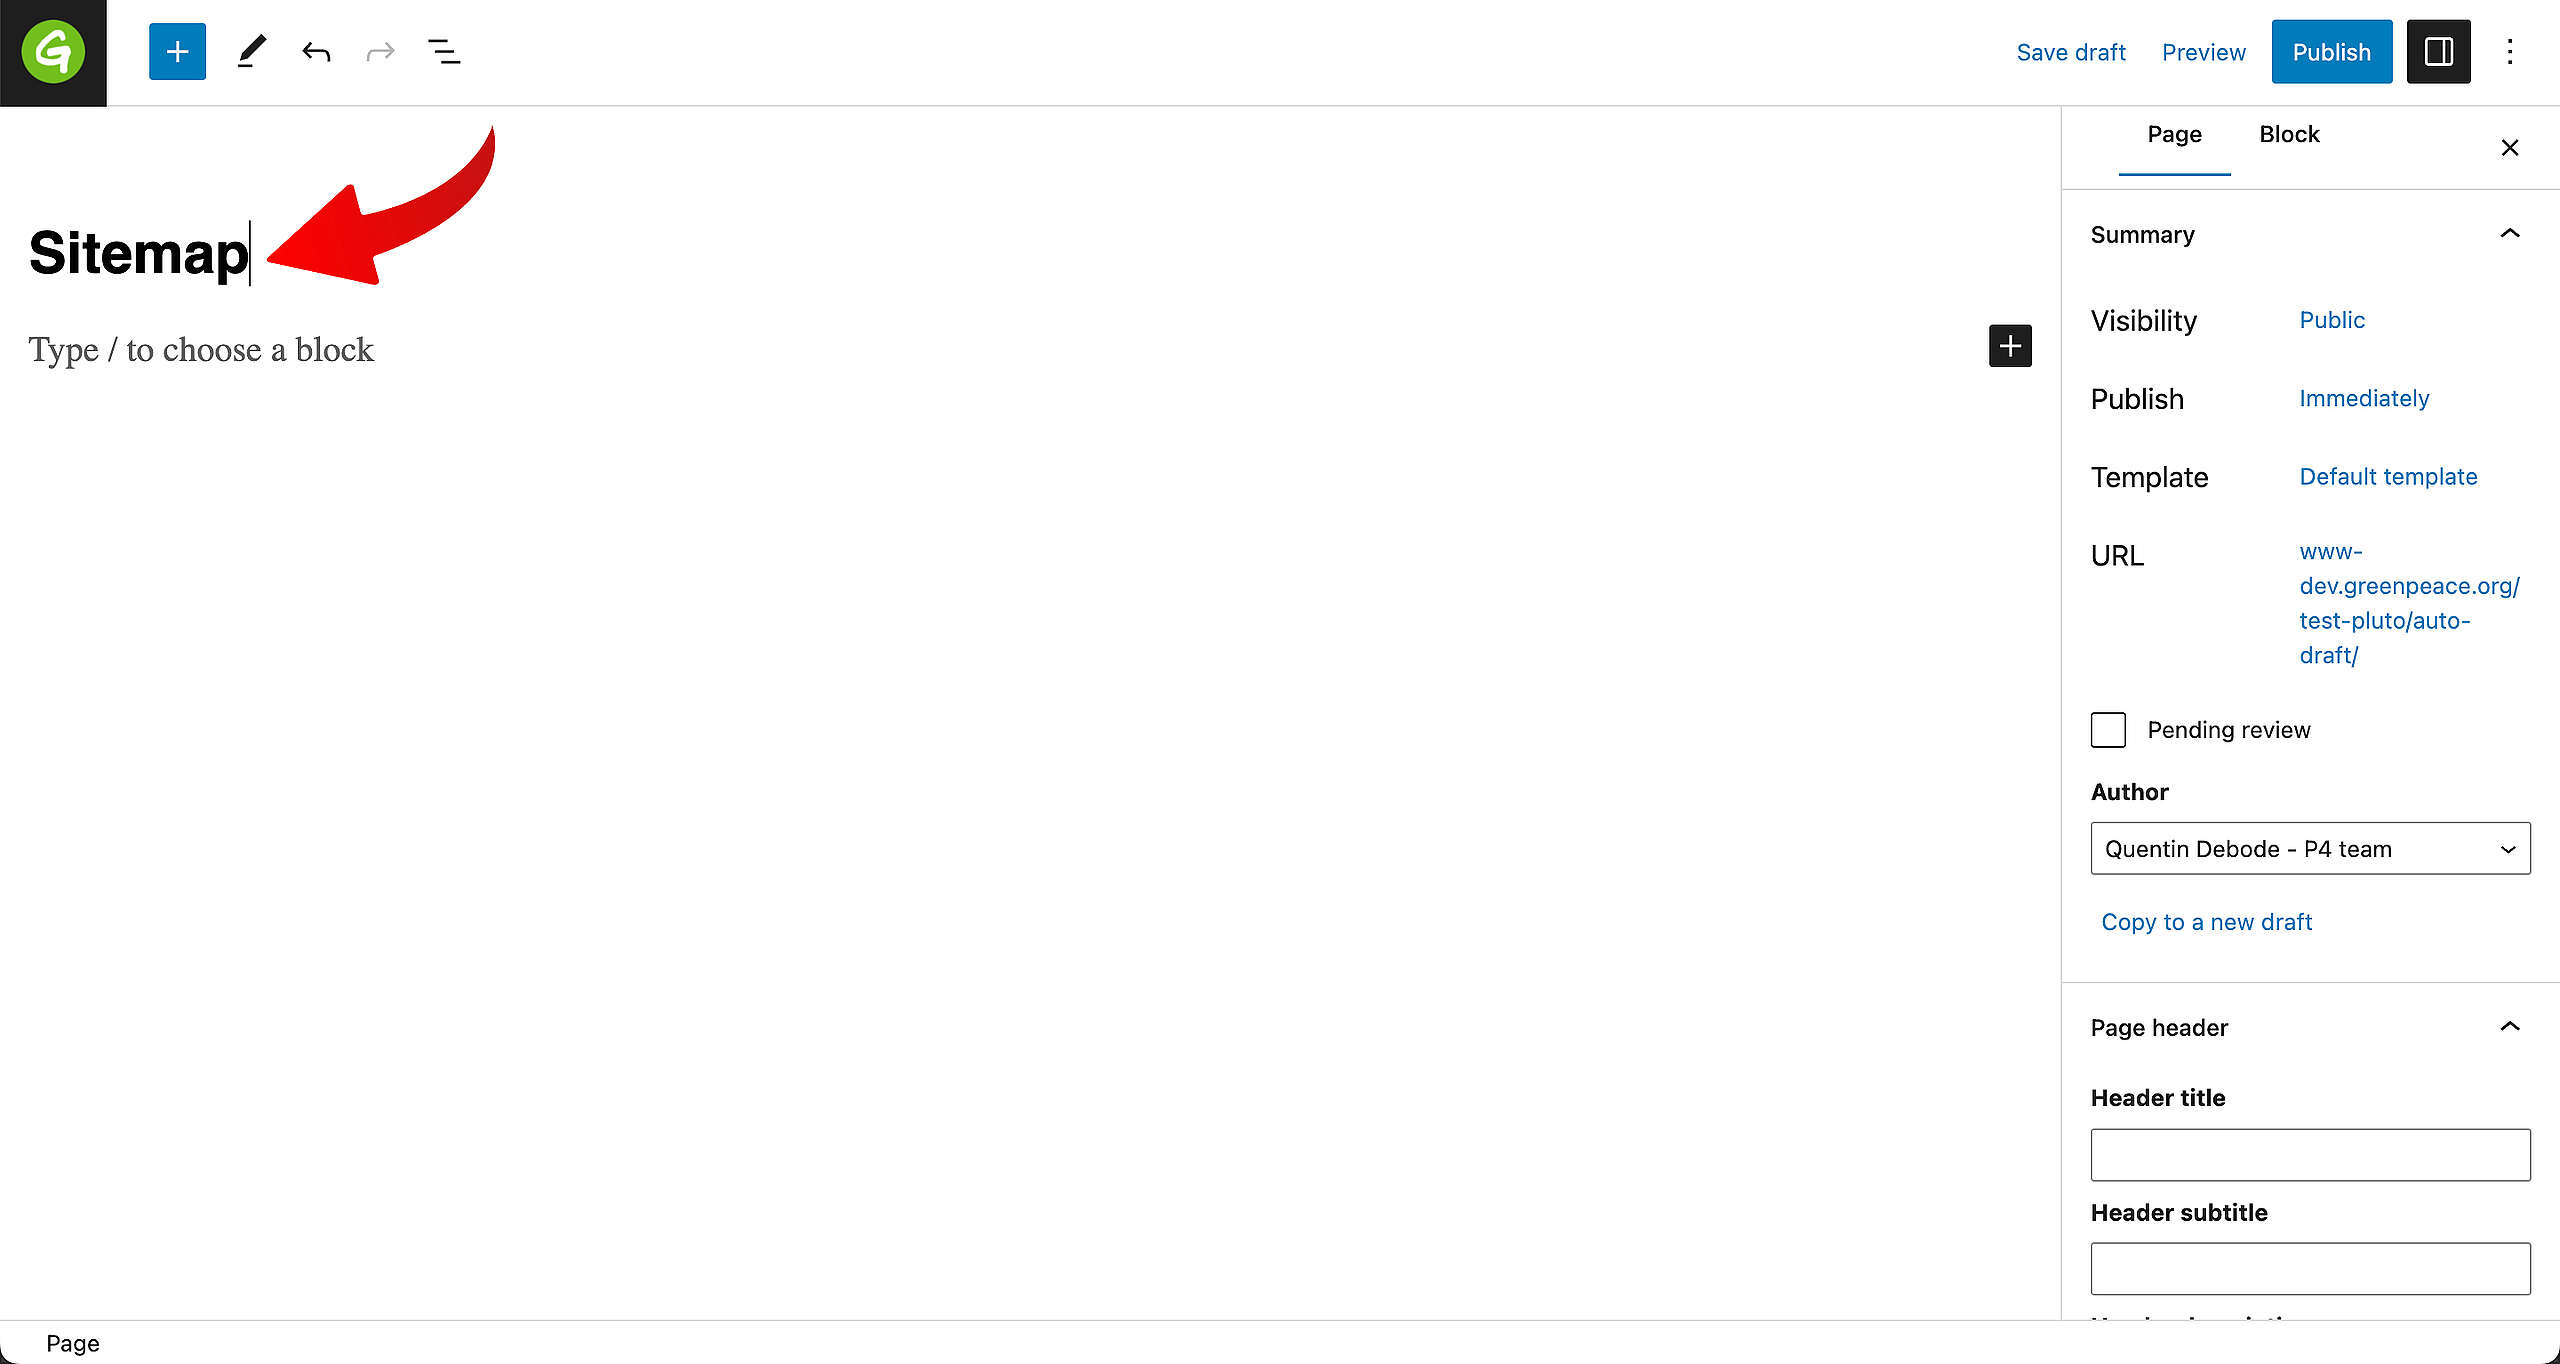
First, Add a New Page and give it a fitting title. For example: Sitemap.
After this, go to the Sidebar on the right and find Template. Click on “Default template” to see the other options available, one of them will be called Sitemap Page.
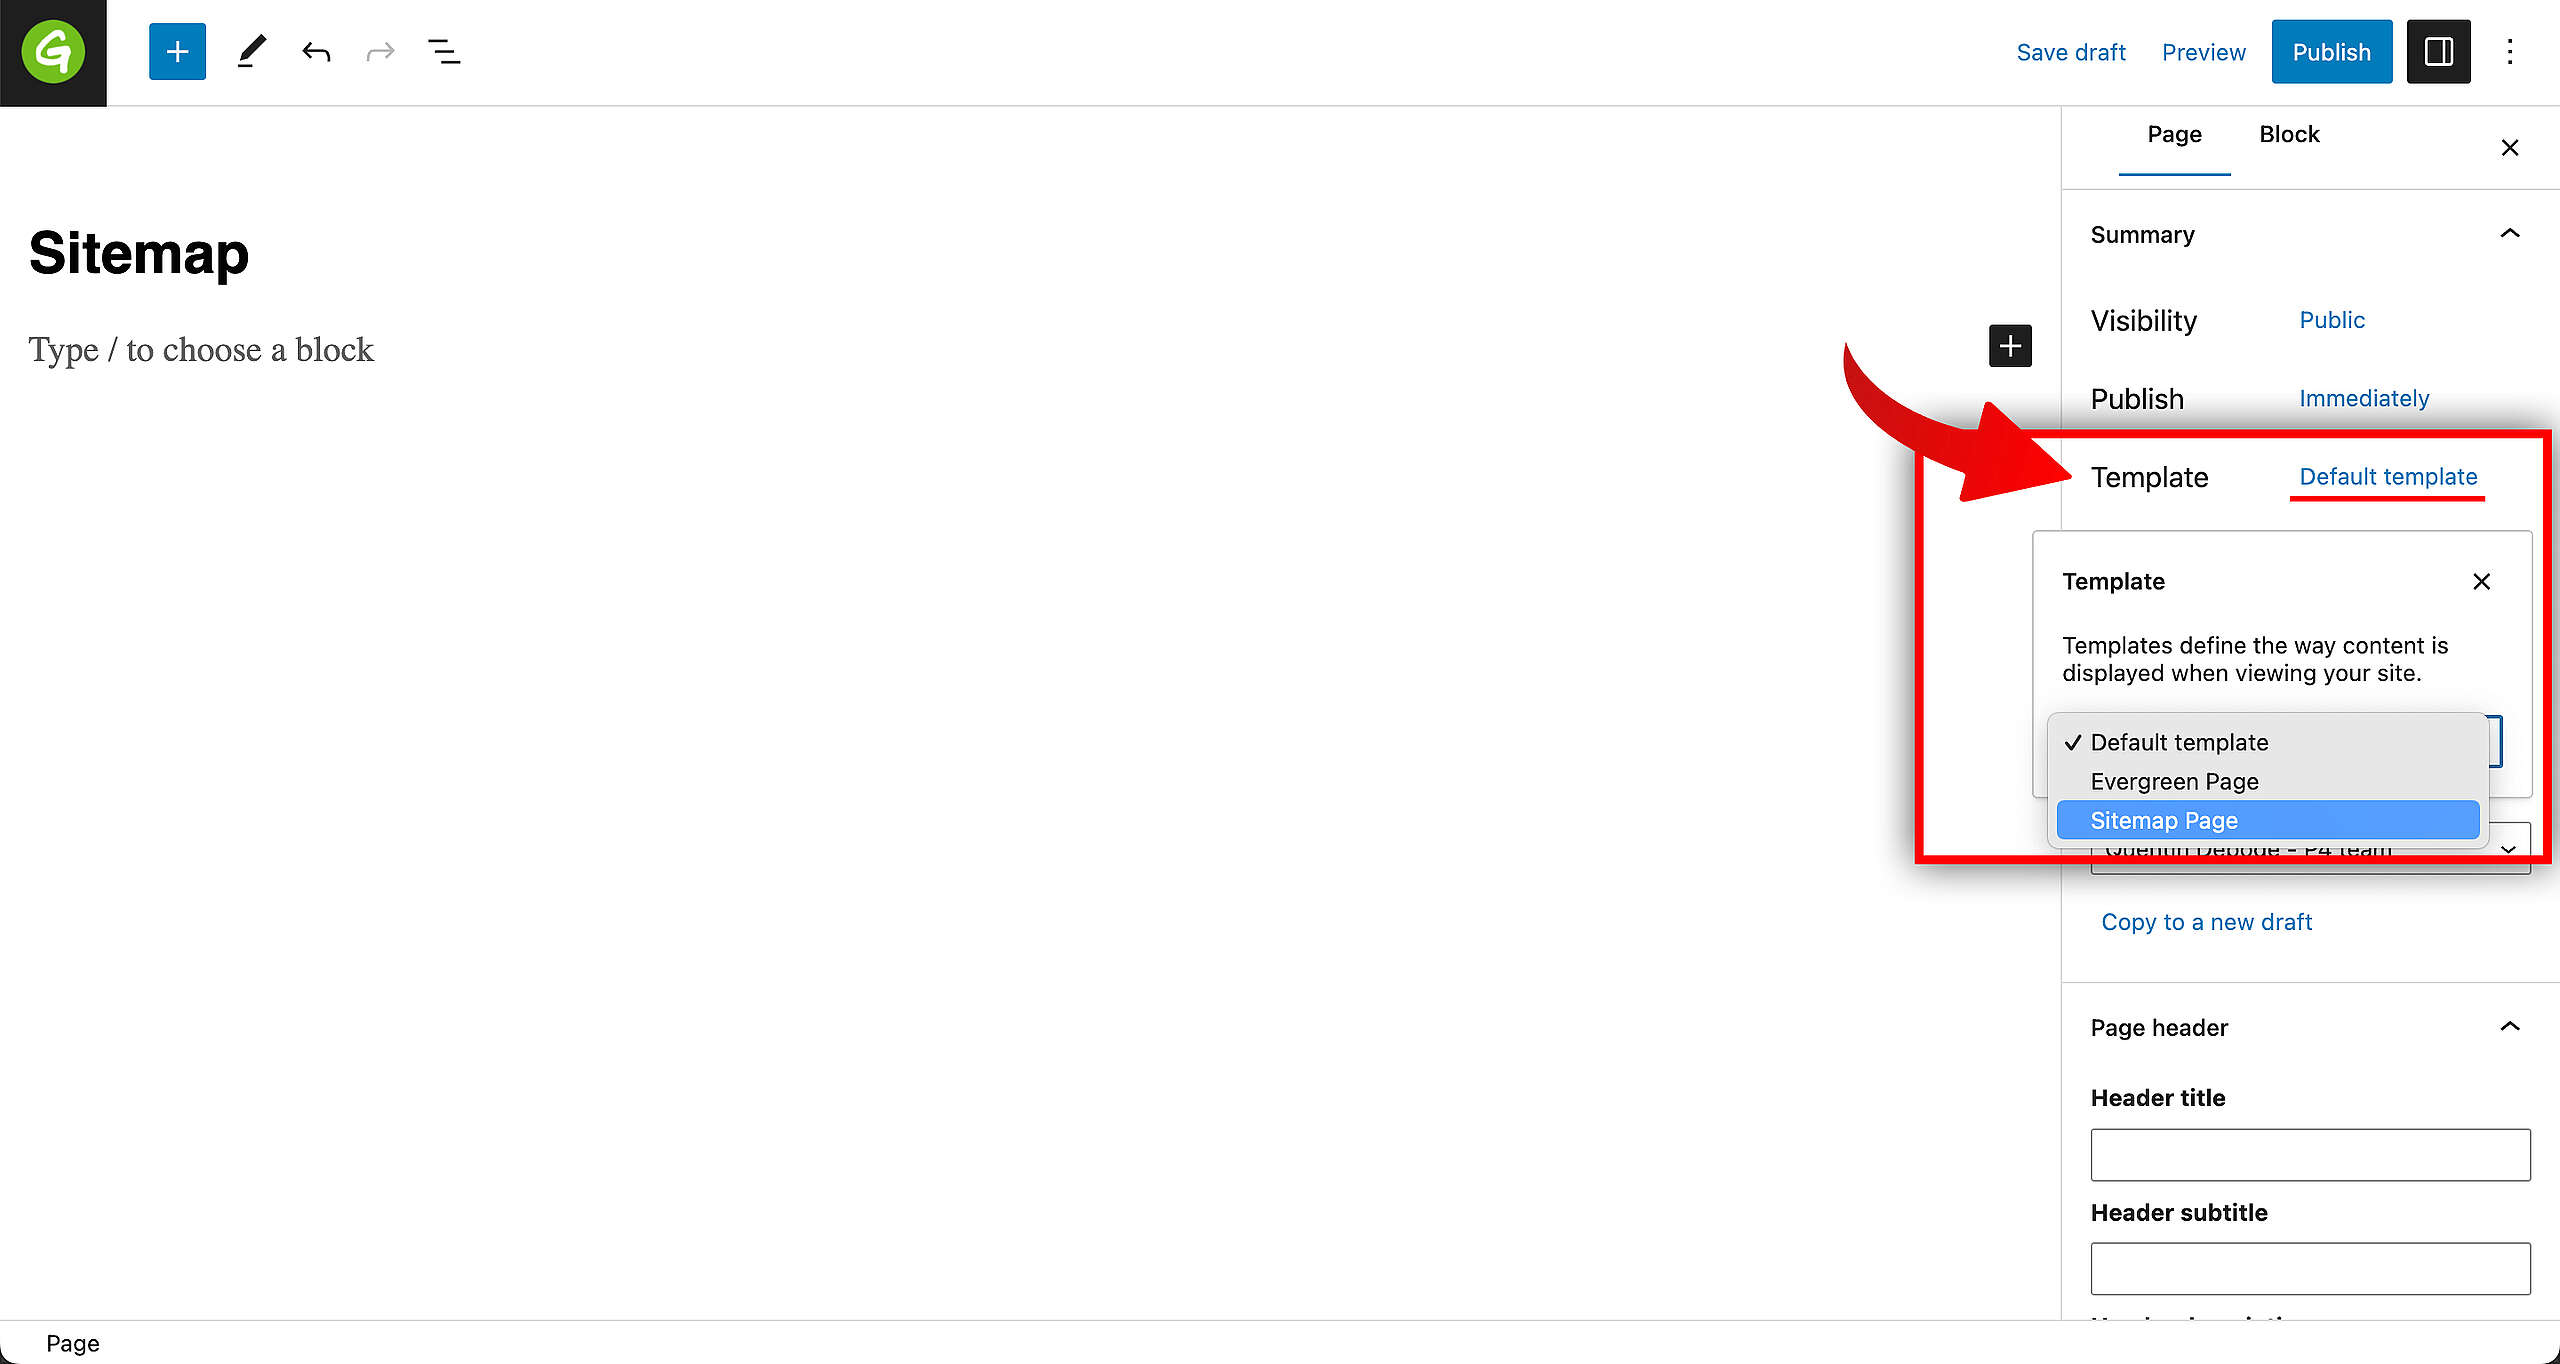
🤔 Key info: The “Sitemap” page template is used only for one page. The Sitemap 🙂
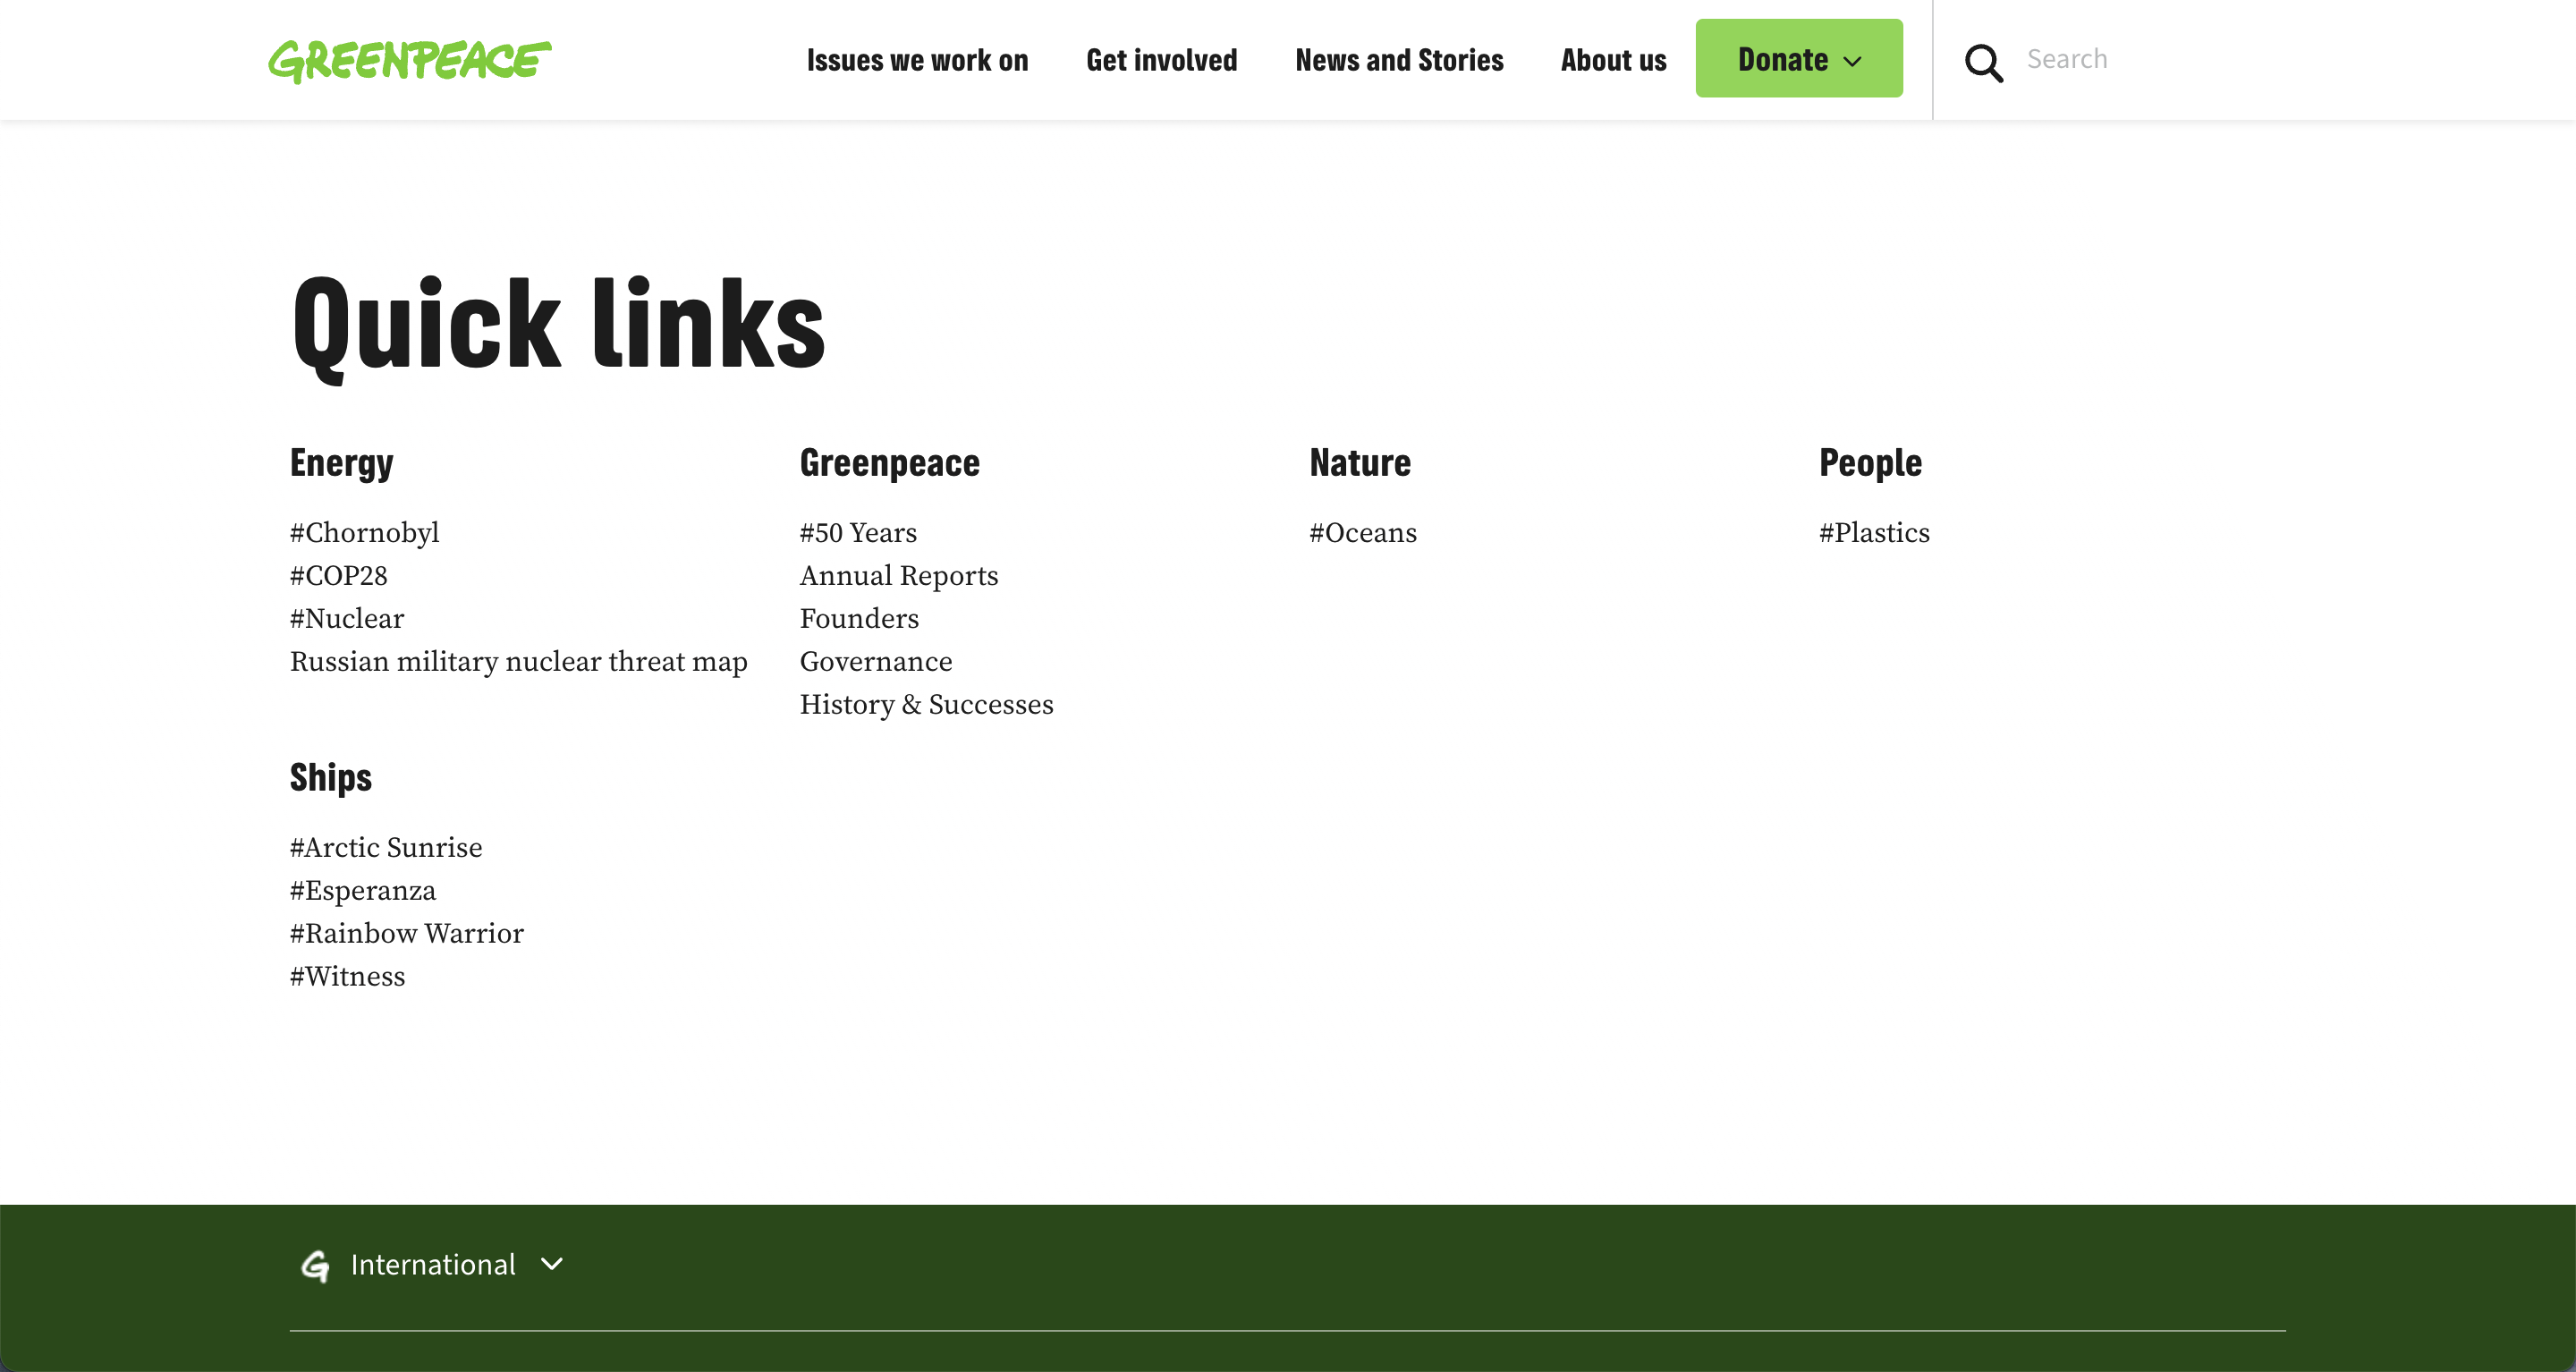
That’s it! There’s nothing else to do. Make sure to Publish the page and you can go have a look in the front end. It should look something like this:
Adding the Sitemap into the Footer
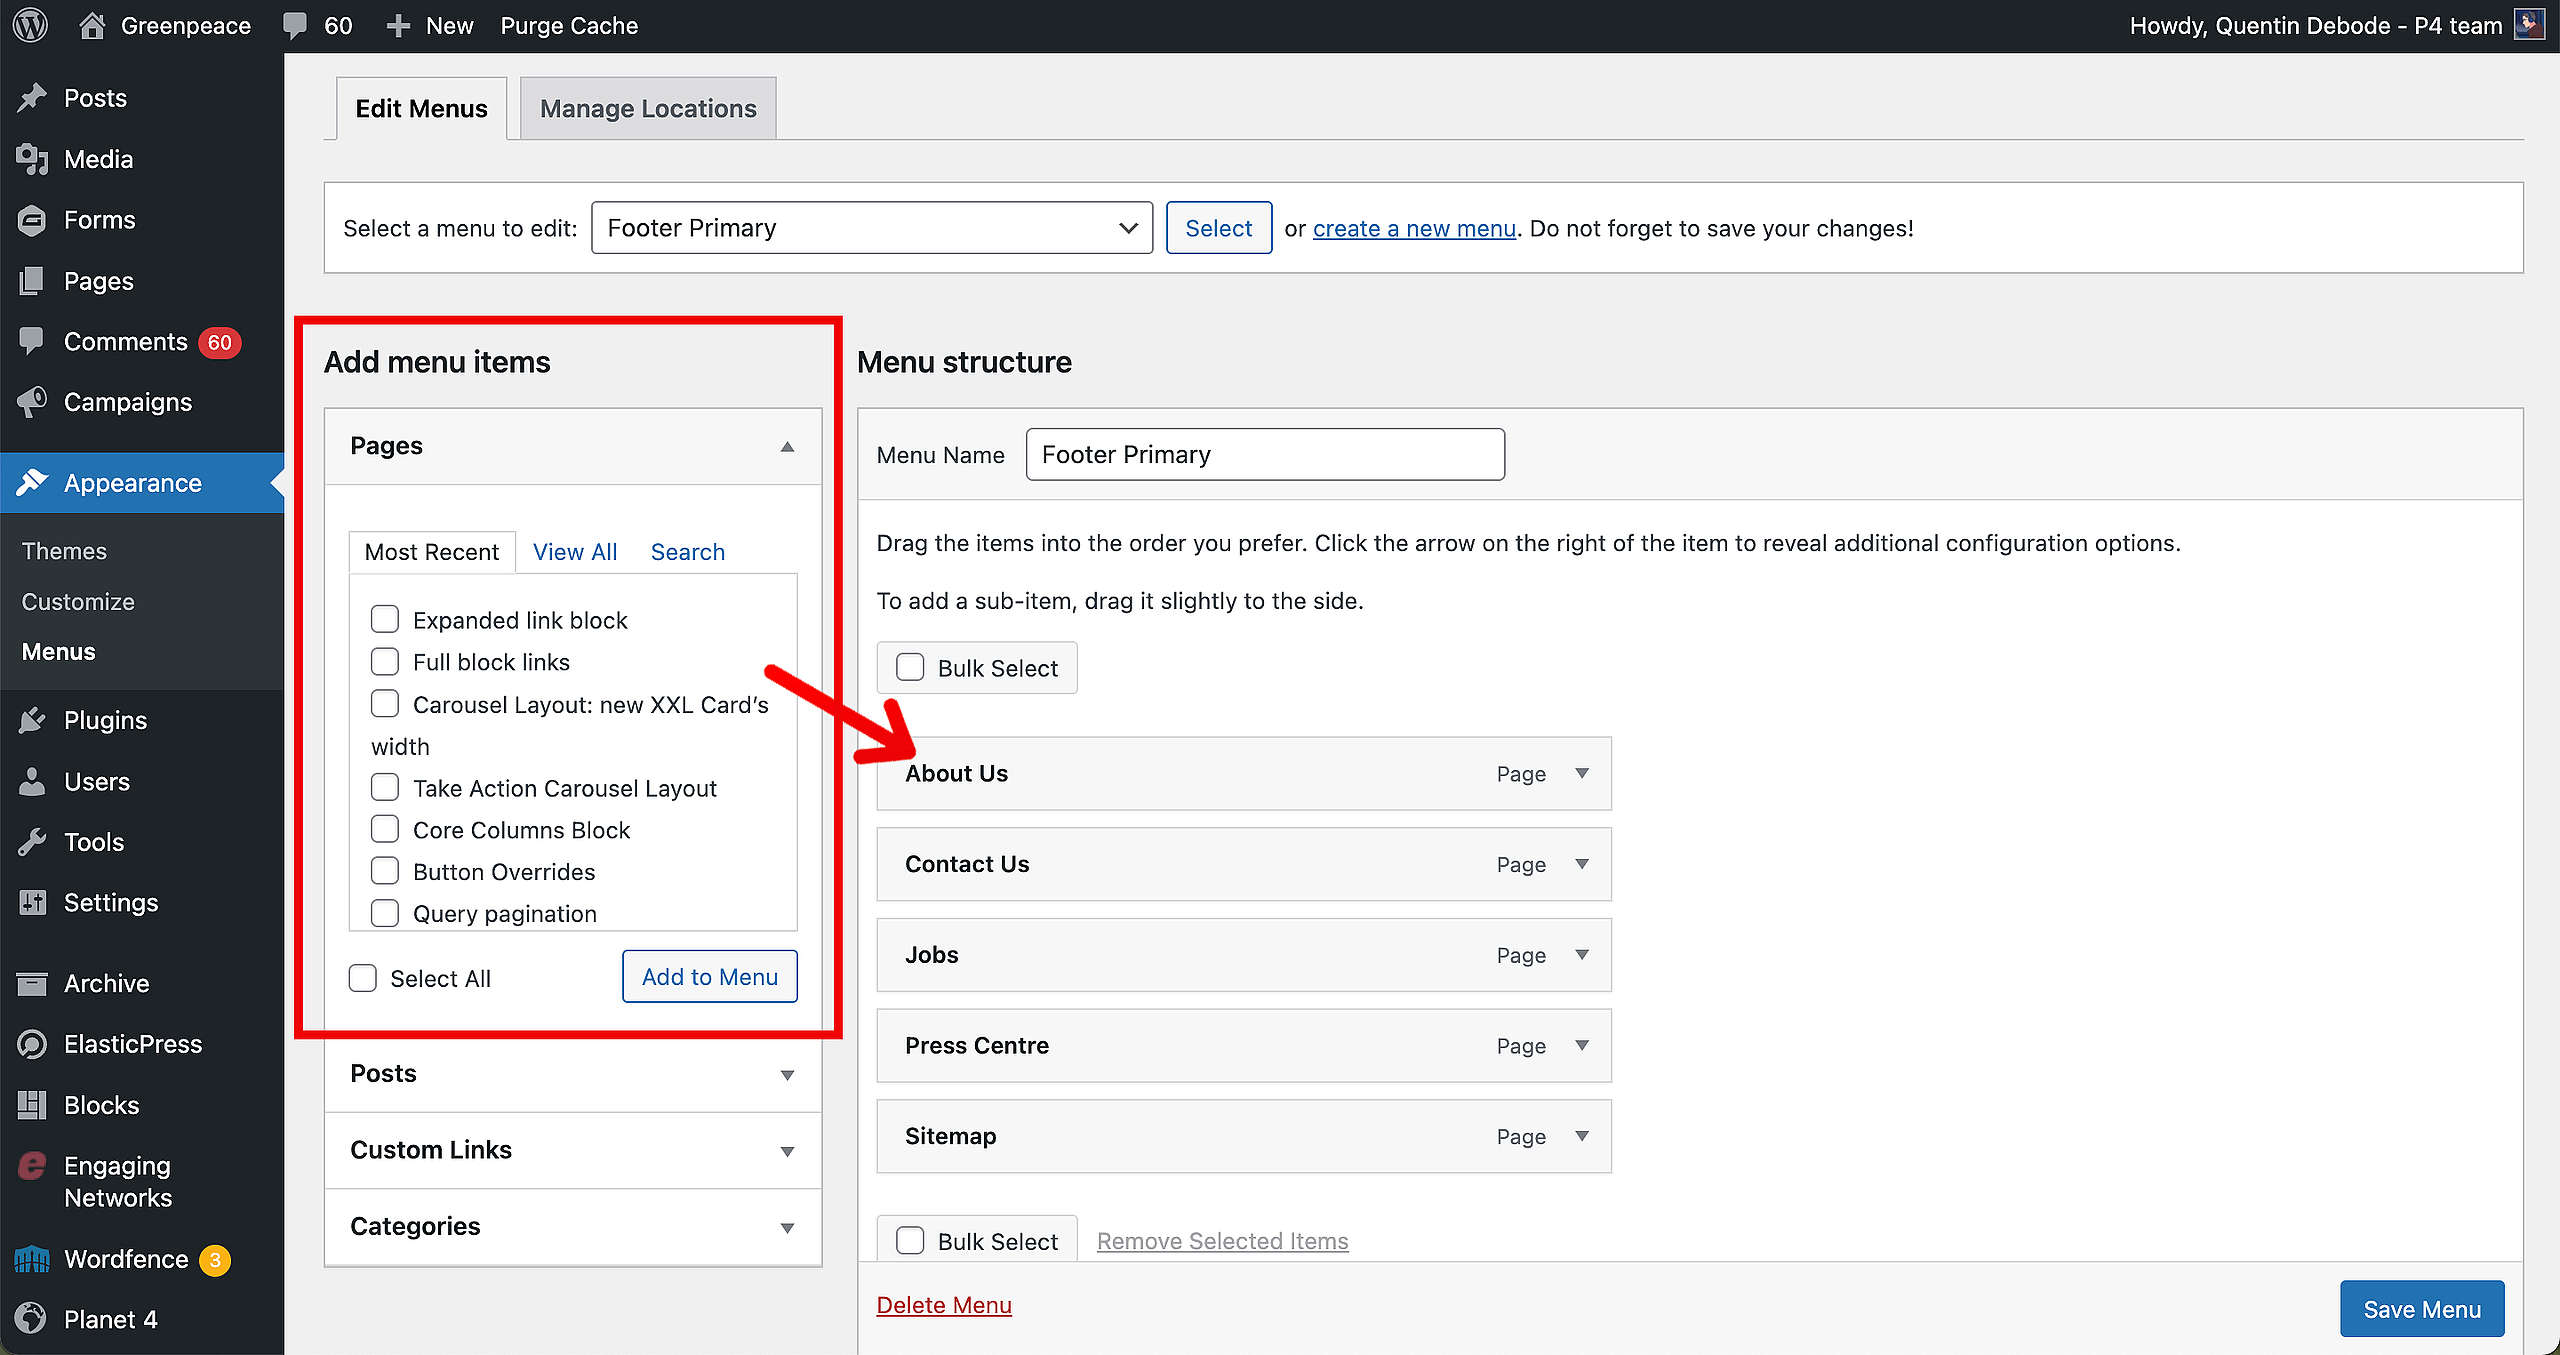
Once you’ve created your Sitemap Page, you can add it to the Footer. See here how that’s done.
In short: Select the Sitemap Page you want to add to your Footer Menu, and click on “Add to Menu”. You can then change the order by dragging and dropping the items in the order you want. Keep in mind that there are no dropdown options in the Footer Menu.
More on Creating and Managing Pages
Links & Resources
Visual (Post-its) exercise to visualise your sitemap (please create additional pages!)
GPI Sitemap
GP Greece sitemap
GP New Zealand sitemap
GP Brazil sitemap