
Build a form in Gravity forms
Easily create engaging Forms thanks to the integration of Gravity Forms.
📚 Manage Planet 4 > Integrate P4 > Set Up the Form Builder > Build a Form
Before you start
Make sure that all your settings are set up correctly and that your Gravity Forms is properly connected with Hubspot.
Getting Started
In the P4 Dashboard, under Forms, you will see a list of your previously created Forms (did you know that Gravity Forms has awesome form templates to start from? Check them out). Only Editors and Admins can create / edit forms (see roles & permissions).
Existing Forms can be edited by clicking on their name.
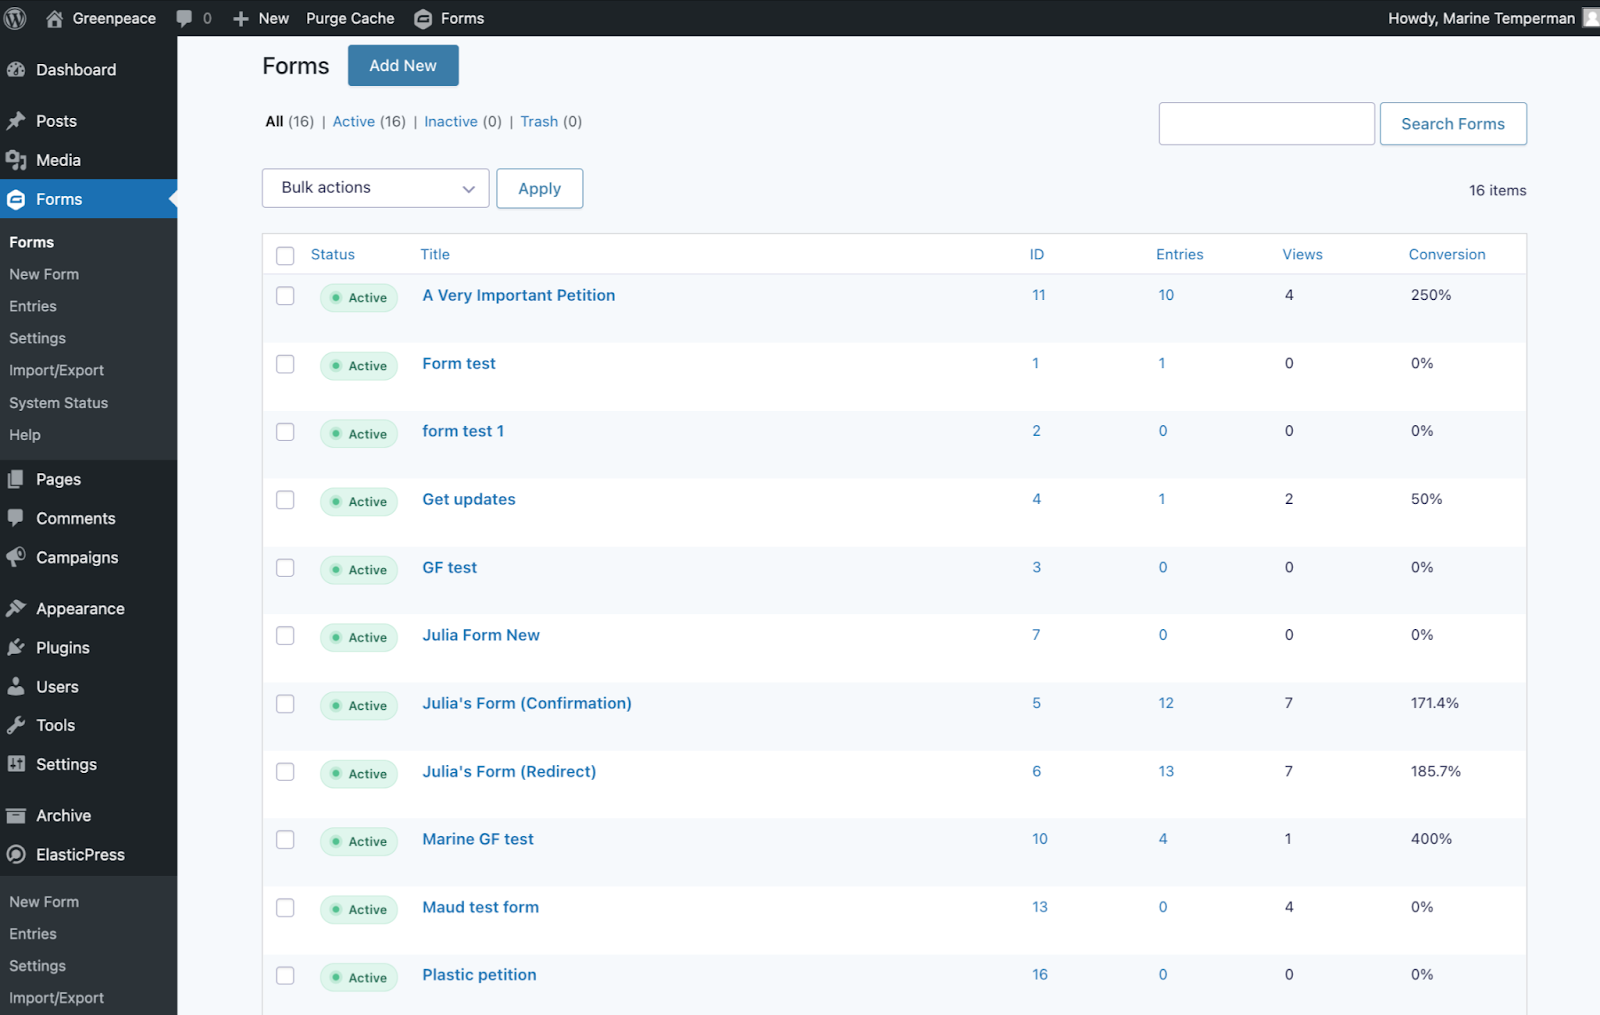
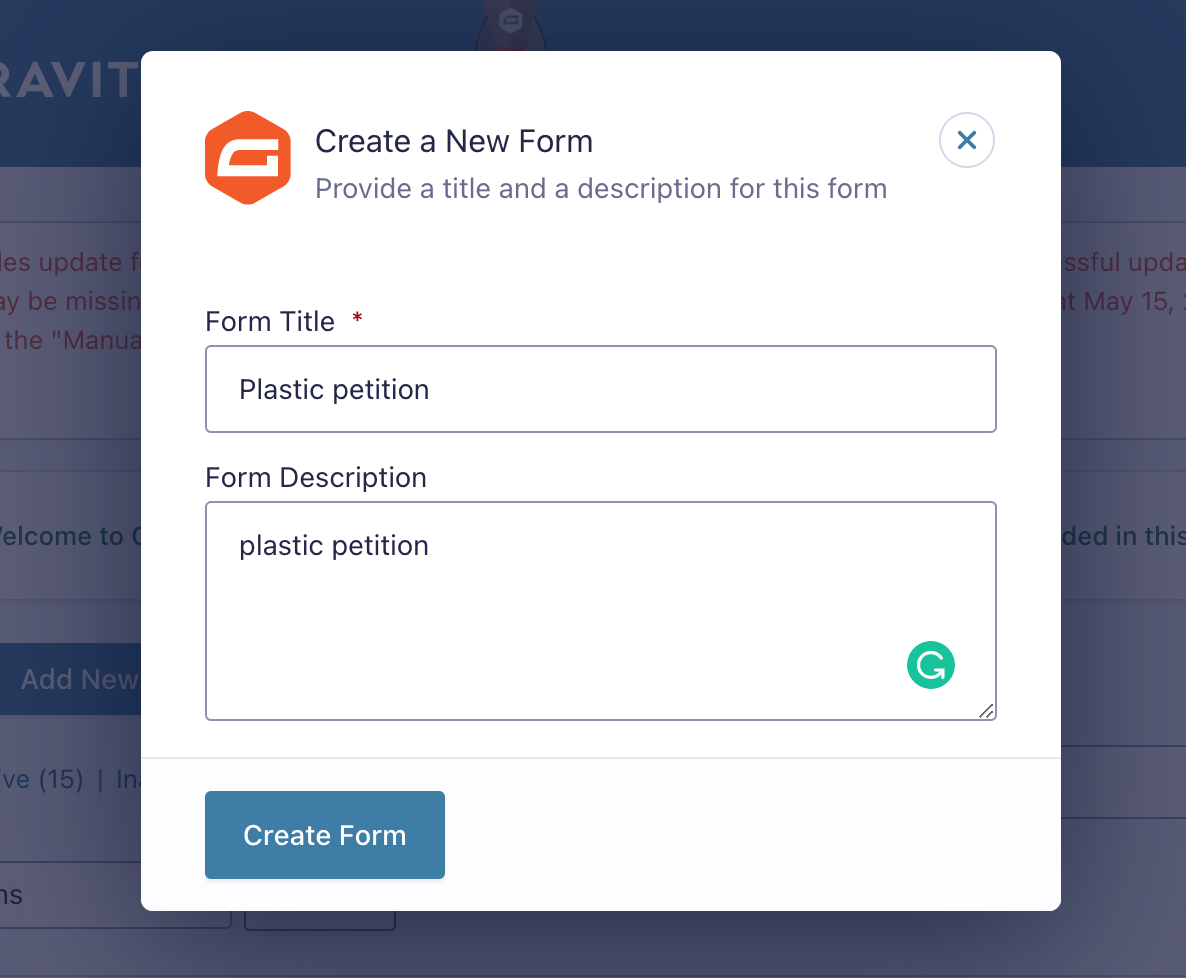
Hit “Add new” to create a new form.

Add a title and a description to your new form (these are just for internal use but you will have the option to display them on the front-end if you want).
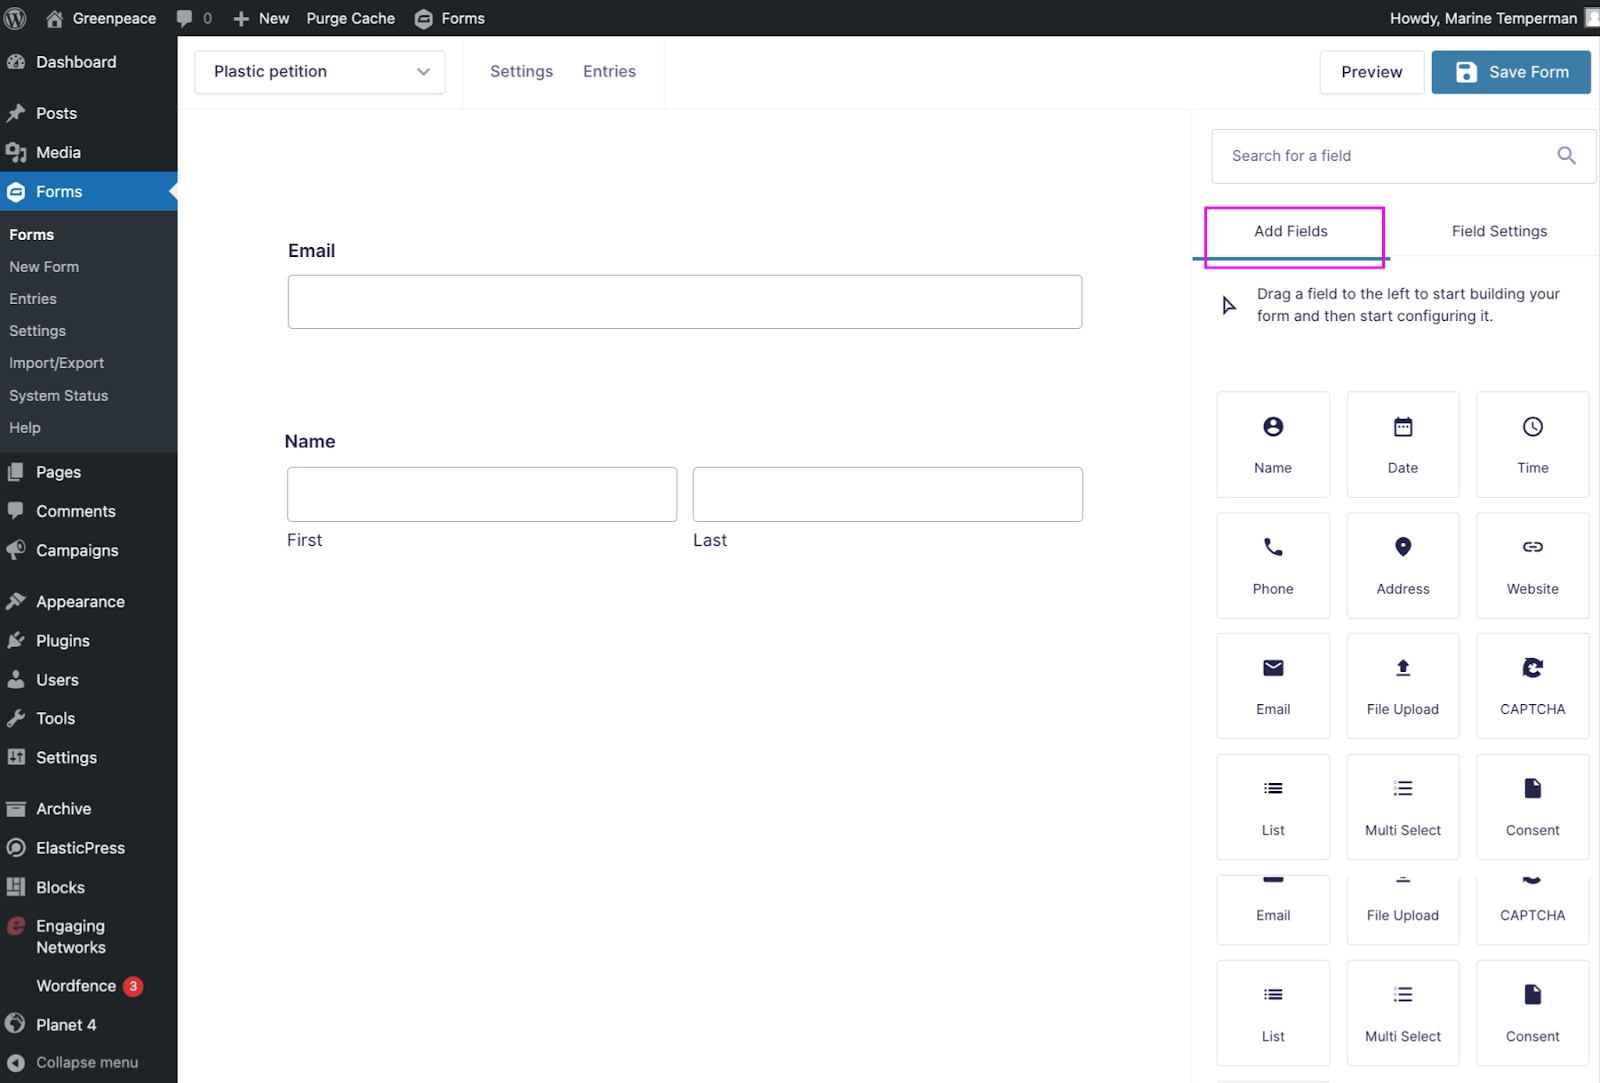
Step 1: Compose the form
You are now on your form builder. You can easily drag and drop fields into your form from the right panel:
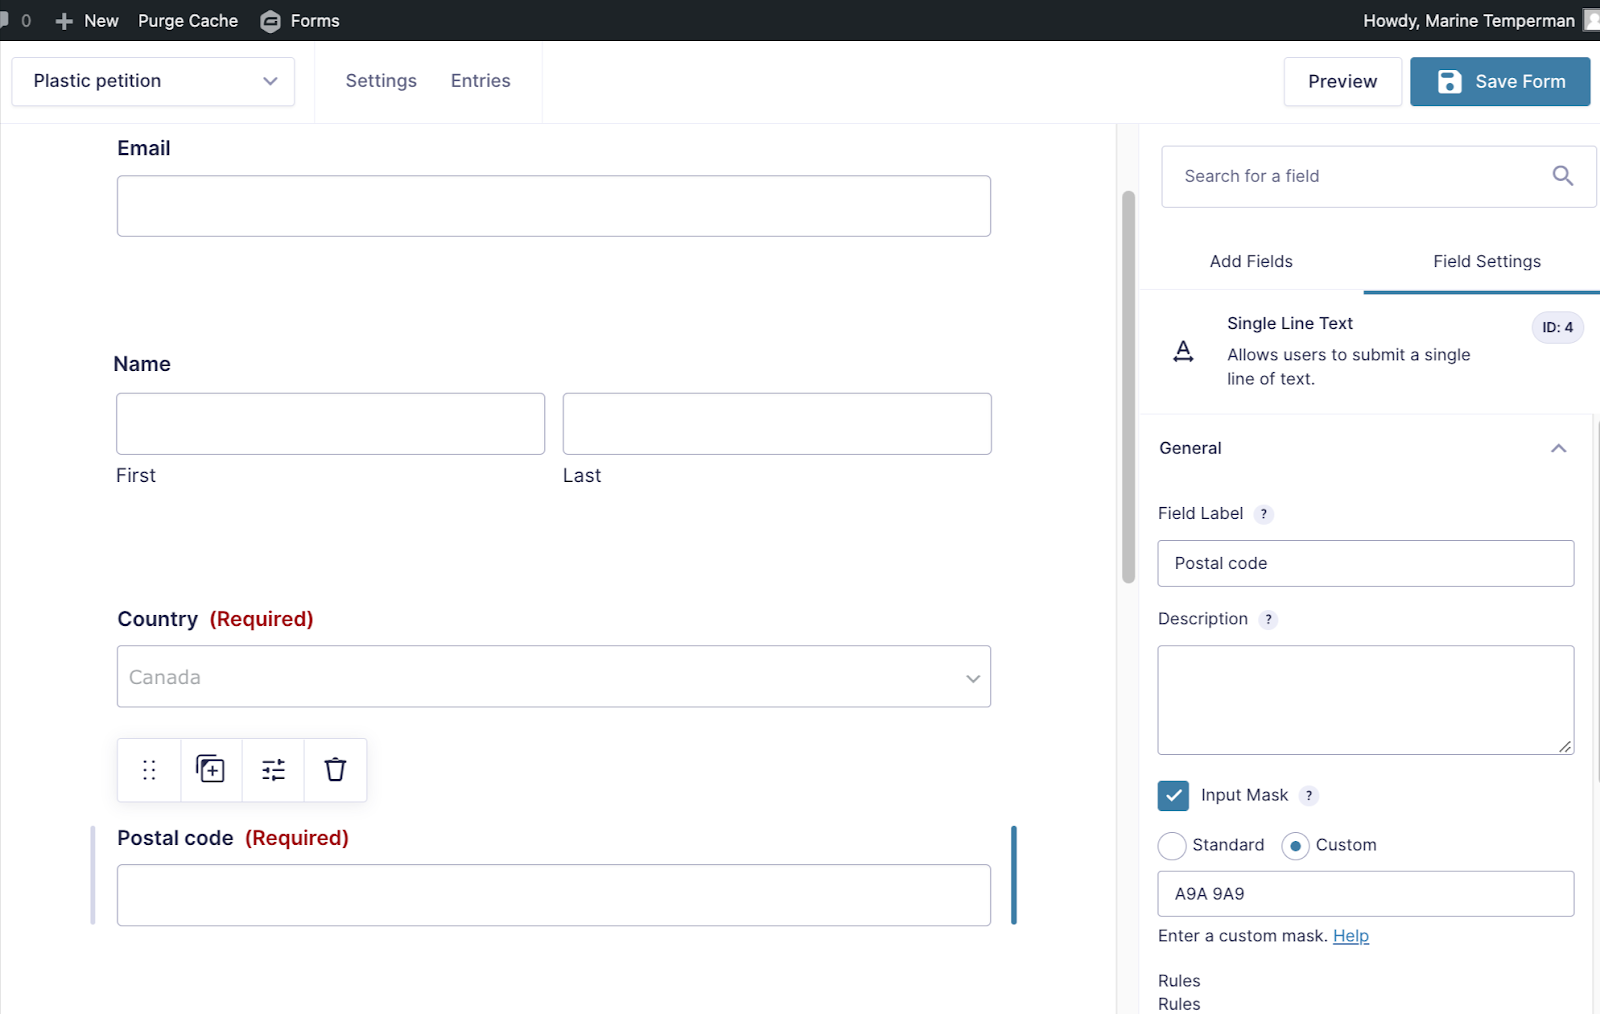
For each field of your form your can define the settings, by clicking on a field and then on Field Settings in the right panel:
Available fields
- The field label
- The description
- Input Mask: if you want your field to be formatted in a specific way (i.e. Phone number or postal code), you can define a mask
- Mandatory / not mandatory
- Upload up to 10 files (all types; .png, .jpg. pdf, …)
- The appearance: placeholder text, size, custom error message, custom CSS class, etc
- Advanced settings: default value, visibility, etc
- Conditional logic: display or hide fields based on another field value
🤔 Key Info: don’t forget to save your form before you go to the next step.
Validation settings for fields
It is possible to add validation errors that prevent to fill in the forms, for ex. to check if the signer is underage (e.g. by checking the date of birth) or to validate a phone number format.
Standard way (input masks)
Input Mask options are available under the General Settings panel, and only for the Single Line Text field and the Post Custom Field. They can provide more granular control over the permitted entry formats than the standard fields such as Phone Number or Address Postal Code. See more in the Gravity Forms documentation
Advanced way (requires dev. capacity)
If you can fiddle with code, have access to your P4 child theme you can add custom masks, the Gravity form documentation is quite complete, including instructions for date fields that works for age verification. It doesn’t do anything in the frontend, only on submission.
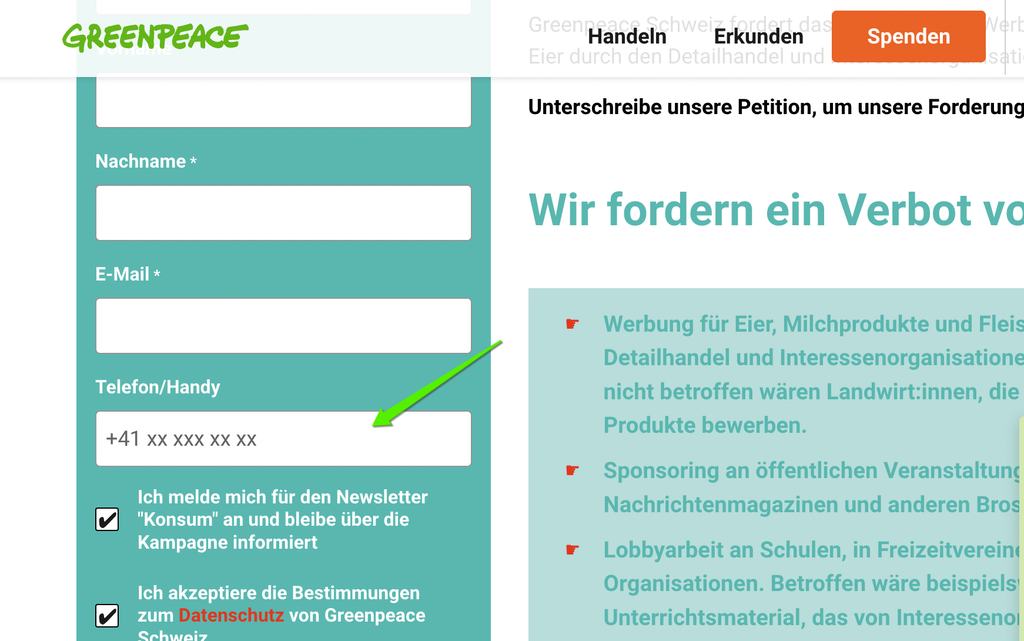
Gravityforms dev also supports custom phone number formats, you can find the documentation for it here. The advantage is that you can set the format for any form field and it’s validated properly also in the backend when submitting. See an example for Swiss number formats 👇
Step 2: Form Settings
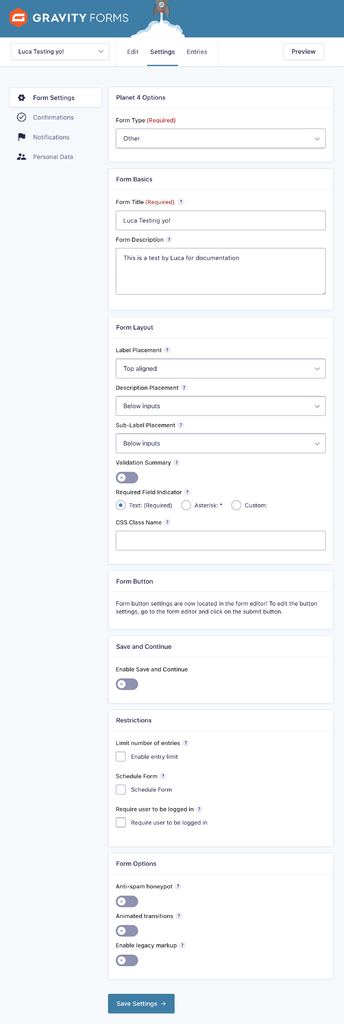
Once you have set up your form fields, go into the Settings tab:
👉 here you will find general settings such as layout, button and form options, etc
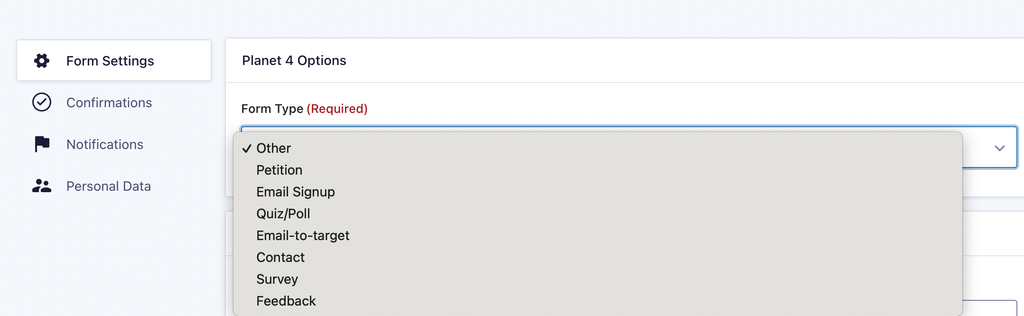
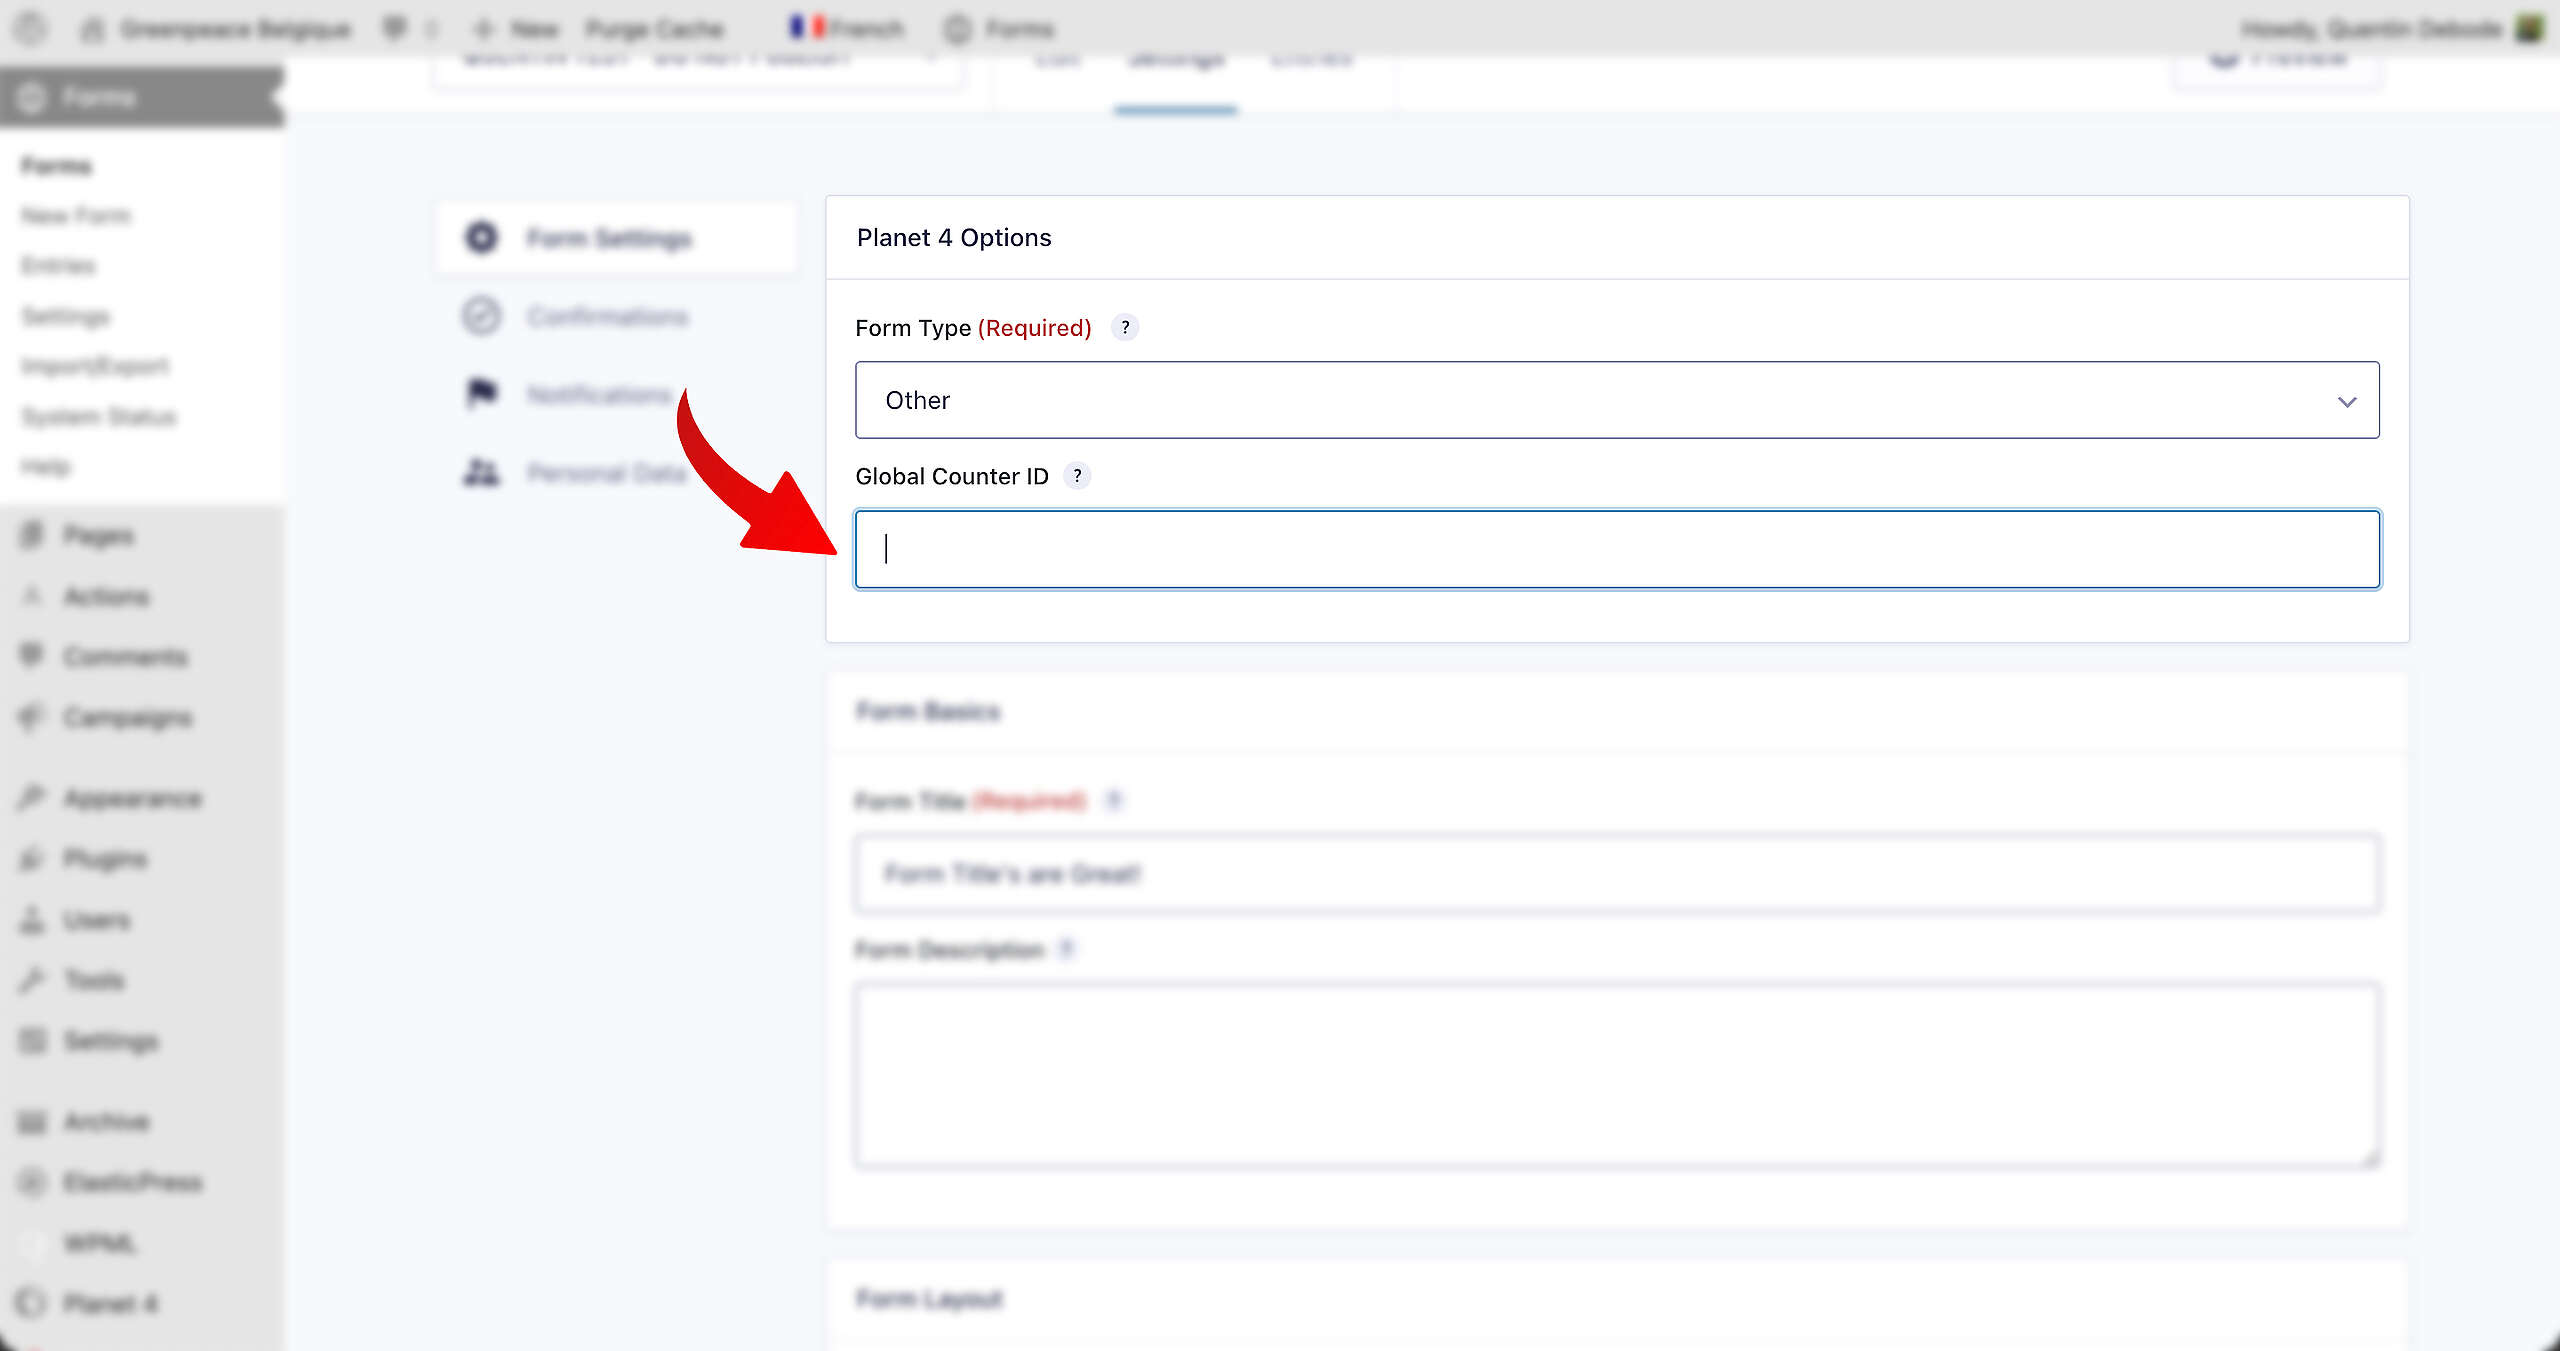
Form types
Forms creators must assign each form a type (petition, signup, etc) to track how different forms are performing, so the first setting is a required. Check this Miro board for a full list of all types or see the image below. Let the P4 team know if you would like to add any other types!

Confirmation settings
Once a form is submitted, editors can decide to (a) hide the form and show a message in its place, or (b) redirect the user to a different page. The P4 team has added the ability to show share buttons below the message if you go with option (a).
Confirmation message
The default confirmation type is option (a) (show a message). If you want to add some data from the form submission to it, you can do so via the “Merge tags” button:
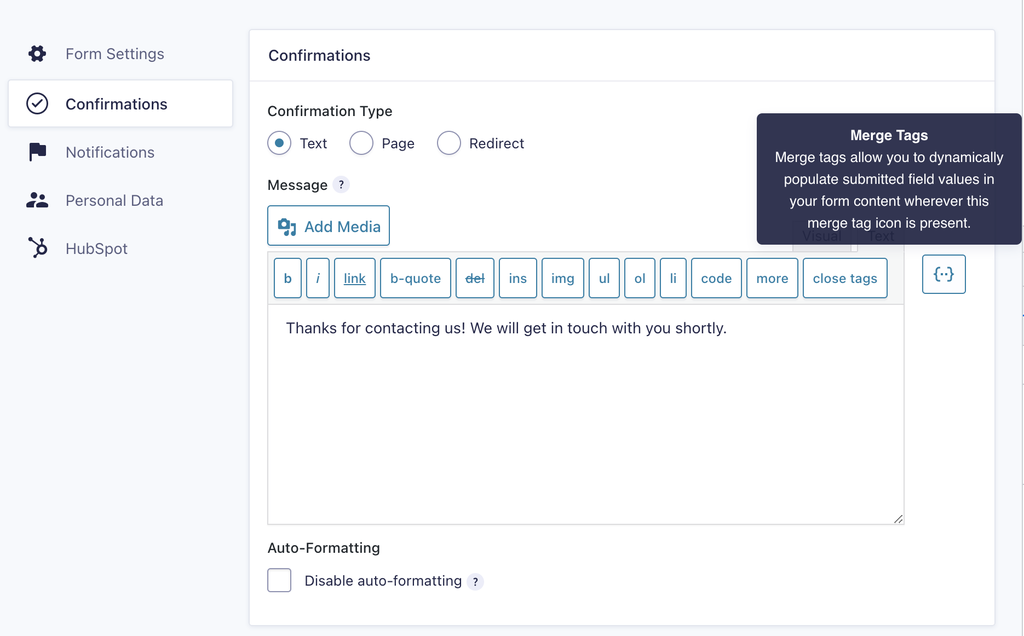
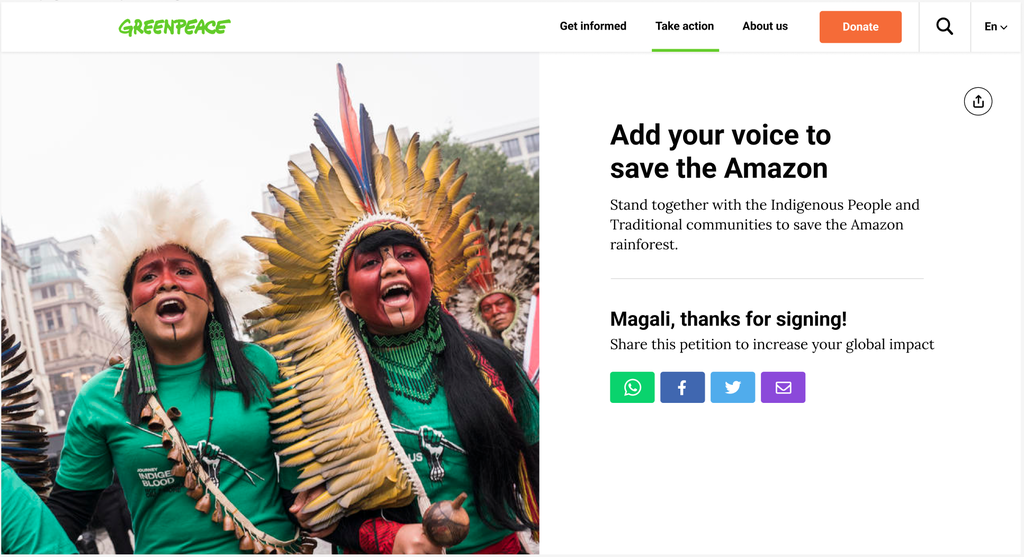
We recommend styling the confirmation message with a bit of html (make sure the editor is in ‘text’ mode), here’s some code you can copy/paste to start!
<h3>[insert your name merge tag here], thanks for signing!</h3>
<p>Share this petition to increase your global impact.</p>
There is also the option to add Share Buttons with that confirmation message. Right under where you’ve inserted your text, you’ll be able to select what platforms you wish the users can share the form to (these include WhatsApp, Facebook, Twitter, Email and Native Share). Make sure to customize the text that will appear, as well as the URL.
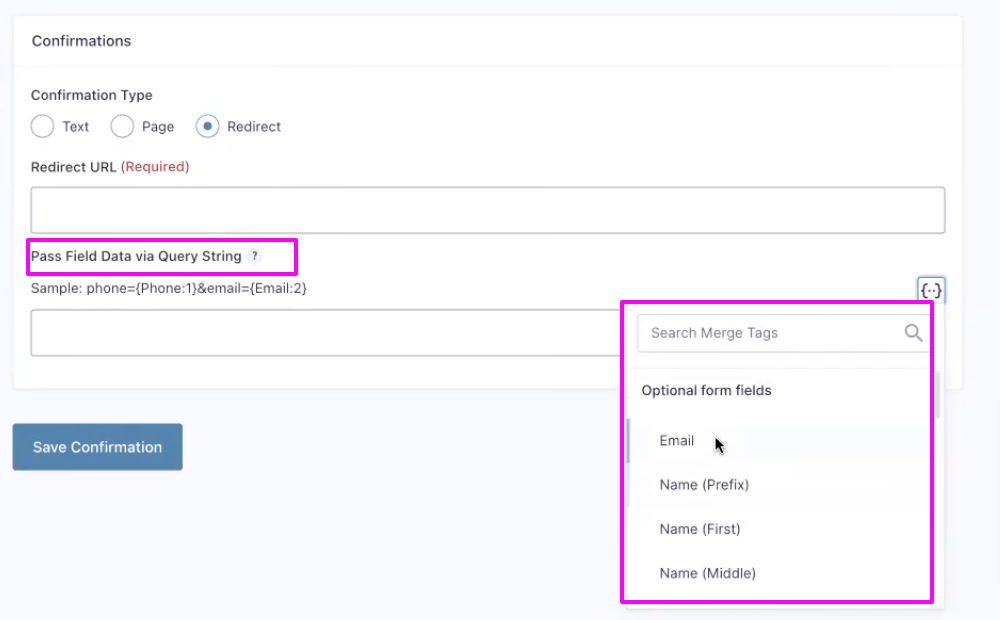
If you select “Page” you will be able to select any page from your site to use as Thank you message. If you select “Redirect”, you can use any page from other websites to be the confirmation message. In both cases, you can add merge tags (data from your form) to the url:
Notifications settings
You can set-up a notification email to some people in your team, each time the form is submitted. There are also options to configure routing based on some conditions.
⚠️ Key info: the GPI team strongly recommends to use Hubspot to build the follow-up email, as you will be able to use your email templates and track the performance of the Thank You emails directly into Hubspot.

Personal data settings
By default P4 stores the data filled out in the form. But P4 is not meant to be used for storing any supporter data. Instead data should be stored into relevant external systems (Hubspot, Salesforce, etc) where applicable.
To that end, we are enforcing a data retention policy of 90 days to provide enough time for admins to export the submission data in cases where a form is not already synced with an external system.

Global Counter ID field settings
Additional resources: Global Counter Documentation
Hubspot settings
If you have enabled the HubSpot Add-on, this is where you define the feed that will send the information to Hubspot.

You can link your form to an existing feed or create a new one by clicking on the button Add new.
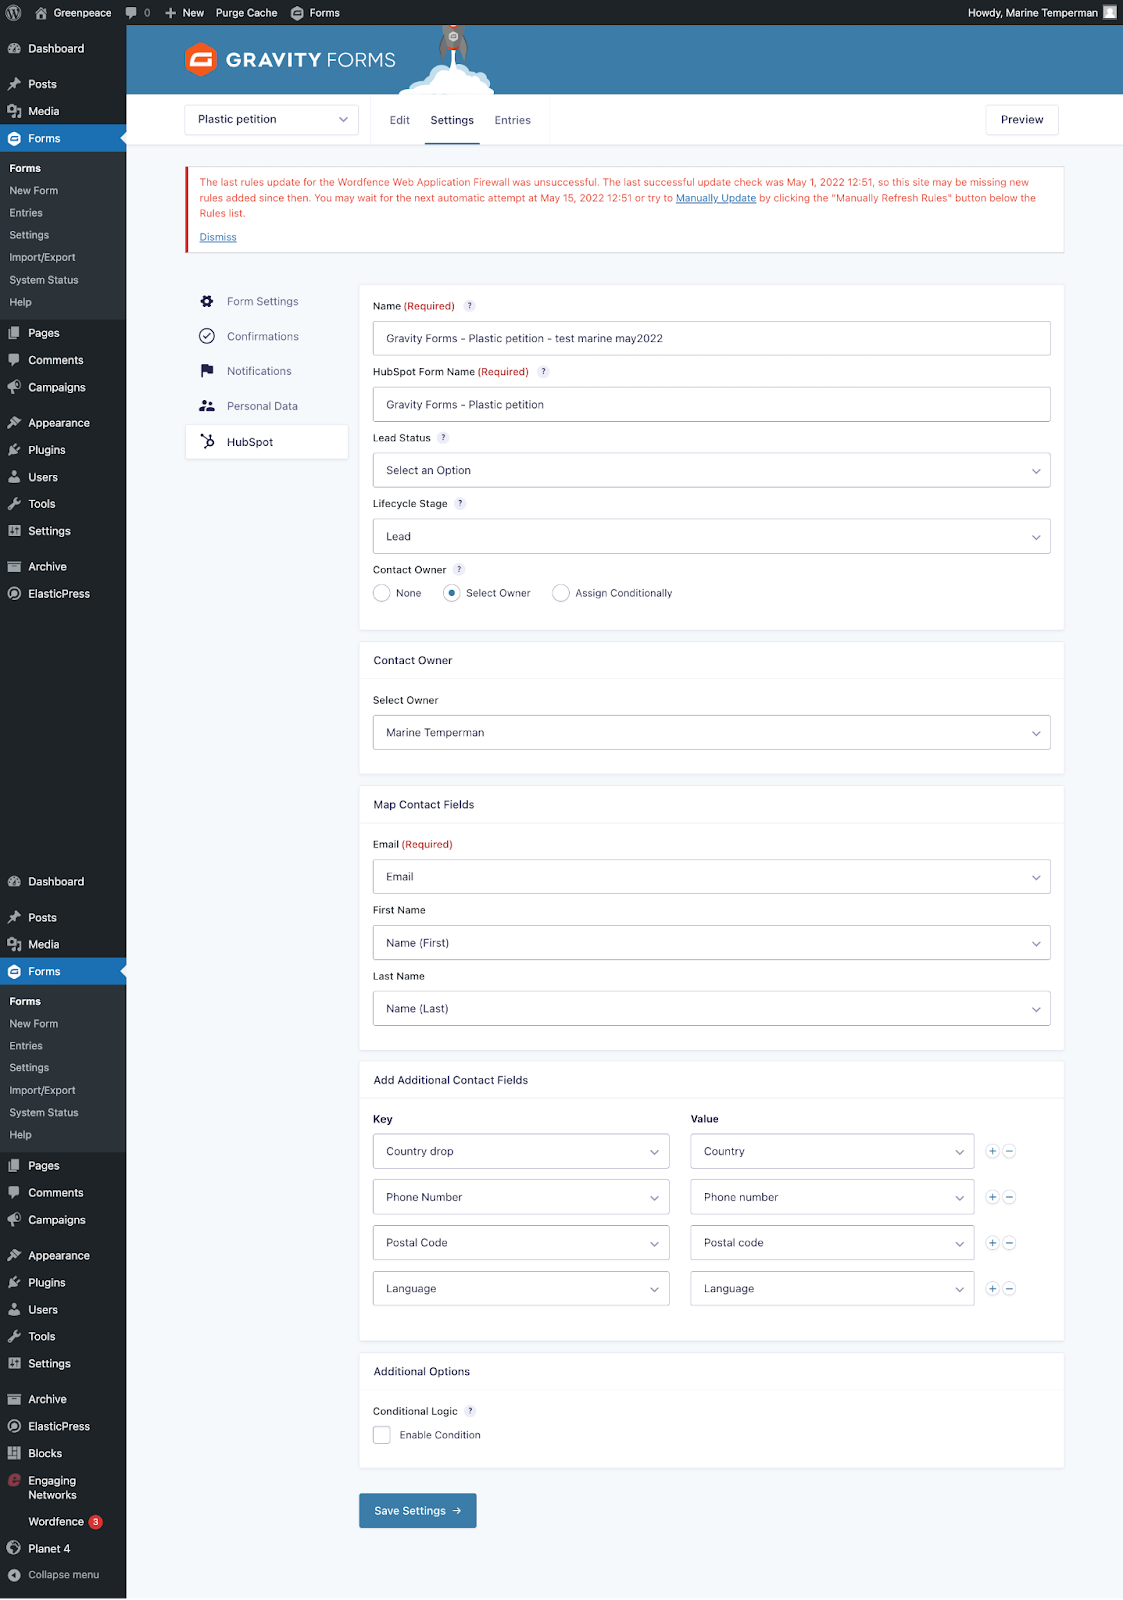
- Name: it’s the name of your feed. Enter a feed name to uniquely identify this feed.
- Hubspot form name: Enter the name for the form that will be automatically created in your HubSpot account to work in conjunction with this feed. This HubSpot form will be configured to match your mapped fields below and is required. Once created, please don’t remove or edit it.
⚠️ Note: we recommend to use similar names for the feed name and the Hubspot form name.
- Contact owner: we recommend that your set-up the contact owner name
- Map contact field: here, make sure you mapp the Gravity form fields with your Hubspot fields (properties)
- Additional Contact Fields: if you want to map additional fields.
- Fields as Origin Source, or utm_parameters can be mapped directly to Hubspot, defending on your strategy.
- If you are a multilingual NRO, it’s recommended to add a hidden field in your Gravity Forms form and map it out with your language property in Hubspot
- Conditional Logic: this option allows to proceed the feed only if certain conditions are filled
⚠️Note about subscription type: It’s not possible to map out directly form here the opt-in to the Hubspot subscription type. You have to make sure you opt-in the contacts who signed-up in Hubspot, via a Workflow for example.
Don’t forget to save your settings by clicking on the button.
Step 3: Preview and save
Once you are happy with your form and it’s settings you can preview it by clicking on the Preview button, and then save your Gravity forms form.
⚠️ Note: we recommend to make a few tests by filling out the form and check if the data enters correctly into Hubspot. Check how to do this in gitbook.
See also the Gravity Forms documentation about creating forms: https://docs.gravityforms.com/creating-a-feed-for-the-hubspot-add-on/
Video Tutorial
A quick tutorial on how to create a form in Planet 4 and make sure it’s connected to your Hubspot account 👇