📚 Create Content > Blocks > Forms (with Engaging Networks)

⚠ Please keep in mind that the Engaging Networks connection with Planet 4 will be phasing out in the near future. More info will follow soon.

Purpose: Add Engaging Networks (EN) forms to P4 pages, allowing the combination of our campaigning narrative with a (P4-Styled) in-page Call To Action and send all information collected to the relevant EN account (e.g. Form in P4 New Zealand > information to EN New Zealand account).

The Form Block can also embed subscription forms, like the Happy Point.

For the tracking setup see >> Track petitions data in Google Tag Manager (GTM)


How the EN < > P4 integration works

Data collected by the Form Block in P4 pages are sent to each Greenpeace NRO Engaging Networks (EN) account. This allows campaigners and engagement teams to integrate EN forms and landing pages to P4 with clicks, not code.

Here’s how the EN < > P4 integration works:

  1. Build a blank, LIVE page using page builder in EN
  2. Build a Form in Planet 4 > Engaging Networks
  3. Add a Form Block to a P4 page 
  4. Select the corresponding EN page and P4 Form you just built, to send the same information submitted by users to your NRO EN account
    1. IMPORTANT >> You can reuse the same forms for multiple campaigns, no need to create a Form in P4 each time you need a new form in a P4 page
  5. The block will send the data which was submitted (frontend) to the your NRO EN Account via API (sync should take no more than 2 min)

KEY INFO – Live Page in Engaging Networks + P4 Form Block = Integration

The same form (with the same fields) in Engaging Networks and in Planet 4

Why both EN page and P4 block

TIP: When setting up destinations for campaigns, the recommendation is to build a P4 form for website traffic and an EN page for email traffic

In the future, using the P4 Campaign Features, Greenpeace NROs will be able to launch campaign landing pages within Planet 4, and send data to the right Digital Engagement tools.


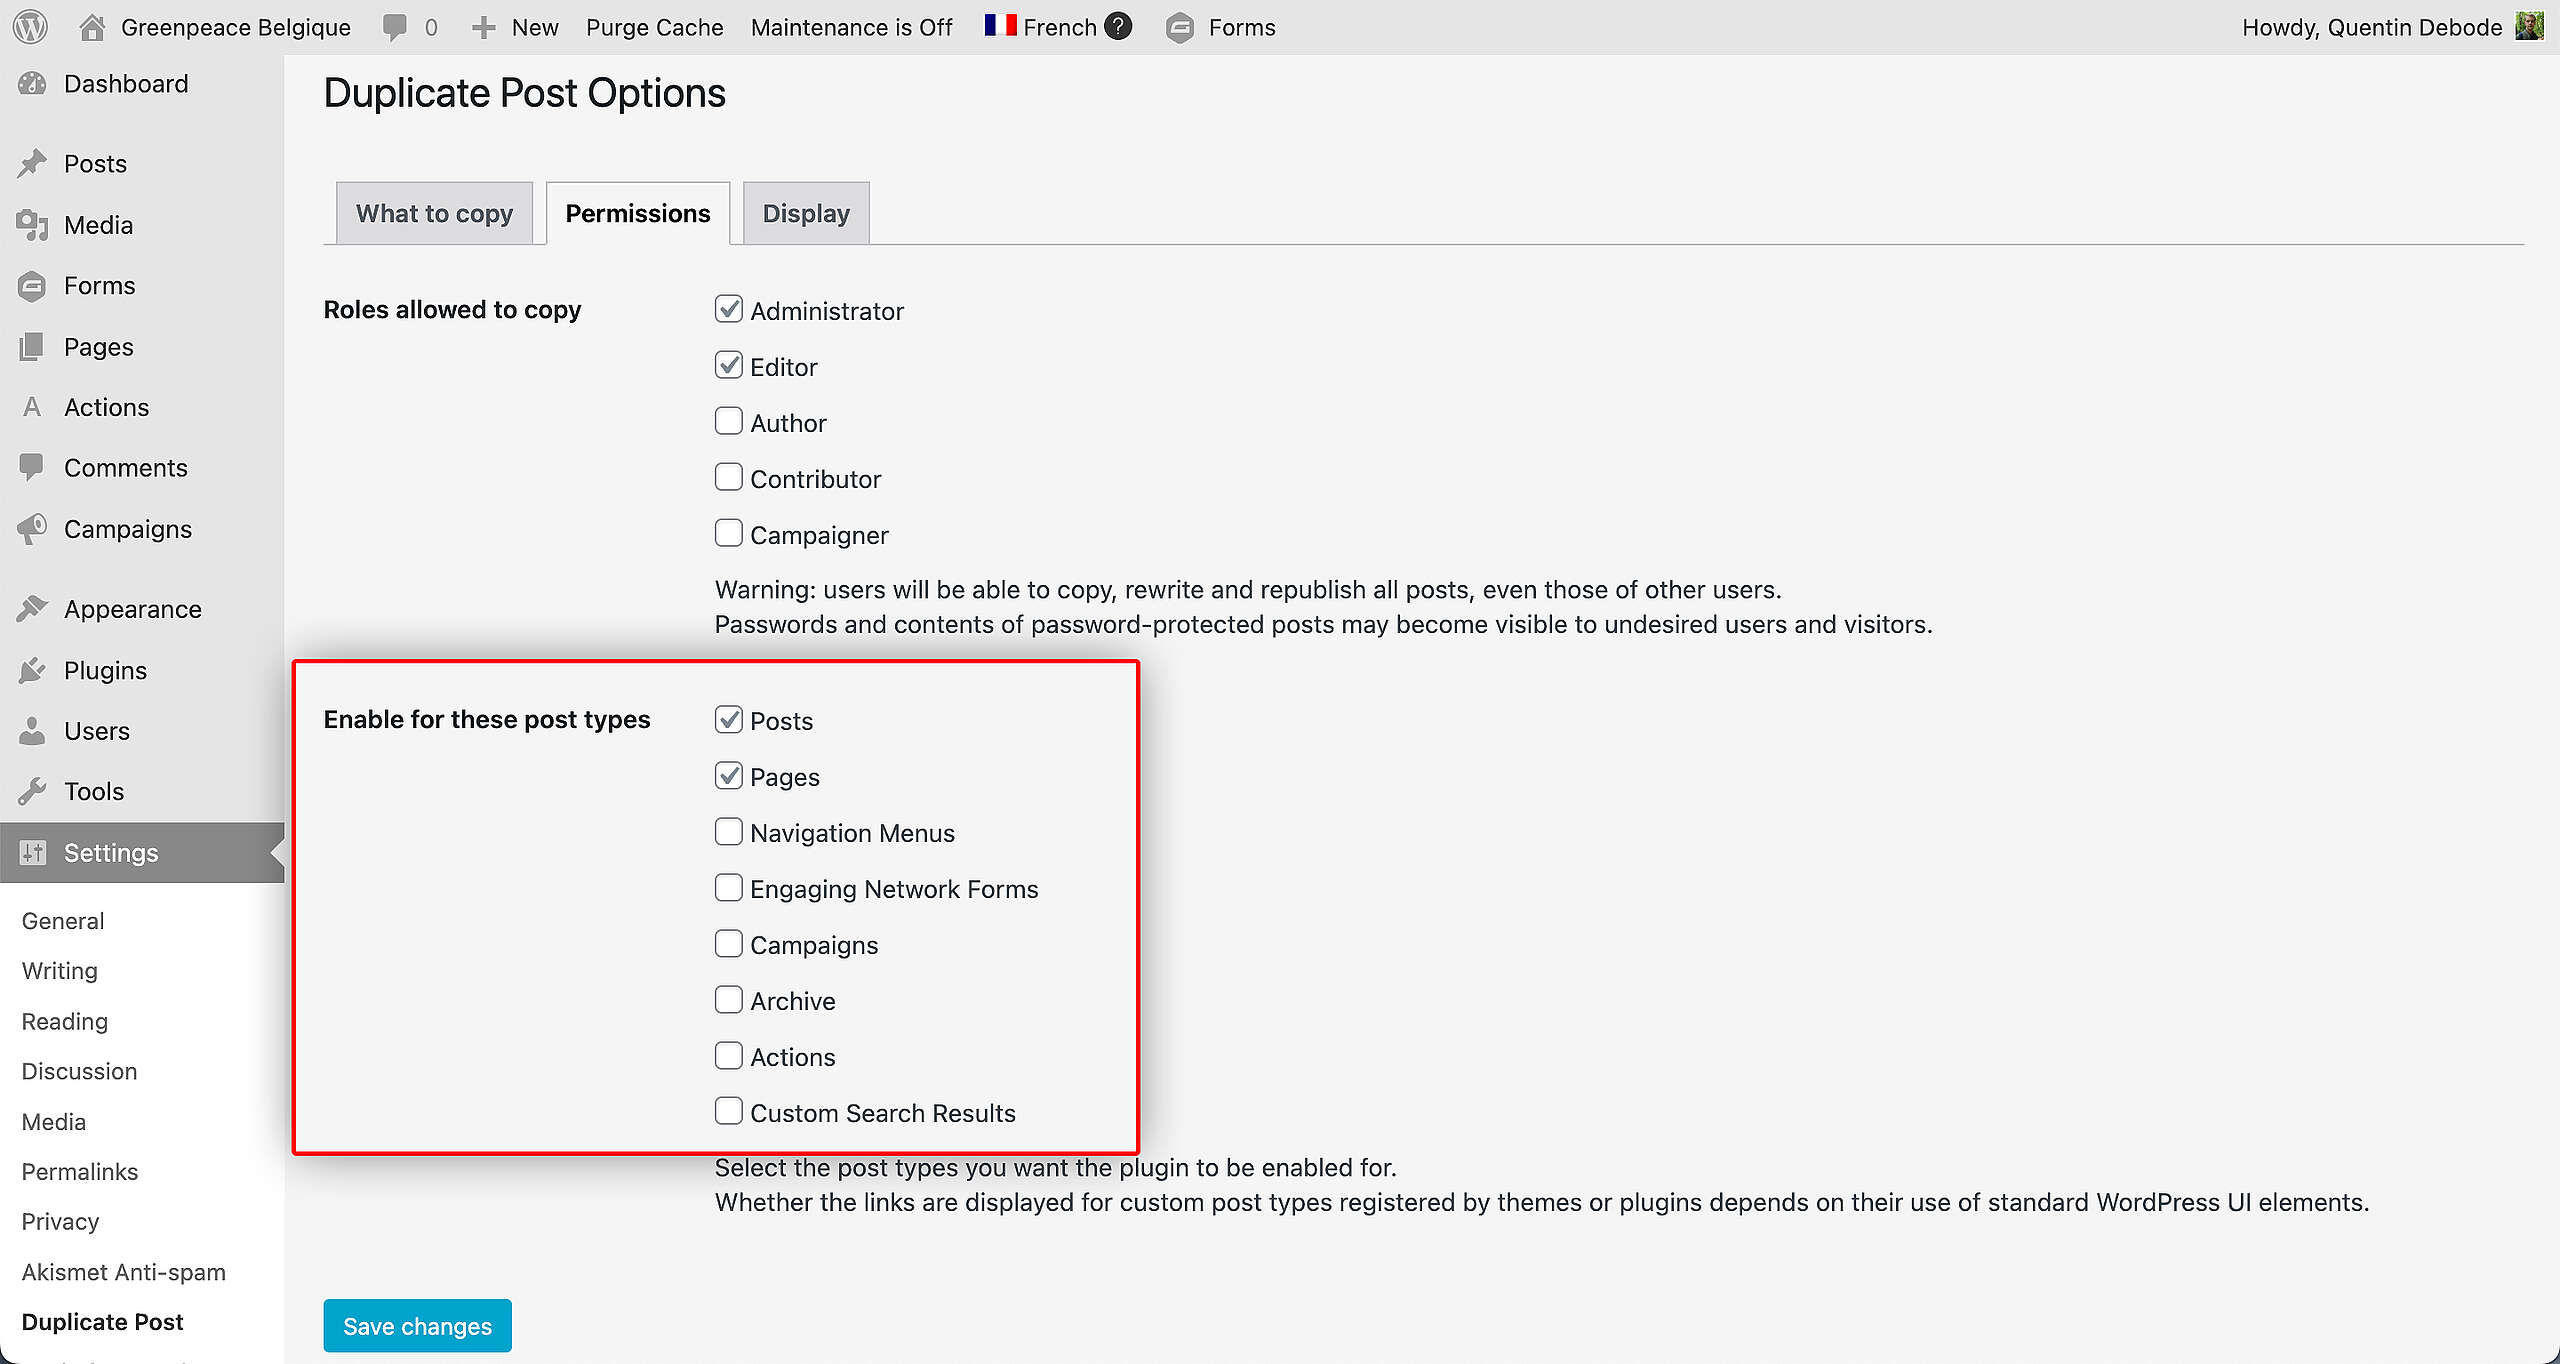
Create and manage EN forms in P4

Settings > Engaging Networks > ALL EN Forms 

KEY INFO – All your Form blocks must be connected to 1) EN Form in the Planet 4 settings and 2) a Live EN Page

Fields settings and labels

All your fields can be either Required or not, and of various type, choosing via a drop-down. Types are:

KEY INFO Values and Labels for “Checkbox” field type are automatically pulled out from your EN account, you cannot edit them in P4.

1) Log in to your EN account

2) Go to Pages > Manage Pages

3) Find the EN page you need to match to your P4 Form (the correspondent form in Engaging Networks)

4) Click on the Edit (pencil) icon

5) Edit the Form block that exists inside the EN page– see image below

6) Click on one of the Questions/Opt-ins tabs to get a list of questions/opt-ins – see image below

7) Click on Manage Questions (or Manage Opt-ins) button – see image below

8) Find the Question/Opt-in you wish to edit and click its Edit icon (or Create a New Question/Op-tin) – see image below

9) Click ‘Edit checkbox values‘ button, fill in labels/values and click “Save” – see image below

10) To setup pre-check values to Opt-in checkbox field, Go to ‘Components >> Questions and Opt-ins‘ and edit the Opt-in field. On Edit Opt-in popup, select the “Pre-check?” field. – see image below

The types of fields of your EN form can be selected via the drop-downs

KEY INFO Values and Labels for “Radio” field type are automatically pulled out from your EN account, you cannot edit them in P4.

      To edit a radio field labels/values please follow the instructions for Checkbox field type above

How the labels of the same EN Form appear in all styles of the Block: Engaging Networks form.

Regex Validation

In the fields of type “text” you can define regex for validation.

1) In your EN form, edit the text field you want to validate by clicking the pencil icon

2) Add the regex you want to be used and the error message that should appear on failure to validate

3) Save the form, and test it:

notes:

– Use the regex without the trailing and leading /

So, correct:

^[a-zA-Z0-9_-]{3,16}$

Wrong:

/^[a-zA-Z0-9_-]{3,16}$/

Callback js function

KEY INFO – To have this function, you have to save it in your P4 child theme (not in CSS, but as a javascript), because Javascript does not get saved (or appearing in the front end) if you save it in the page code.  Basically, you need a developer.

3573-1-edit-field

This adds a field in the “edit” of text fields on the EN forms admin screens

In there, in the new field labeled JS Function validation callback the web admin can add the name (Without parentheses) of a javascript function.

3573-2-add-callbackfunction

3573-3-have-function

For this to work, the javascript function must be available in the dom (To test it, you can add a function in the child theme and call it):

Example function:

function validateLastName(val) {
    if ($.isNumeric(val.substr(0, 1))) {
        return 'A last name cannot start with a number';
    }
    return true;
}

The function must return either true if the value is valid, or a meaningful string that will be used as the error message if the value is not valid (see above example).

3573-4b-get-error

Then, on form submission if the field value does not get validated by the above function, the error message that got returned appears in the field.

Hidden fields

With hidden fields, you can send custom message to your EN Account, each time a form is completed. Just click on the little pencil next to the field and choose your inout message, see gif below

Opt-in settings

KEY INFO – Opt-in questions are automatically synced from your EN Account into P4, and cannot be modified in P4. For legal reasons those must be the same in each place we ask user consent to give and handle personal data

API settings

The connection Planet 4 < > Engaging Networks happens in Settings > Engaging Networks (See >> set up the P4 Settings). Only P4 Administrators (see Roles & Permissions) can access this command, please contact Greenpeace Global IT to know more.

P4 must connect to both public and private APIs of your NRO EN account:

KEY INFO >> NO NEED to update the keys each time you publish a form in your EN account


Add and customise the Form block


Style 1: Page body-text size width and NO background

The form will be displayed on the page with plain background colour (#074365) and with a (responsive) width aligned to body / text.

This is how the form looks like on the frontend.

EN form – Style 1 – (Page body / text side width, no background)

Style 2 : Full page width and background image

The form will be displayed on the page, having a background photo that was selected by the editor and spread to the full width of the page. It will be identical with the appearance of the Happy point block.

EN Form – Full page width (with background image) style

Style 3: Form on the side

Form will be added to the top of the page, on the right side for most languages and on the left side for right-to-left alphabets.

Style 3 (Form on the side) of the Engaging Networks Form block

Insert counter in your form

KEY INFO – The “Progress bar inside EN form” Block can only be used in the “Form on the Side” style

Once inserted and customised your Form on the Side style just ad the block: counter anywhere on the page, and it will be added to your form automatically – see an example here


Hide page title from the frontend

You can “Hide Page Title” command in the Page Header fields (see .gif below).

This is especially recommended when using the “Form on the Side” style.


Allow markup and HTML to a form

The EN block allows markup / HTML in description, content and even opt-ins, to either redirect to a page for more info or insert a mailto: link.


Translate Form strings – e.g. error messages

All strings of your Engaging Networks form can be translated in Loco, like all other P4 commands.

screenshot-k8s.p4.greenpeace.org-2019.07.05-17-56-02.png

Setup of Thank You Emails for P4 Form signups

[ content to be added for regular Thank you Emails from EN]

Multilingual Thank You Emails

See the amazing Case Study by Lise

When building a bilingual petition page on Planet 4 (2 language versions of 1 petition), you might have build also a bilingual “ghost” petition on Engaging Networks, and set up 2 versions on your Thank you email… but it seems P4 signups only receive the primary language thank you email.

No worries, you do not need to build 2 petitions in EN.

To resolve this issue, you can customize the Thank you Email inside Enagaging Networks using a “Language” field and connect the value to P4.

  1. Add a Field “Language” in Engaging Networks

    > Go in : Hello X > account settings > account data structure > add field : add language field with your labels and values (can be different, but then you will use only the value in the next steps)


2. Connect P4 Form Value to EN Language field

>> Go in P4 > Engaging Networks > Forms > add “Language” >select “hidden” and click on the Edit pencil. Enter your default value (with the name of your Engaging Network value).

>> you have to save the page and refresh for the default value to be saved

>>> Repeat the same step your other language version of P4 Form

3. Customize your Thank You Email by language

> Build your Default email in the language of your 1st language (Français)
> Ass “custom” > Add” field” > Enter the value of your second language (Allemand).
+ select “priority=1”


Campaign Fields

The Campaign fields are automatically populated from the 2019 global standards, and send DataLayer values to your P4 Tag Manager account. In your pages edit mode, on the right side of the screen, under the Document option you can find the Campaign Information (dataLayer).

It’s extremely important to follow the 2019 Global Standards list for the values below:

Full instructions at > Track Petitions data in Google Tag Manager


Modifying form data

A filter hook is available to read or modify data before it is sent to your EN account. This allows you to filter some fields if needed.

add_filter( 'planet4_enform_data', function ( $data, $petition_id ) { 
  // do something with data
  return $data;
} ) ;

Video tutorials

1: Create your forms and insert them in P4 pages

2: Set up the Tracking suite in GTM and GA


Links & Resources