
Build an “Email To Target” in Gravity forms
Gravity Forms has many shapes and forms. Here’s how to build an Email-To-Target.
📚 Manage Planet 4 > Integrate P4 > Set Up the Form Builder > Build an ETT
Before you start
Make sure that all your settings are set up correctly and that your Gravity Forms is properly connected with Hubspot.
Getting Started
Create the Form
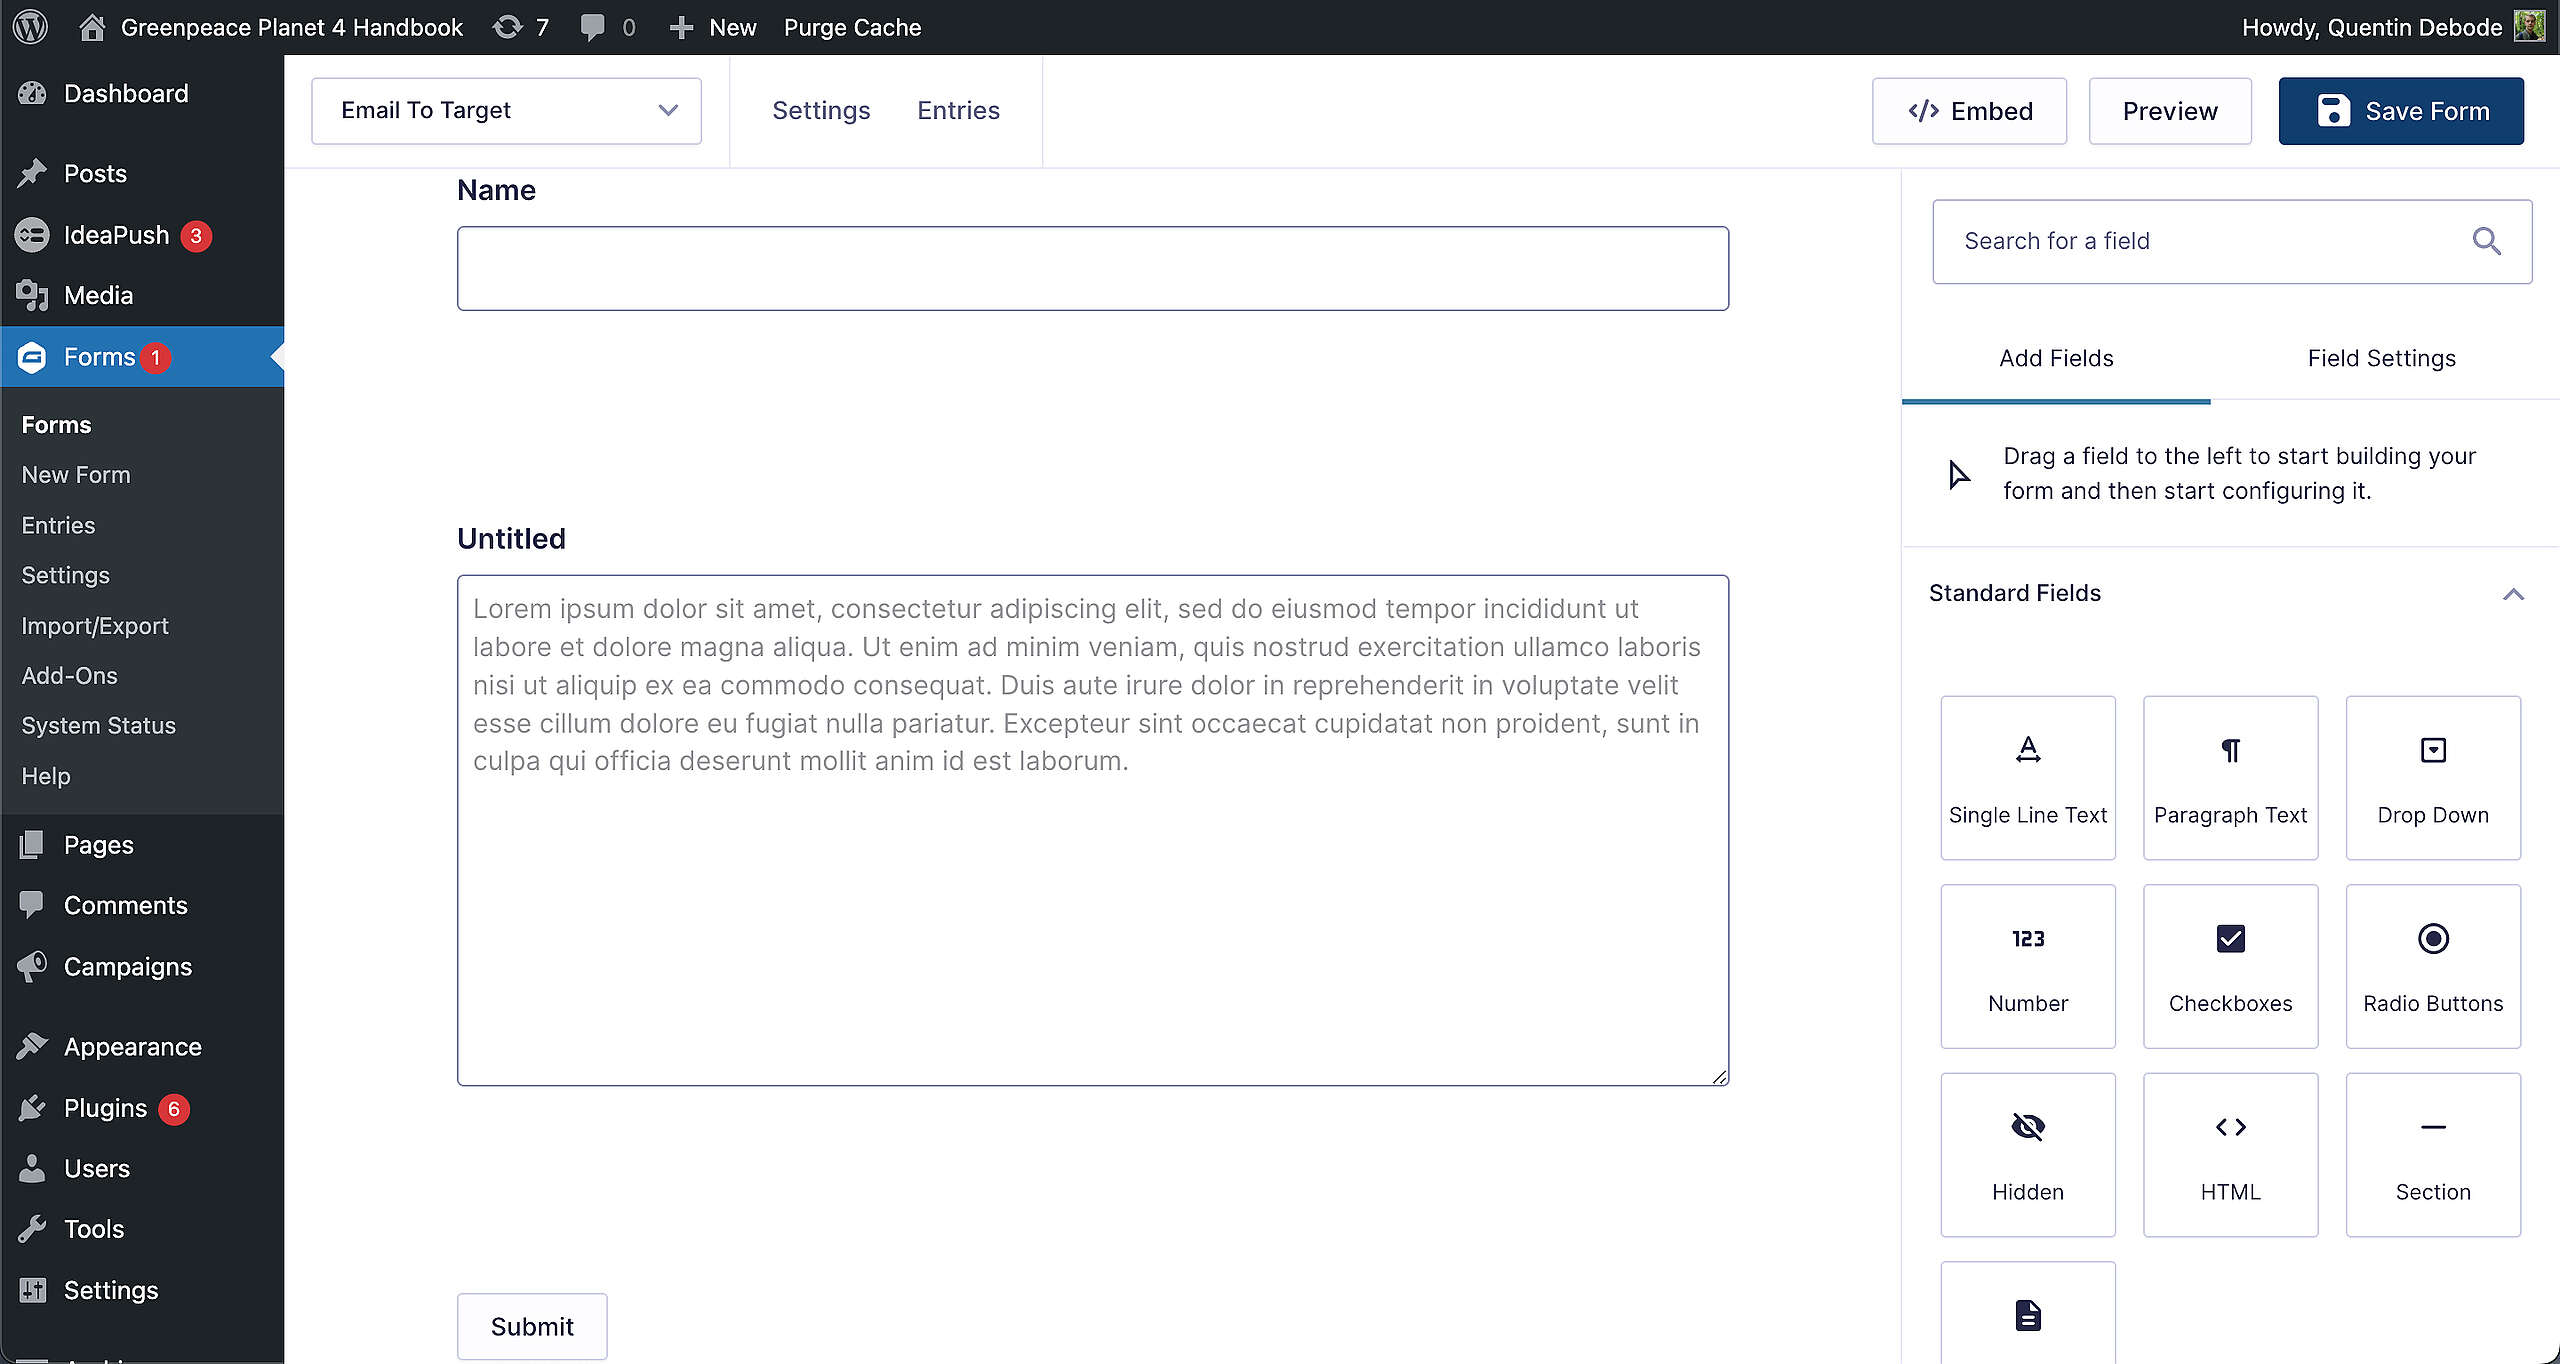
To start, just create a form like you would usually do; Drag and drop fields from the right side into the form builder.
The only two fields that you should consider mandatory are “Name” and “Email”. Adding a name field is important, as the target will see loads of different people are messaging about the same issue. While their email address will be used in case the target wants to reply back.
If you want the supporters to be able to edit the message to be sent out to your target you can add a “Paragraph Text” field and even provide a Default Value to be pre-filled. Keep in mind though that doing so you won’t be able to moderate what people send out as they can customize the message however they feel like.
And of course, you’re free to adjust the form fields however you see fit, and however it matches up with the campaign and the ask surrounding the Email To Target. As an example, you could also add a consent field if you want to subscribe people in your newsletter.
Make sure to hit Save Form on the top right corner. After that, we’ll be heading into the settings.
Settings
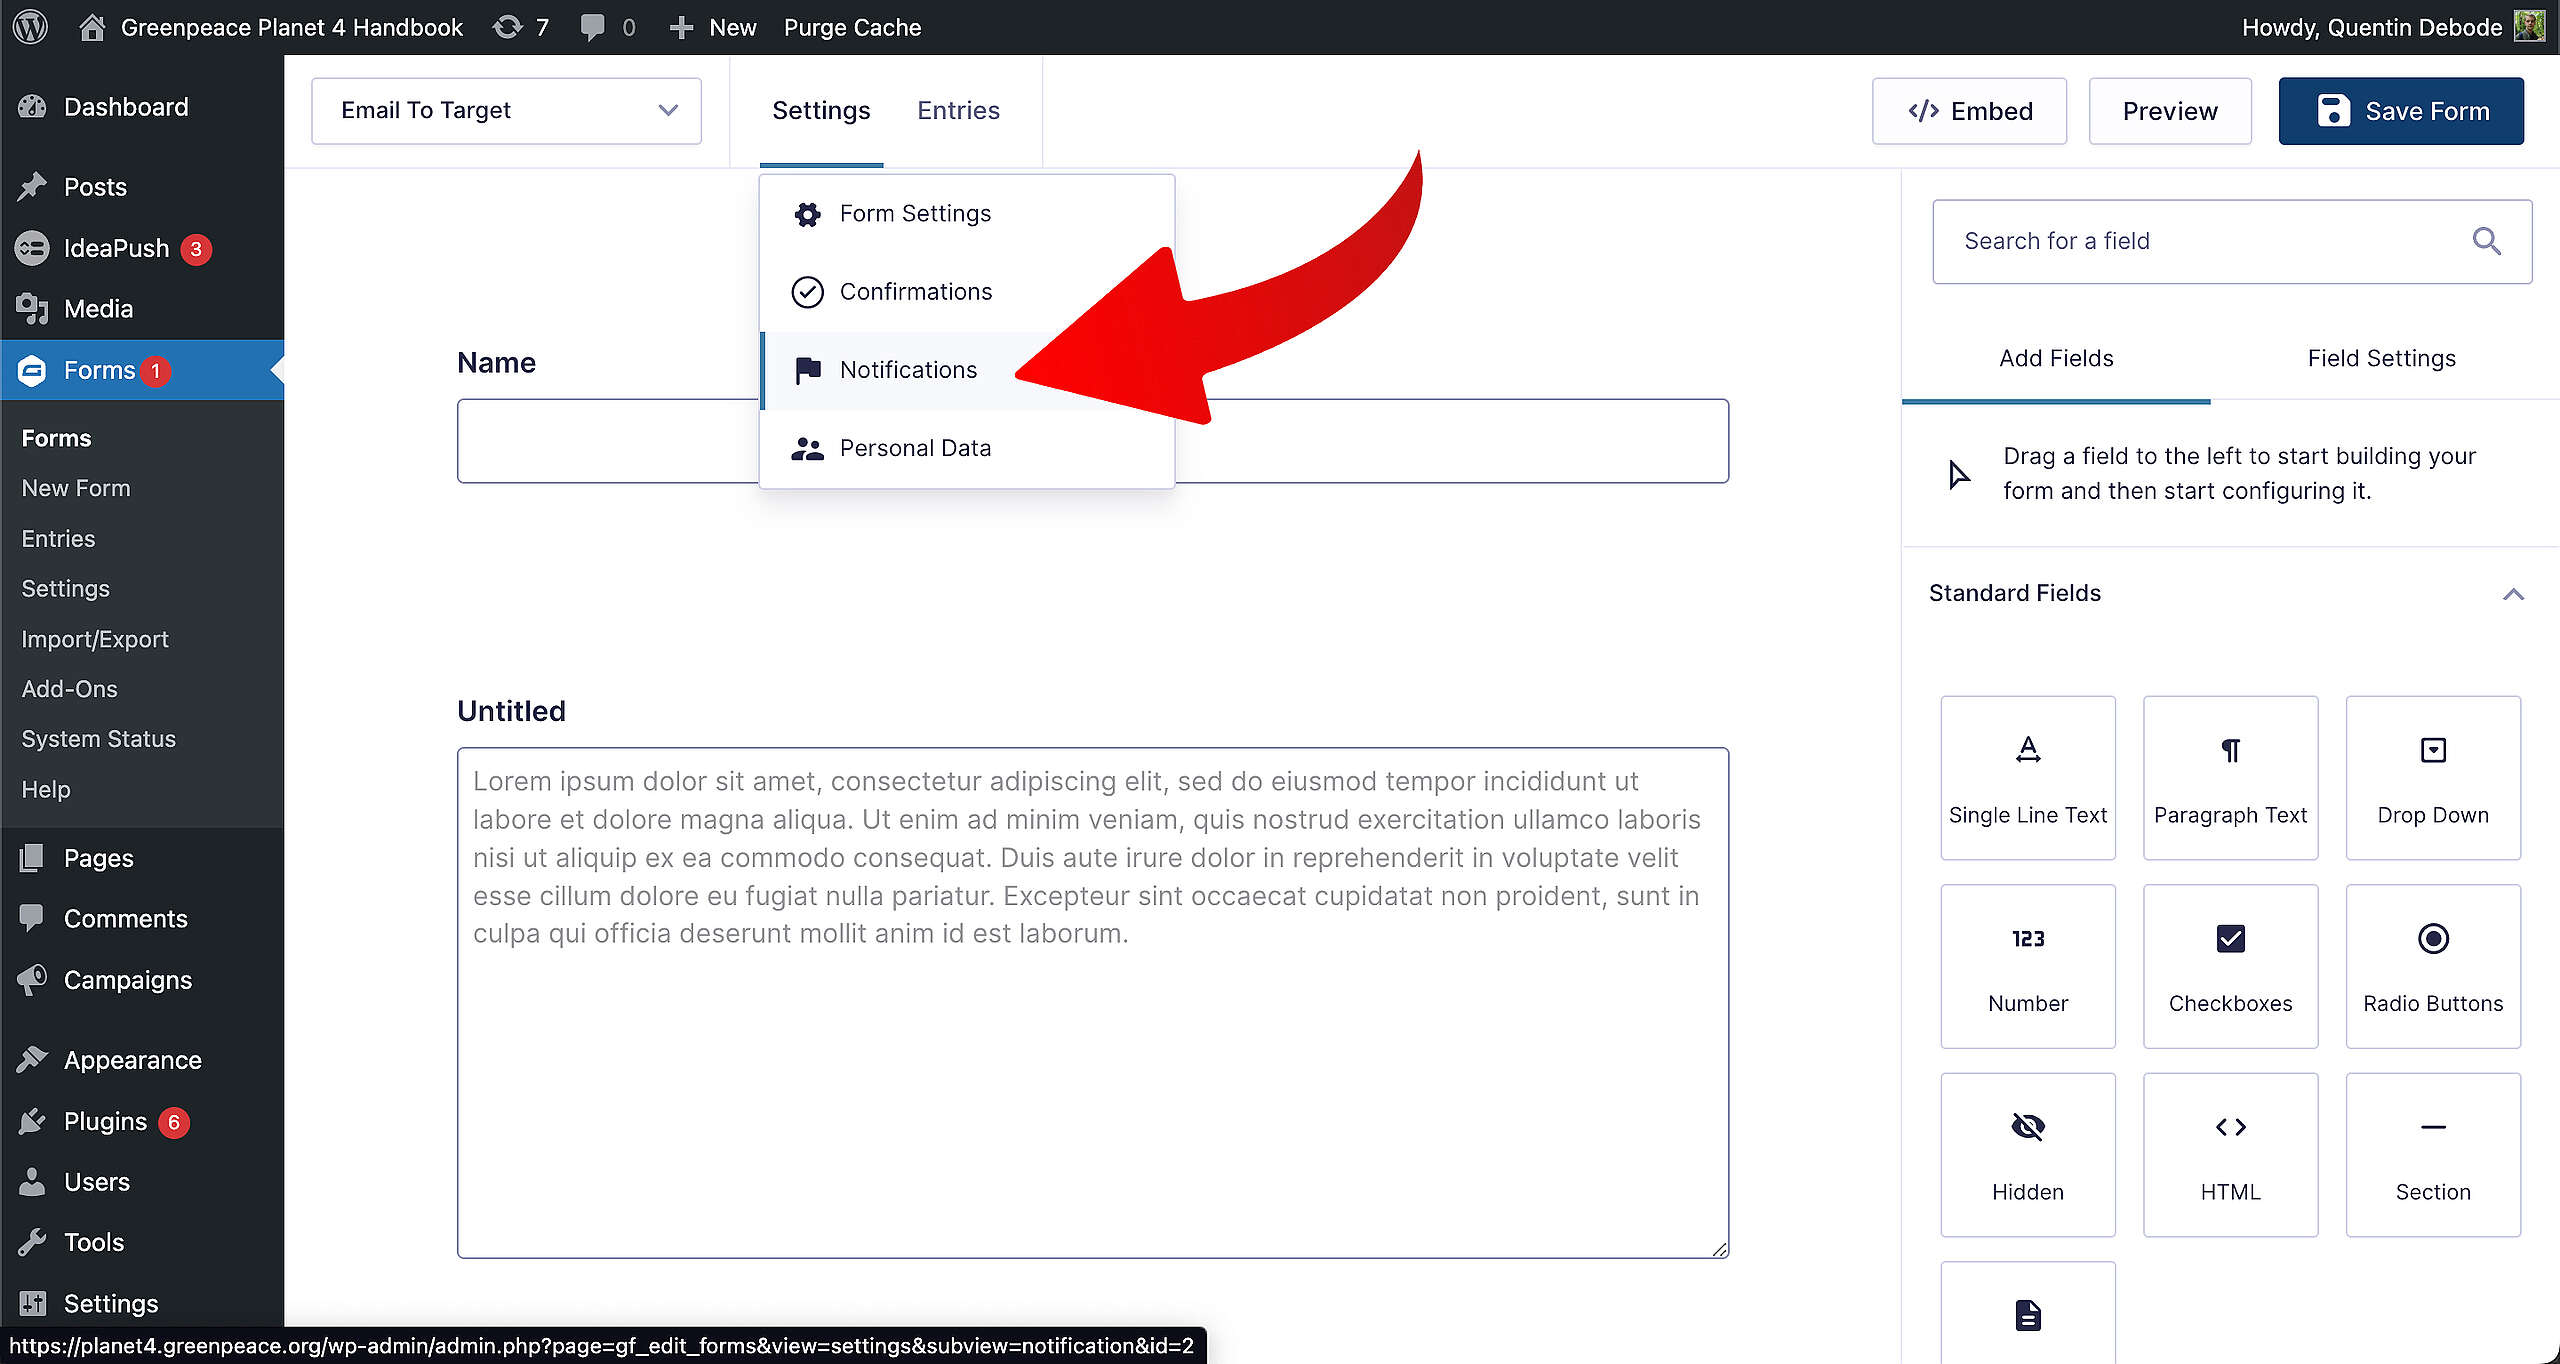
To reach the settings we need for the ETT, hover over the Settings button on the top, and select Notifications in the dropdown.
Notifications
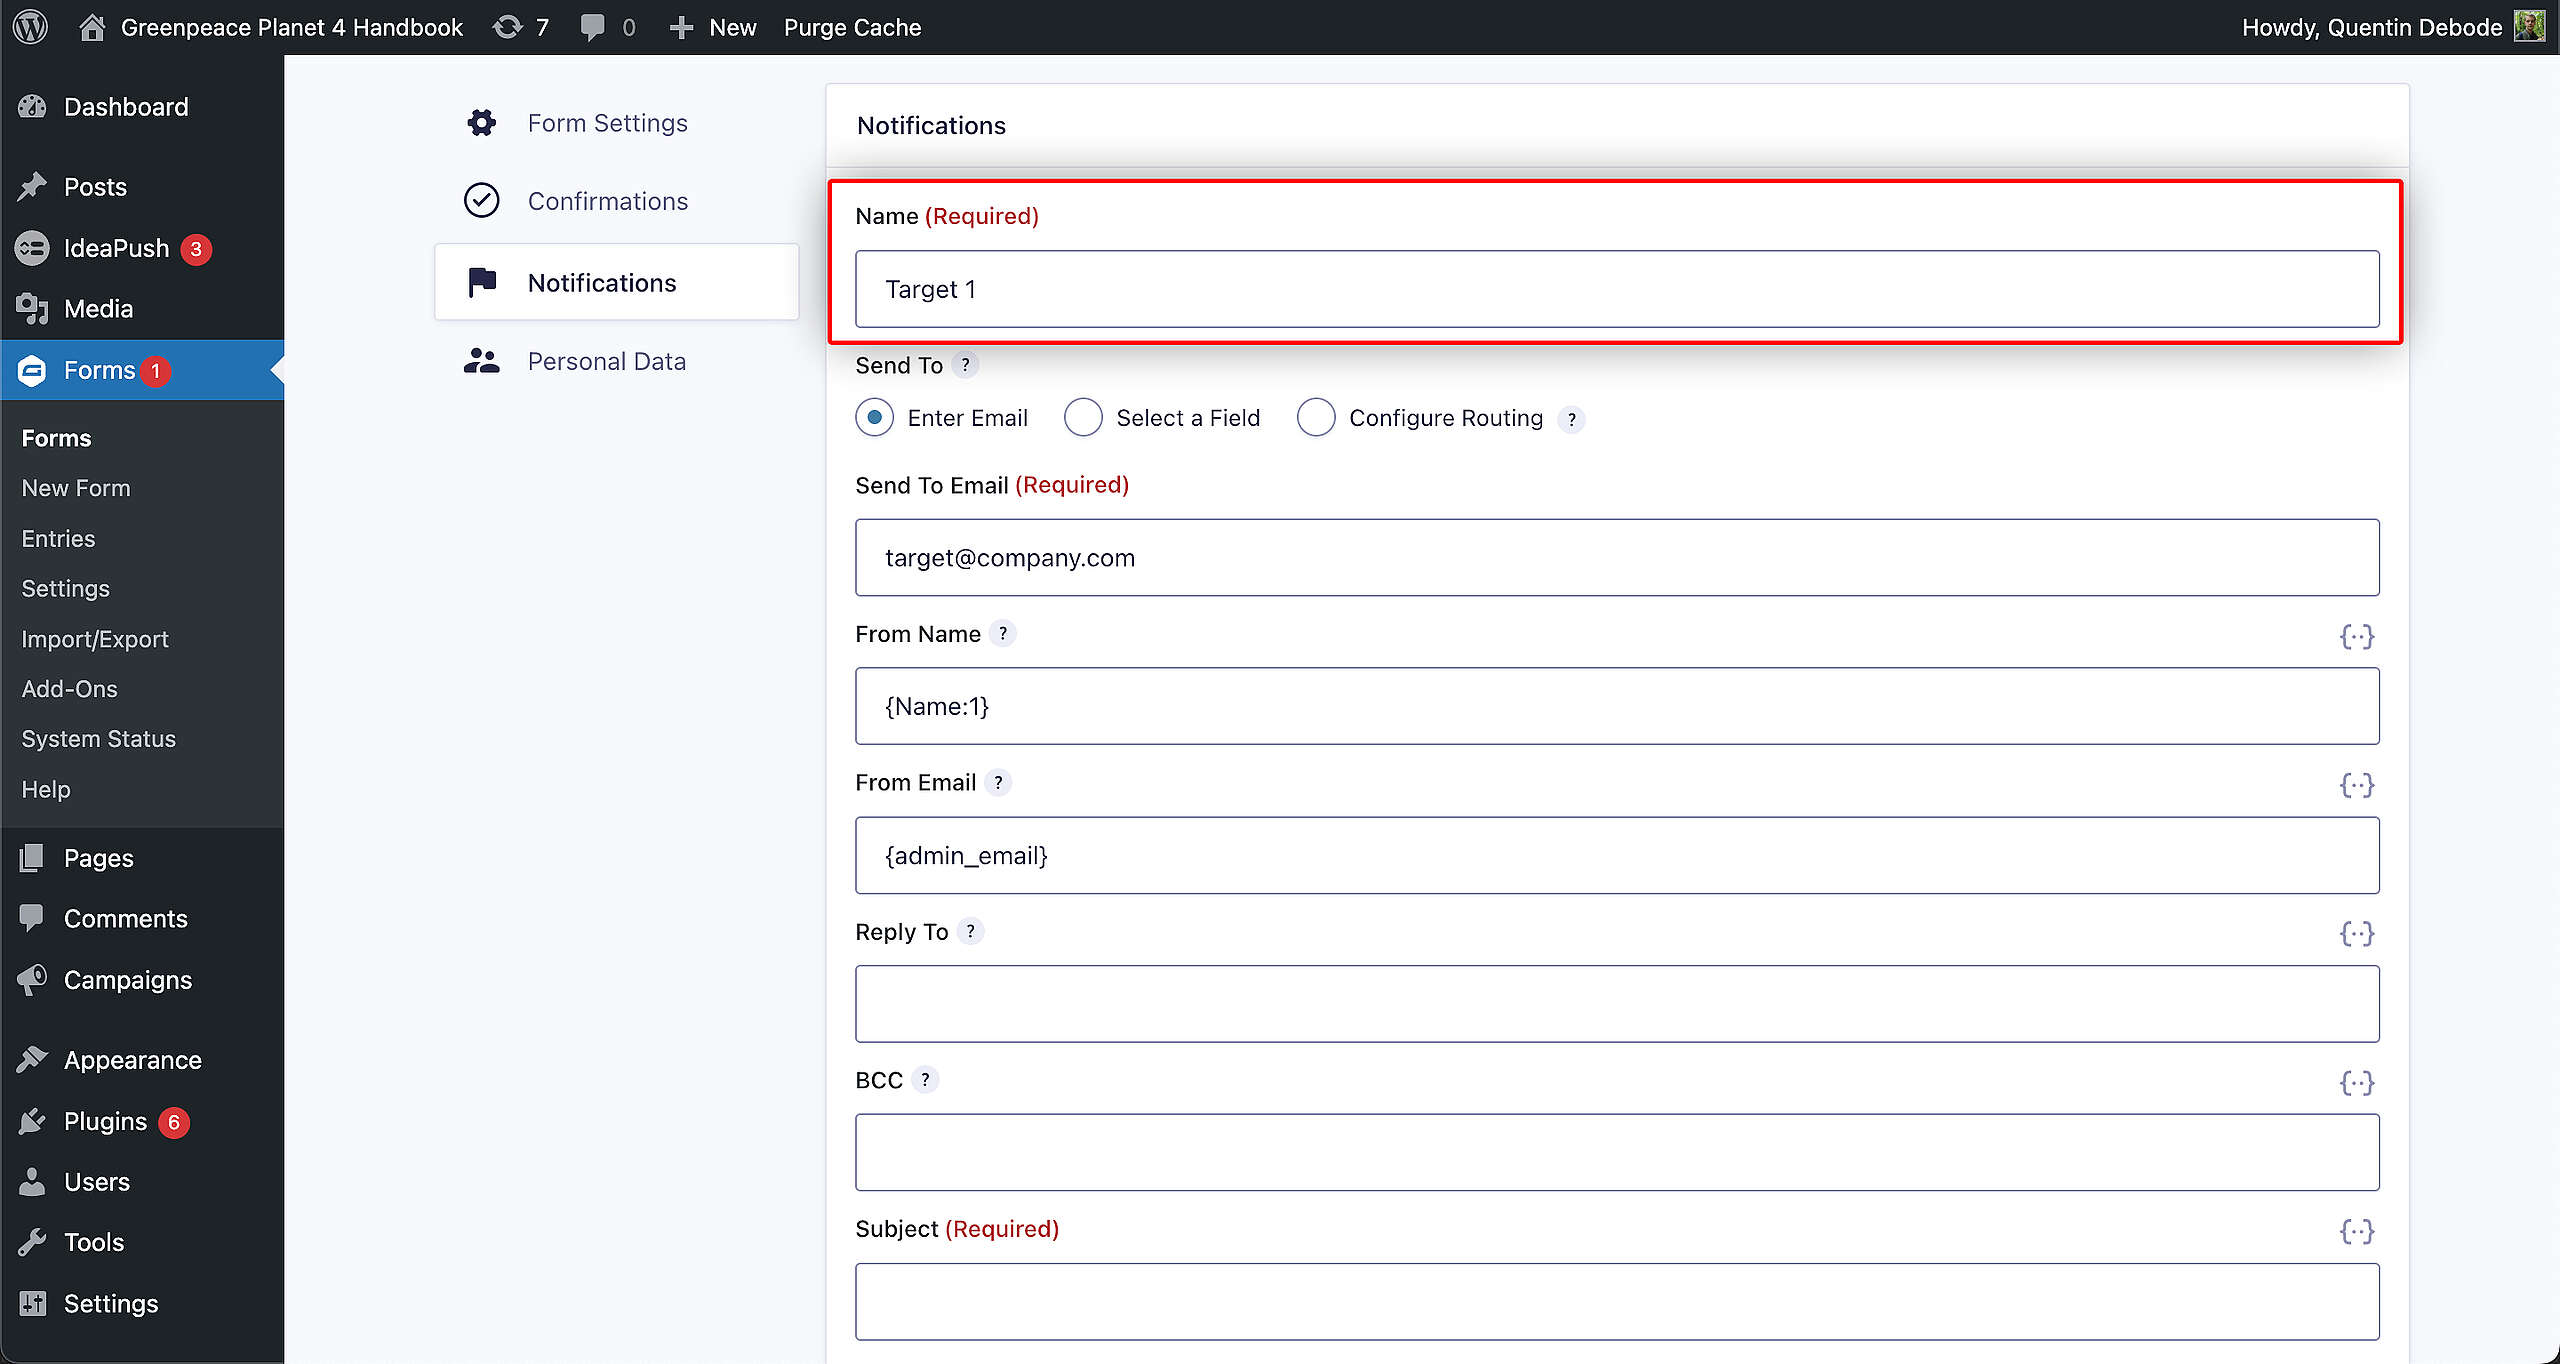
The first thing you’ll need to fill in, is the Target name. This is for your backend itself, not something that is public. But in case you have multiple targets, this is how you can easily see the different Targets in the Notifications overview.
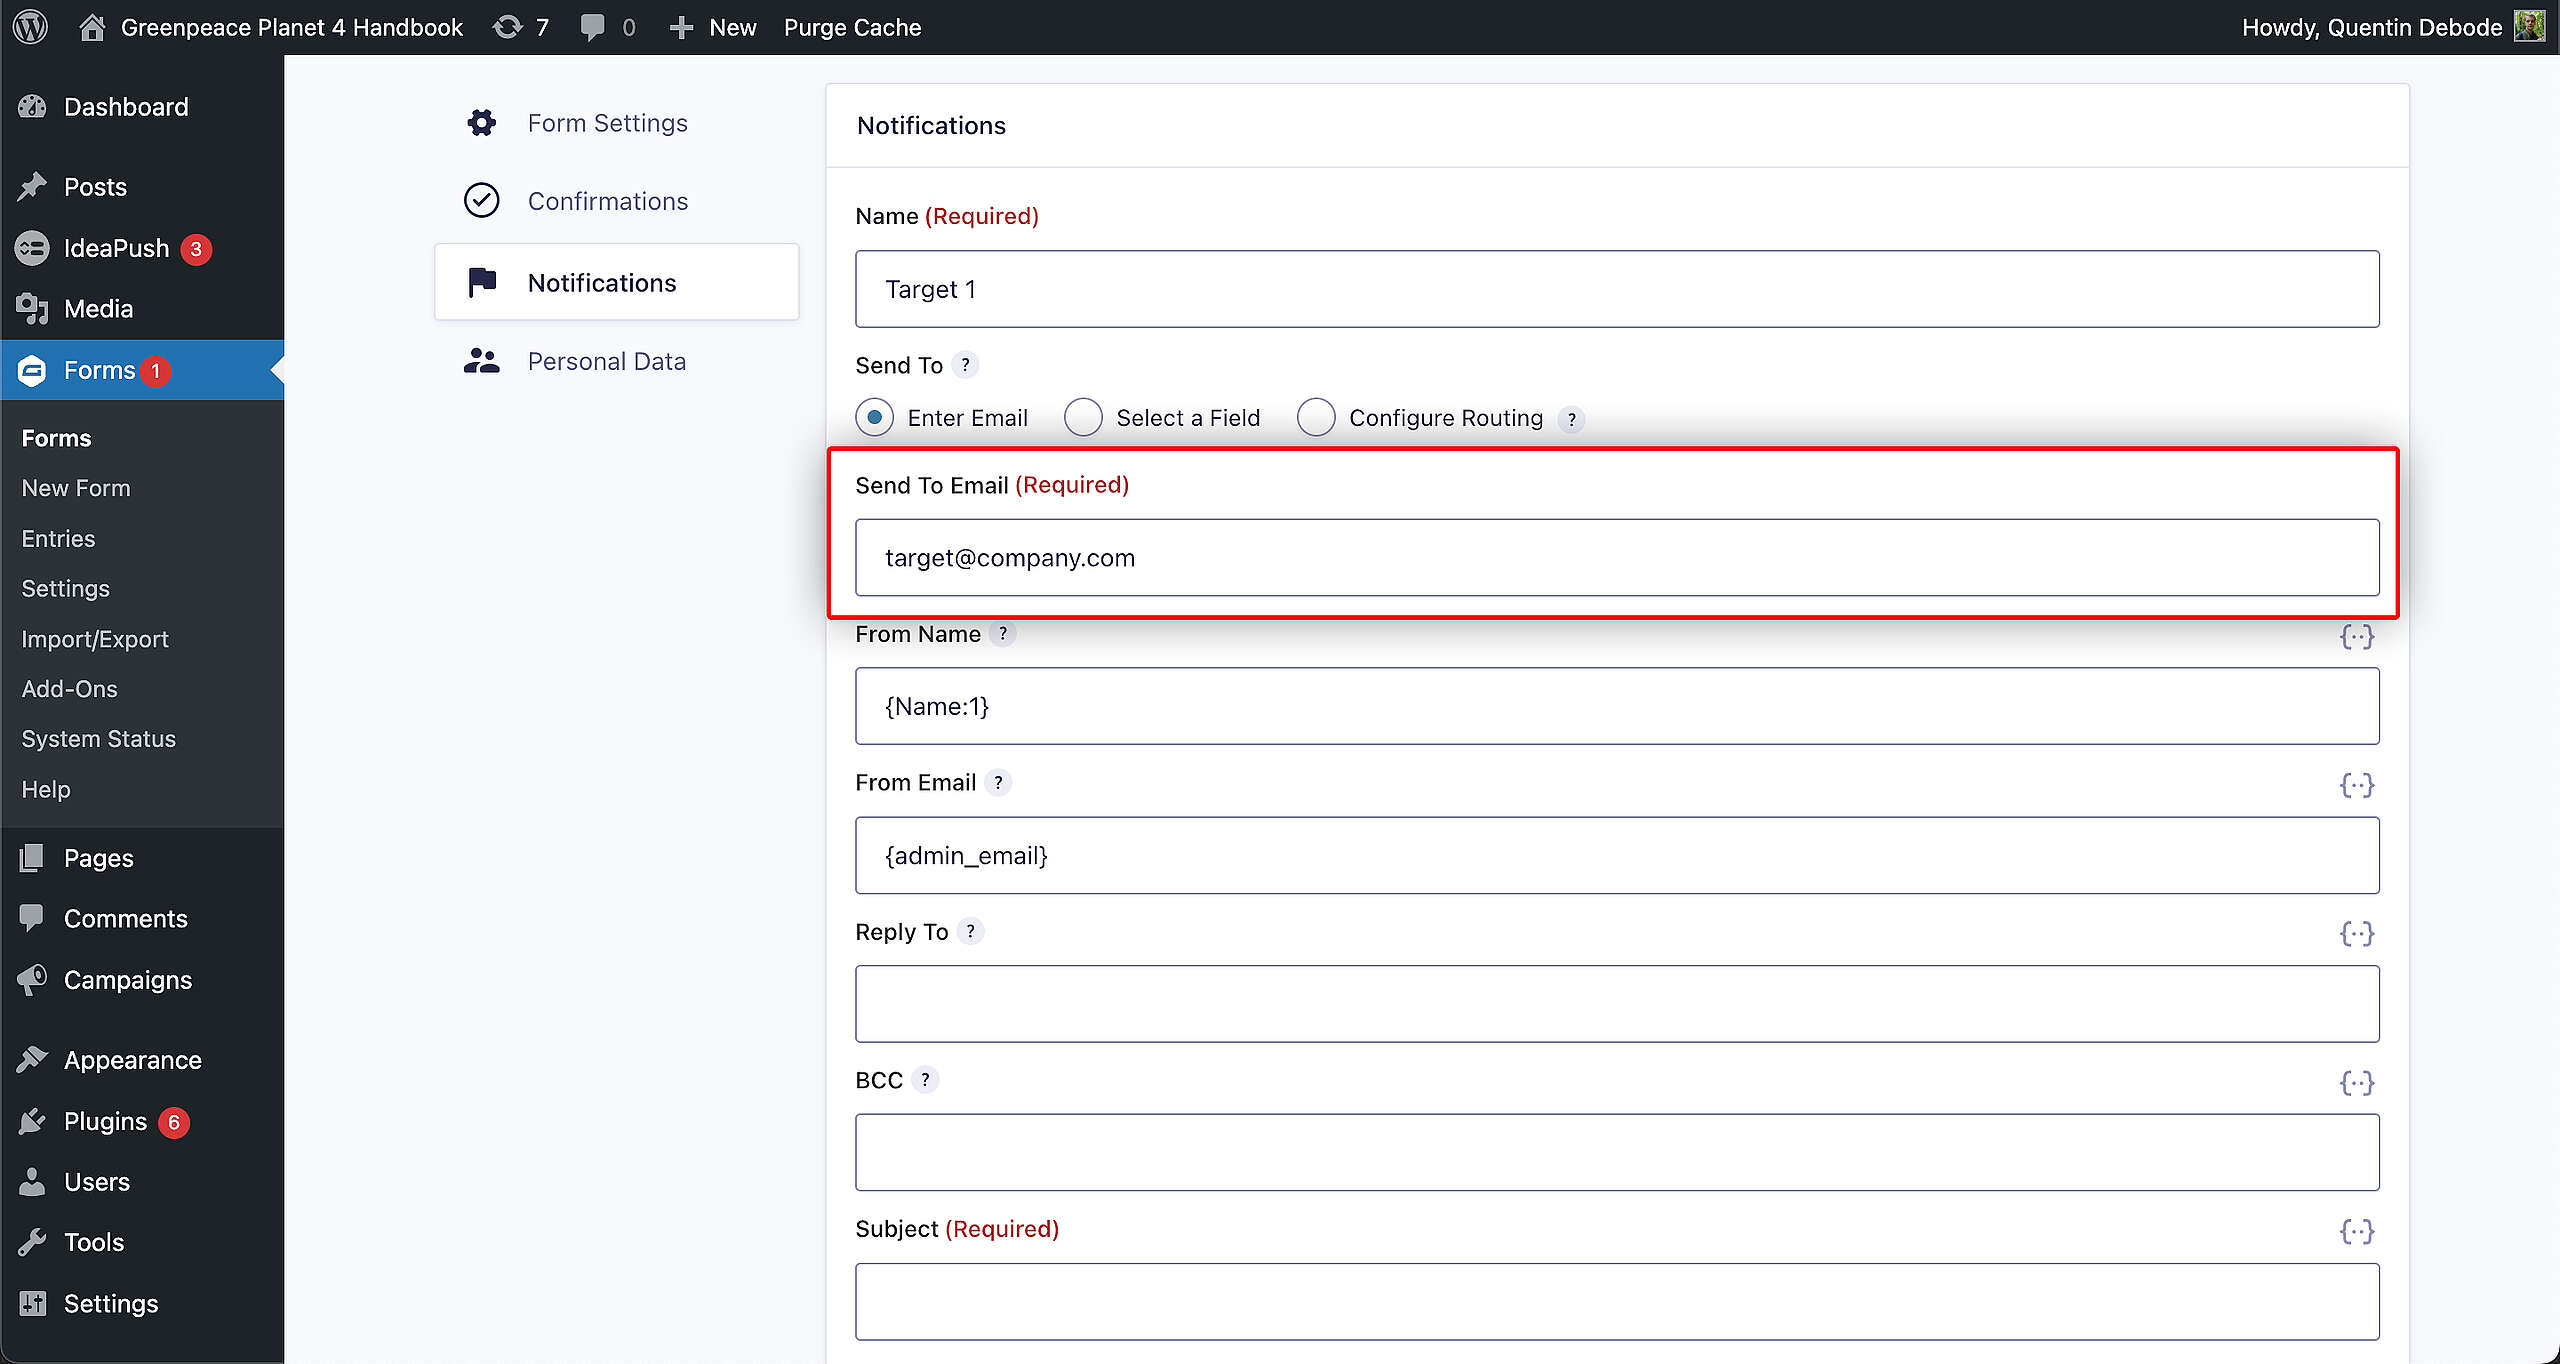
Send To has to be set to Enter Email. With this selected, you’ve opted for the notification to go towards the Target’s email address, which we’ll fill in right after.
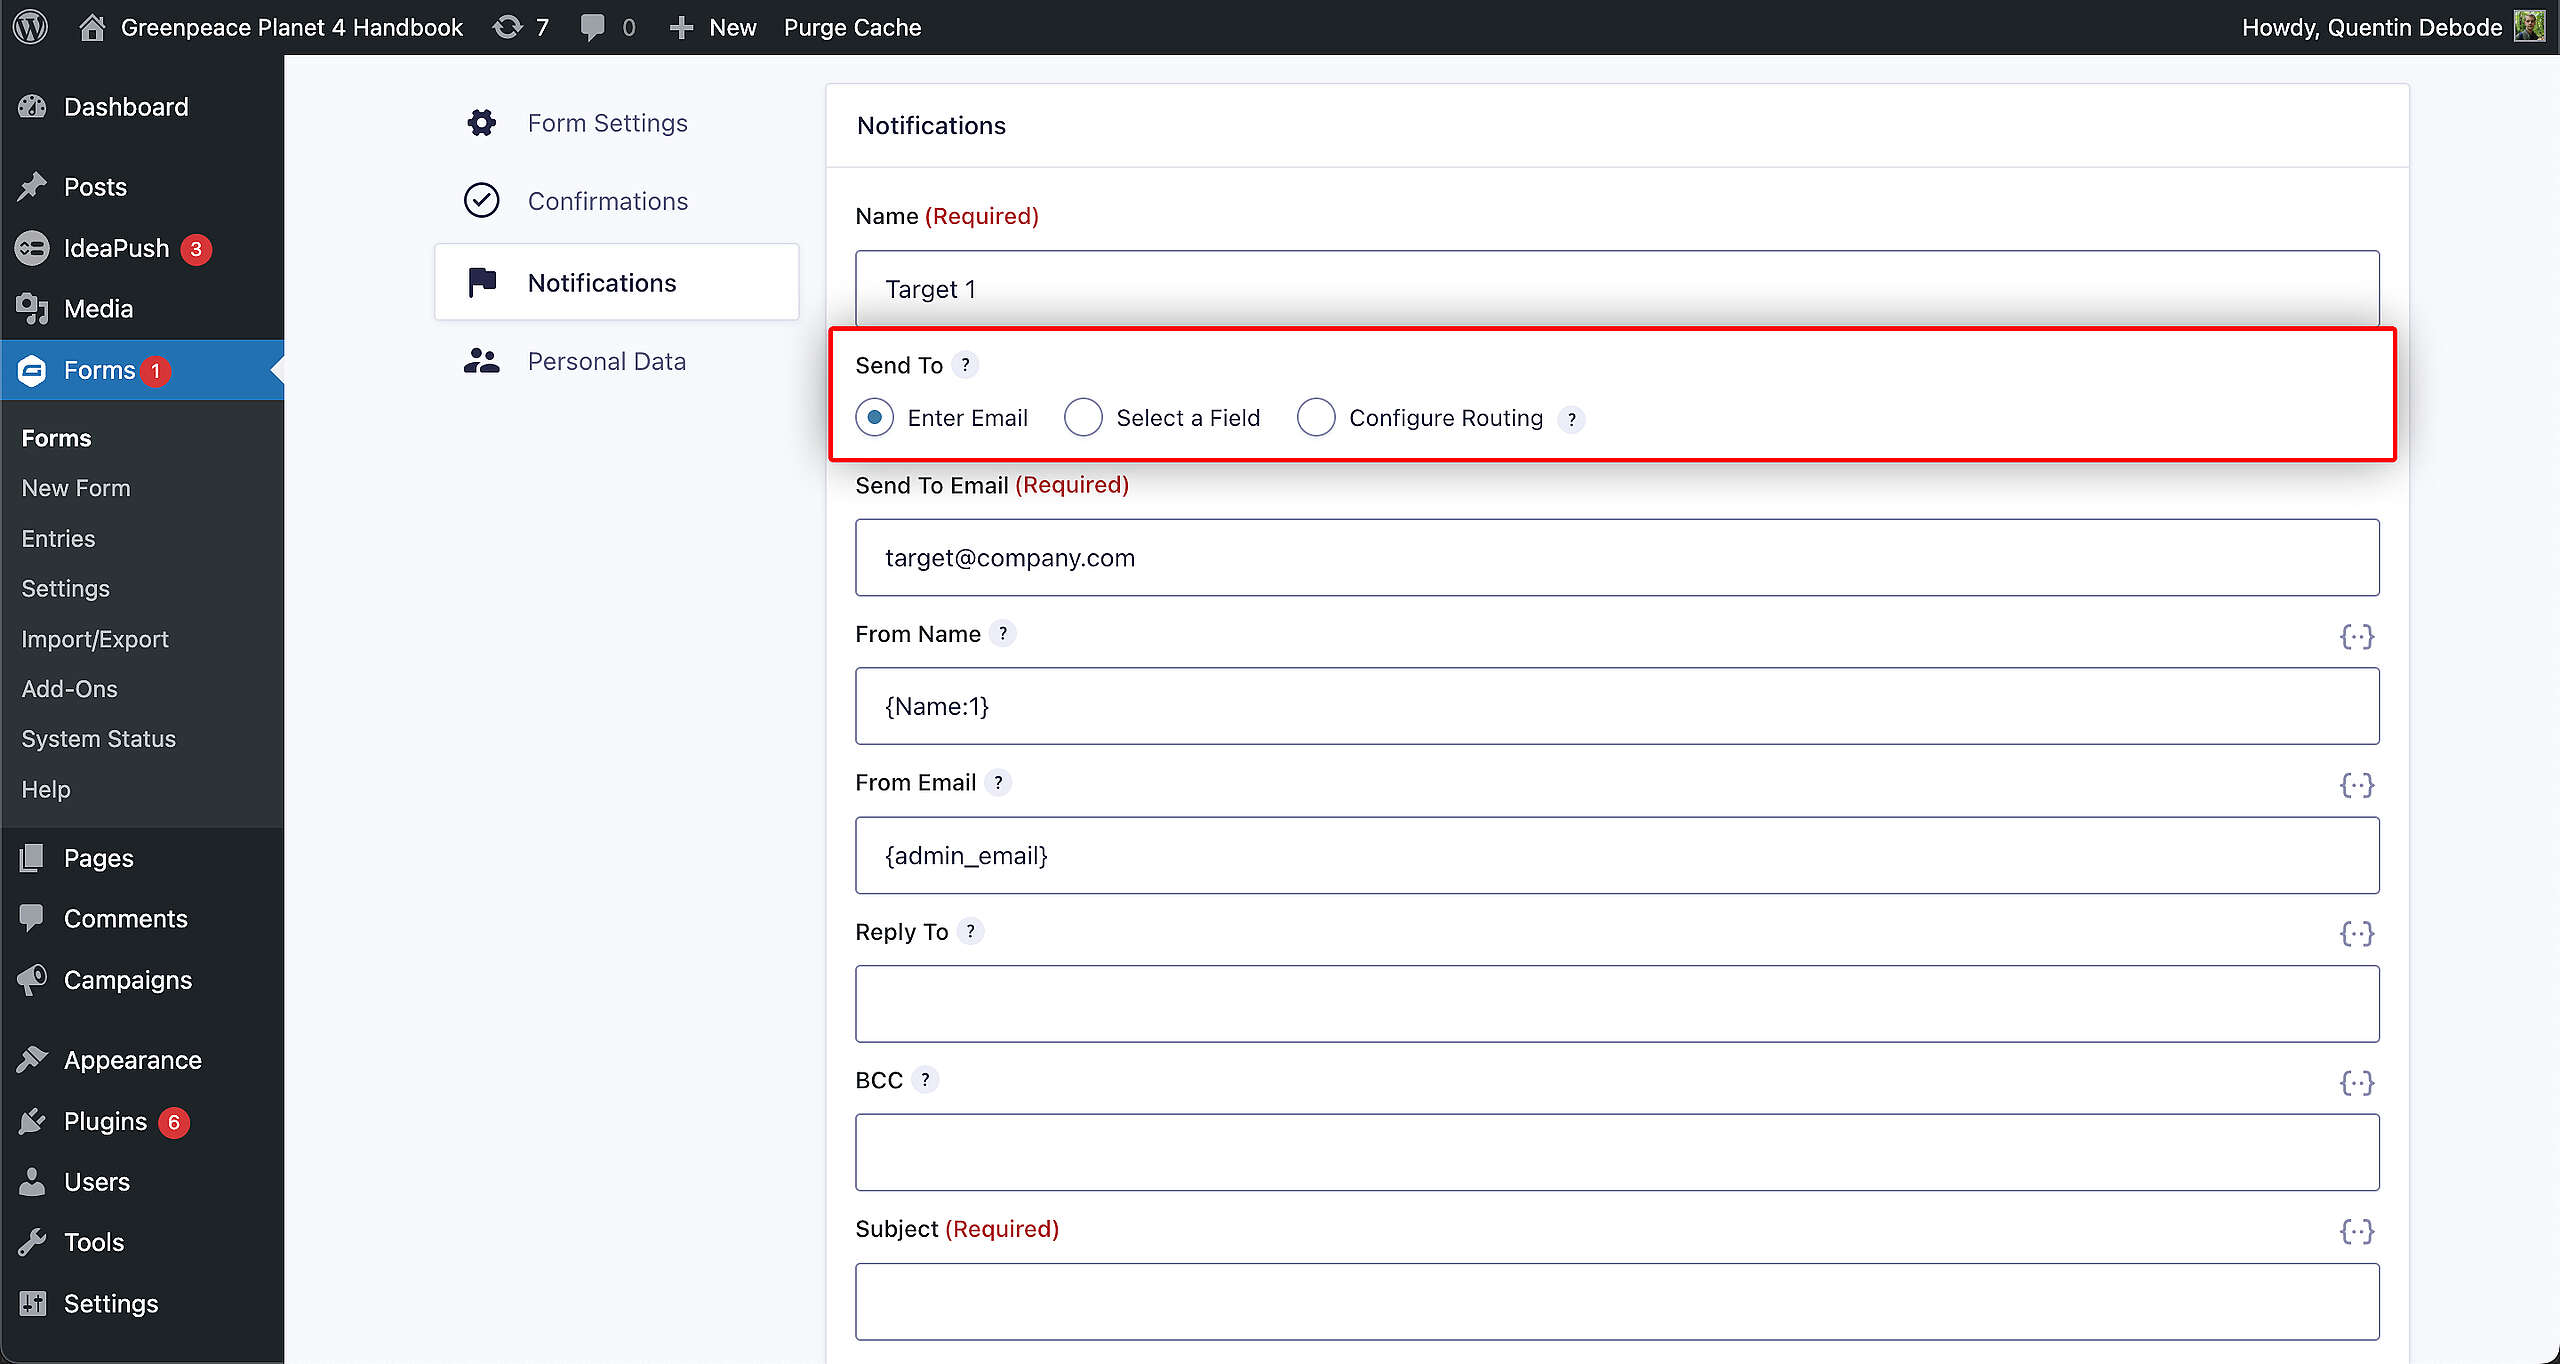
Time to fill in your Target’s email address. Just insert the email you want to Form to go to. (You can add multiple, if needed. Separate them with a comma.)
🤔 Tip: Fill in your own email here when you’re testing the Form, not the Target! This way you can see how the email will look for the Target, without spamming them before you’ve even launched the ETT campaign.
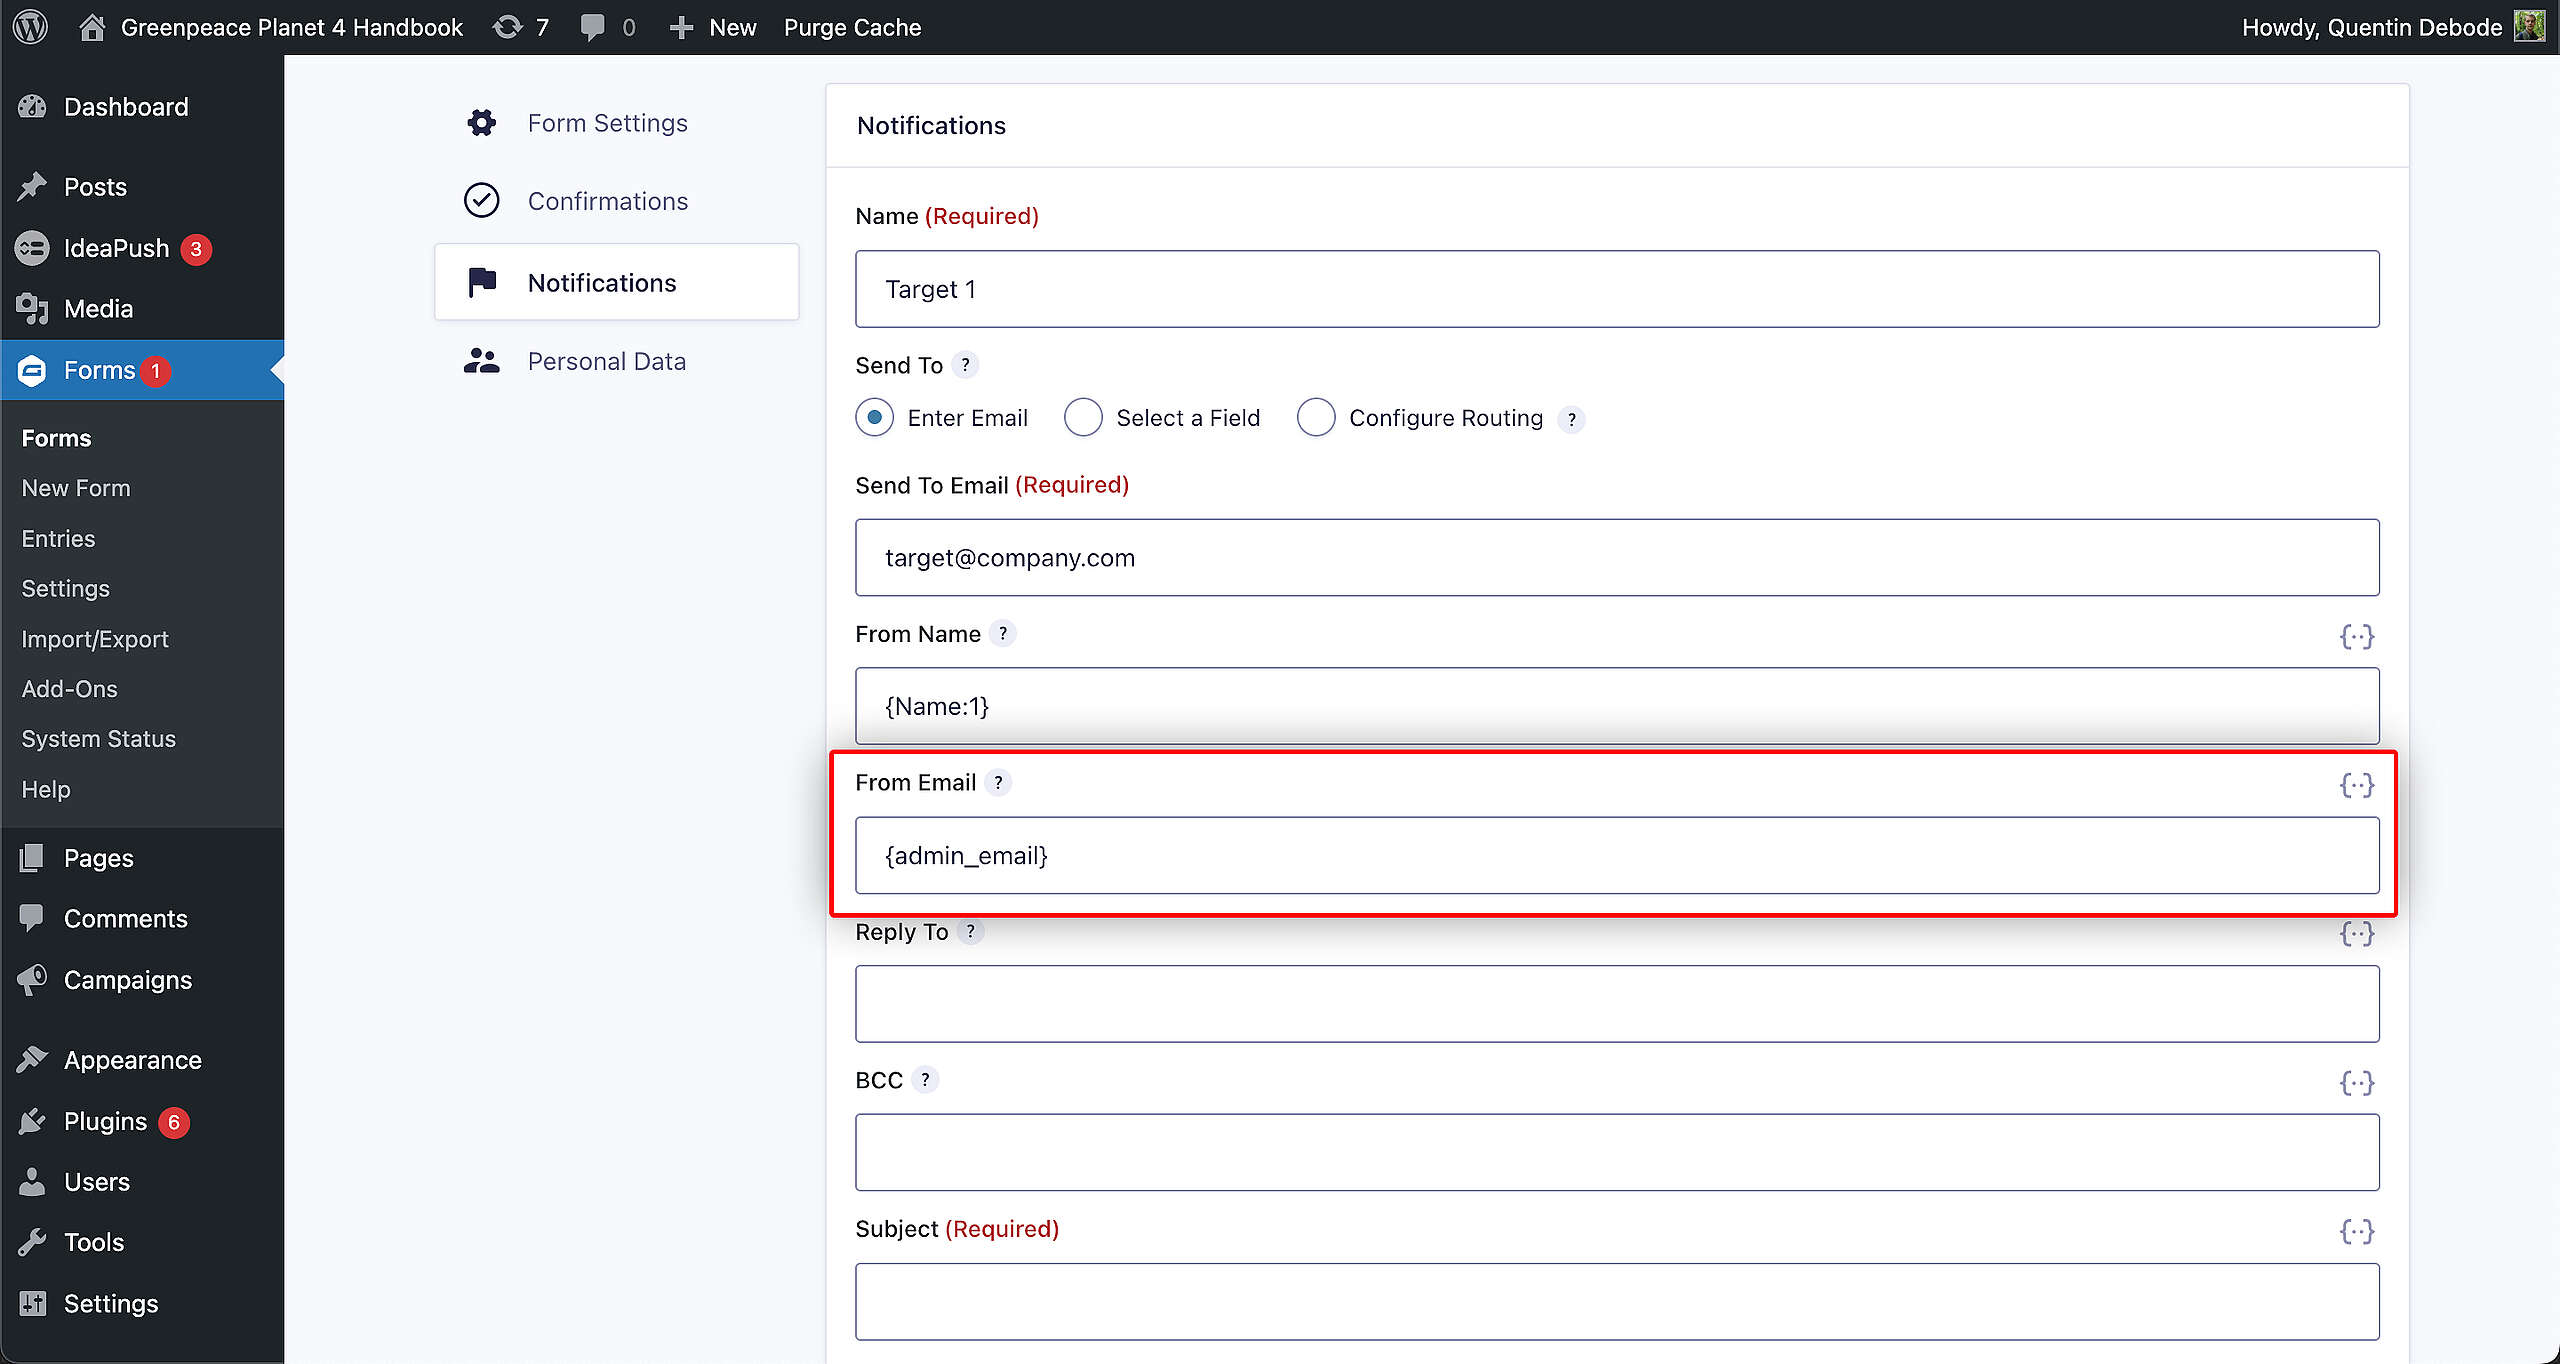
The “From Name” field is something you can customize, so it’s all from the same name (eg. the NRO name) or you can dynamically use the supporter’s name from the form itself. Do that by clicking on the icon on the right, and select the Name field you’ve set up before in the Form Builder.

You don’t need to edit the “From Email”. By default a “noreply” type of email address will be used. We can’t use the supporter’s email here, since we are not authorized to do so through our email systems and it would most likely end up in spam. That’s why you may want to use their name in the previous setting (“From Name”) as this would be the visible part on the target’s mailbox.
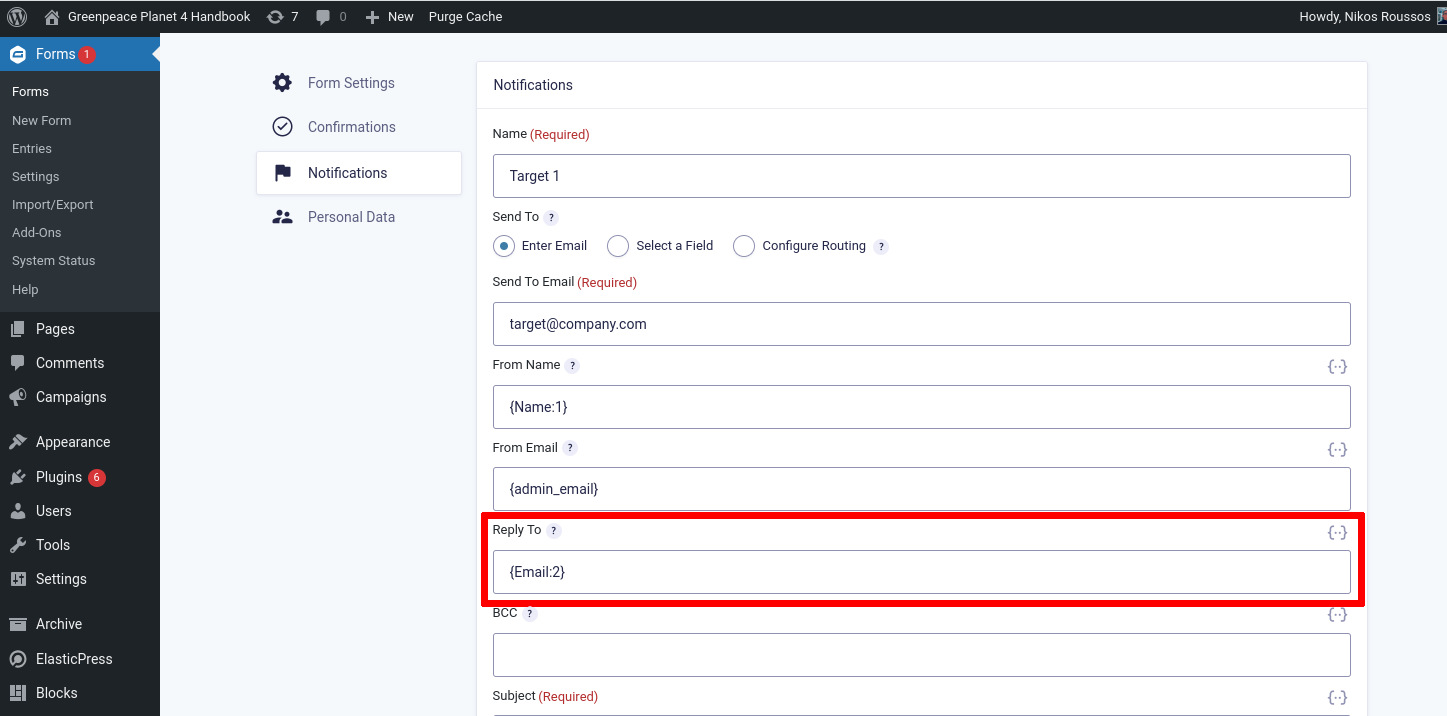
But you can use the supporter’s email address in the “Reply To” field. That way if the target decides to reply back the answer will reach the supporter directly. To get that email, you’ll have to do the same as you’ve done before to get the Name, using the icon on the right, and select the Email field you’ve set up before in the Form Builder.
Scrolling a bit down to the Subject. This is the subject line the Target will see in their inbox. Find something powerful and more creative than “dear target” 😉
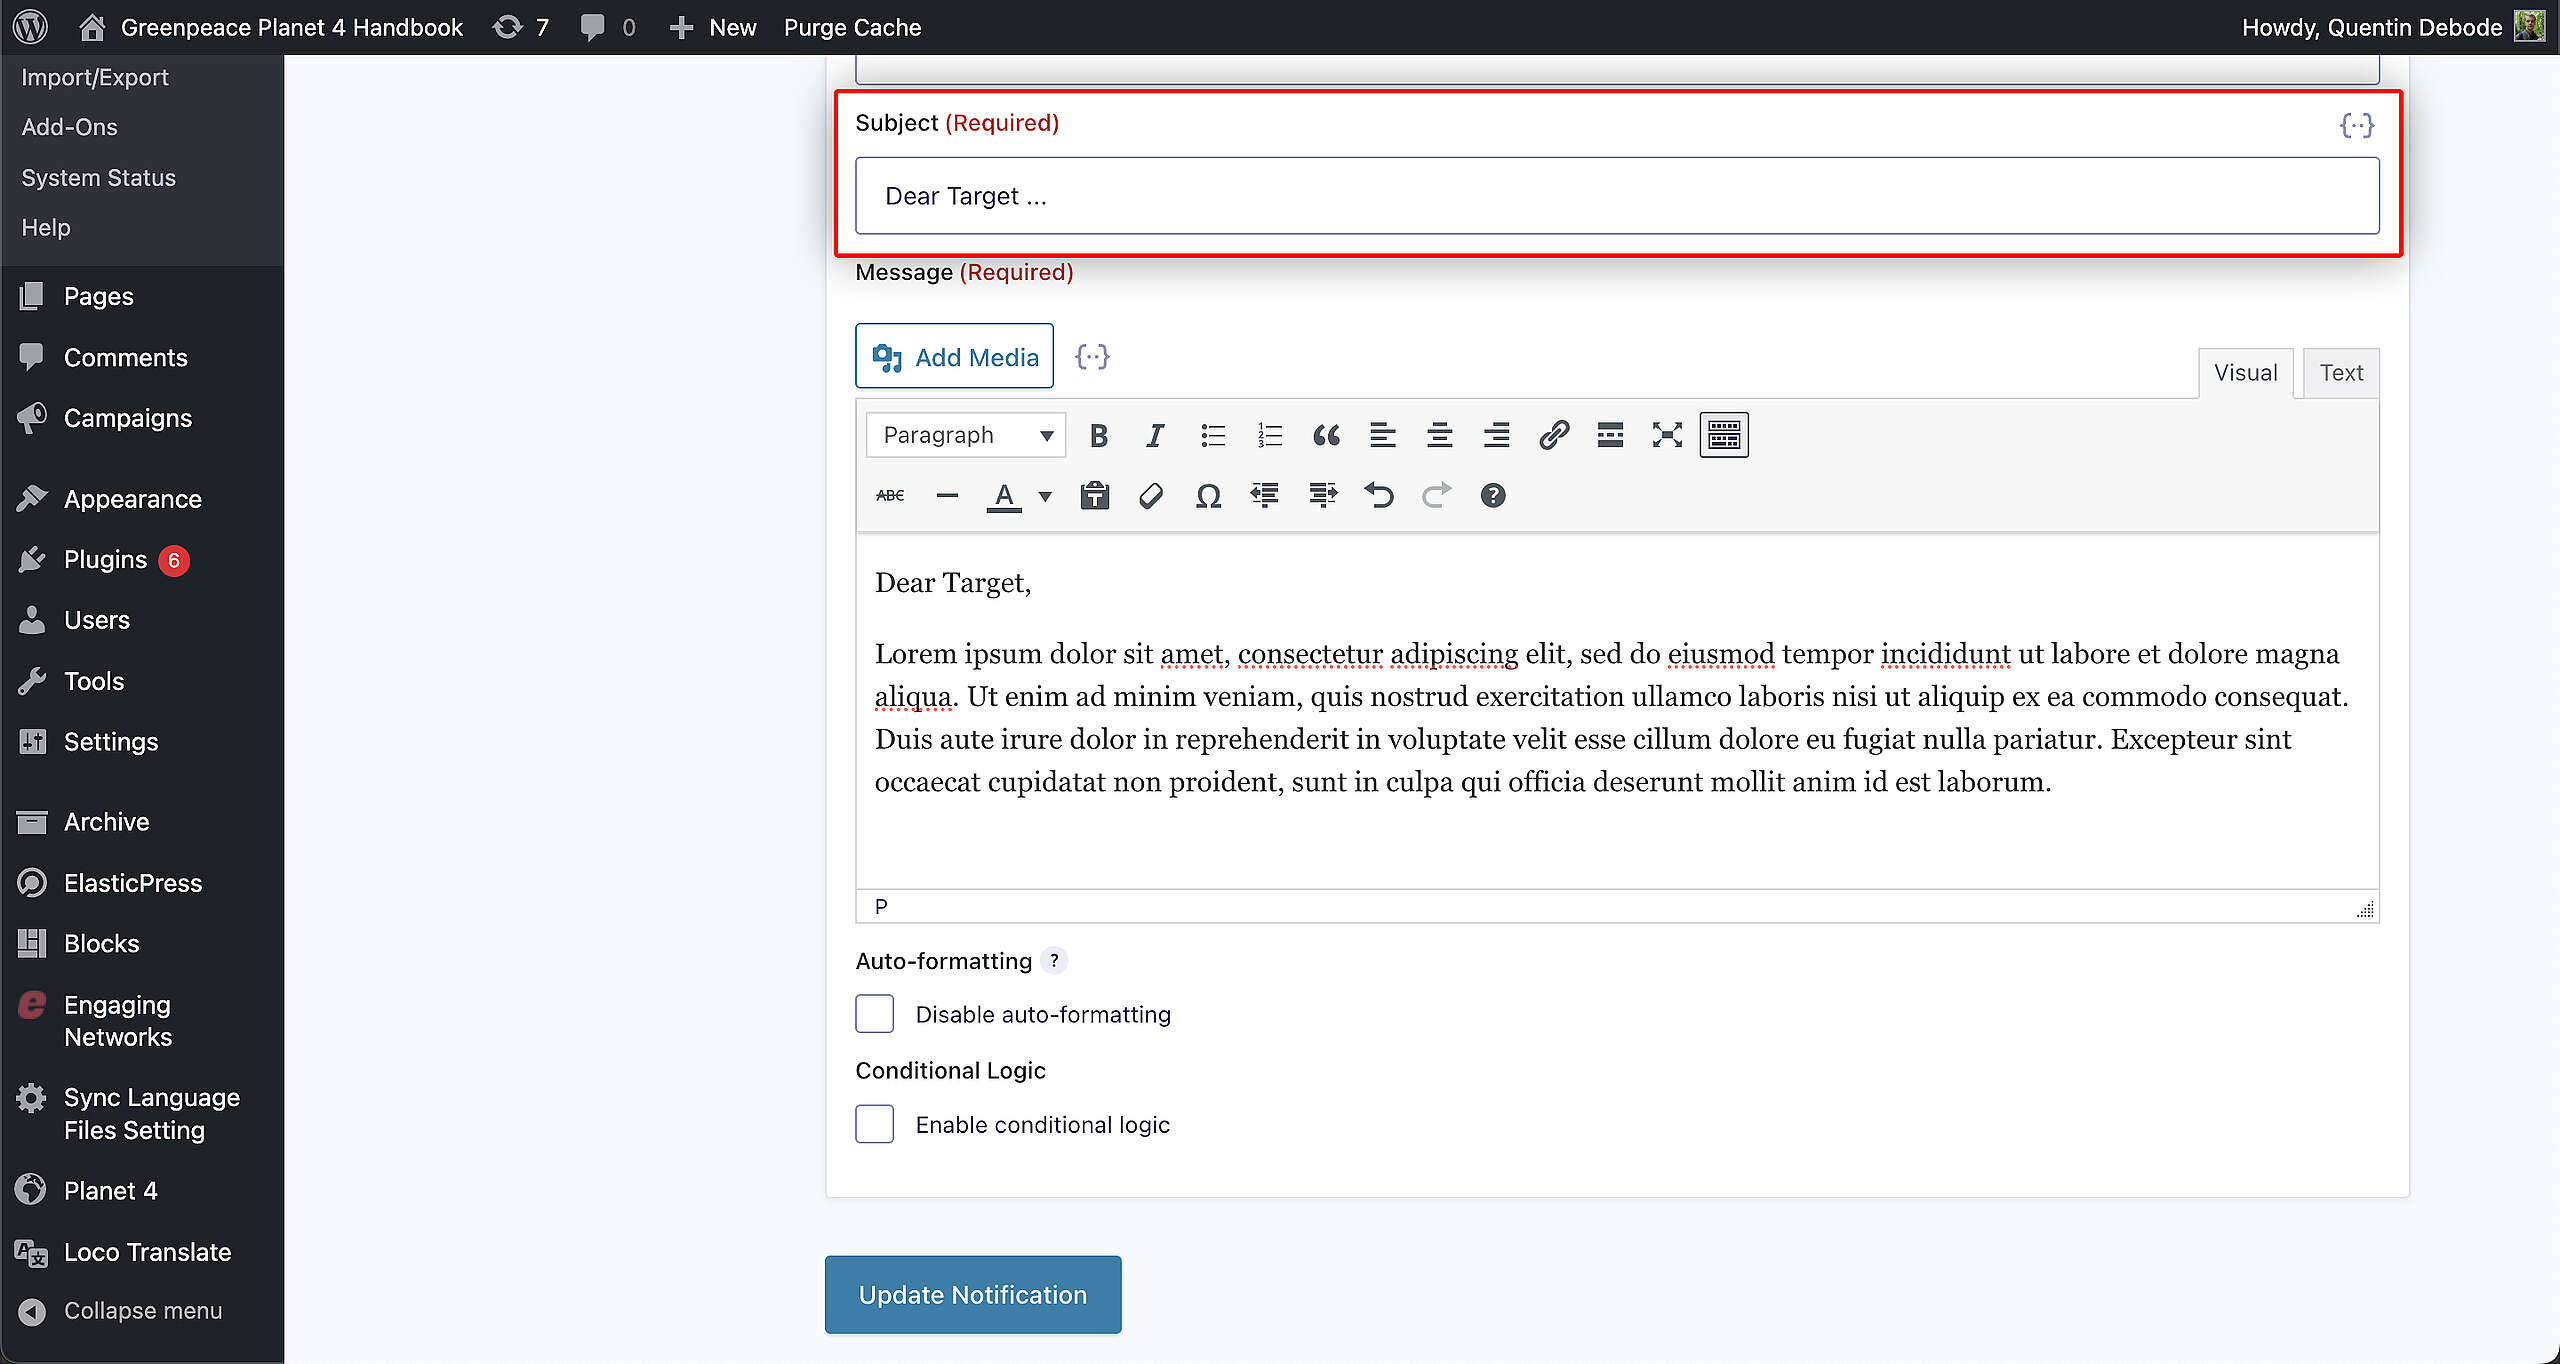
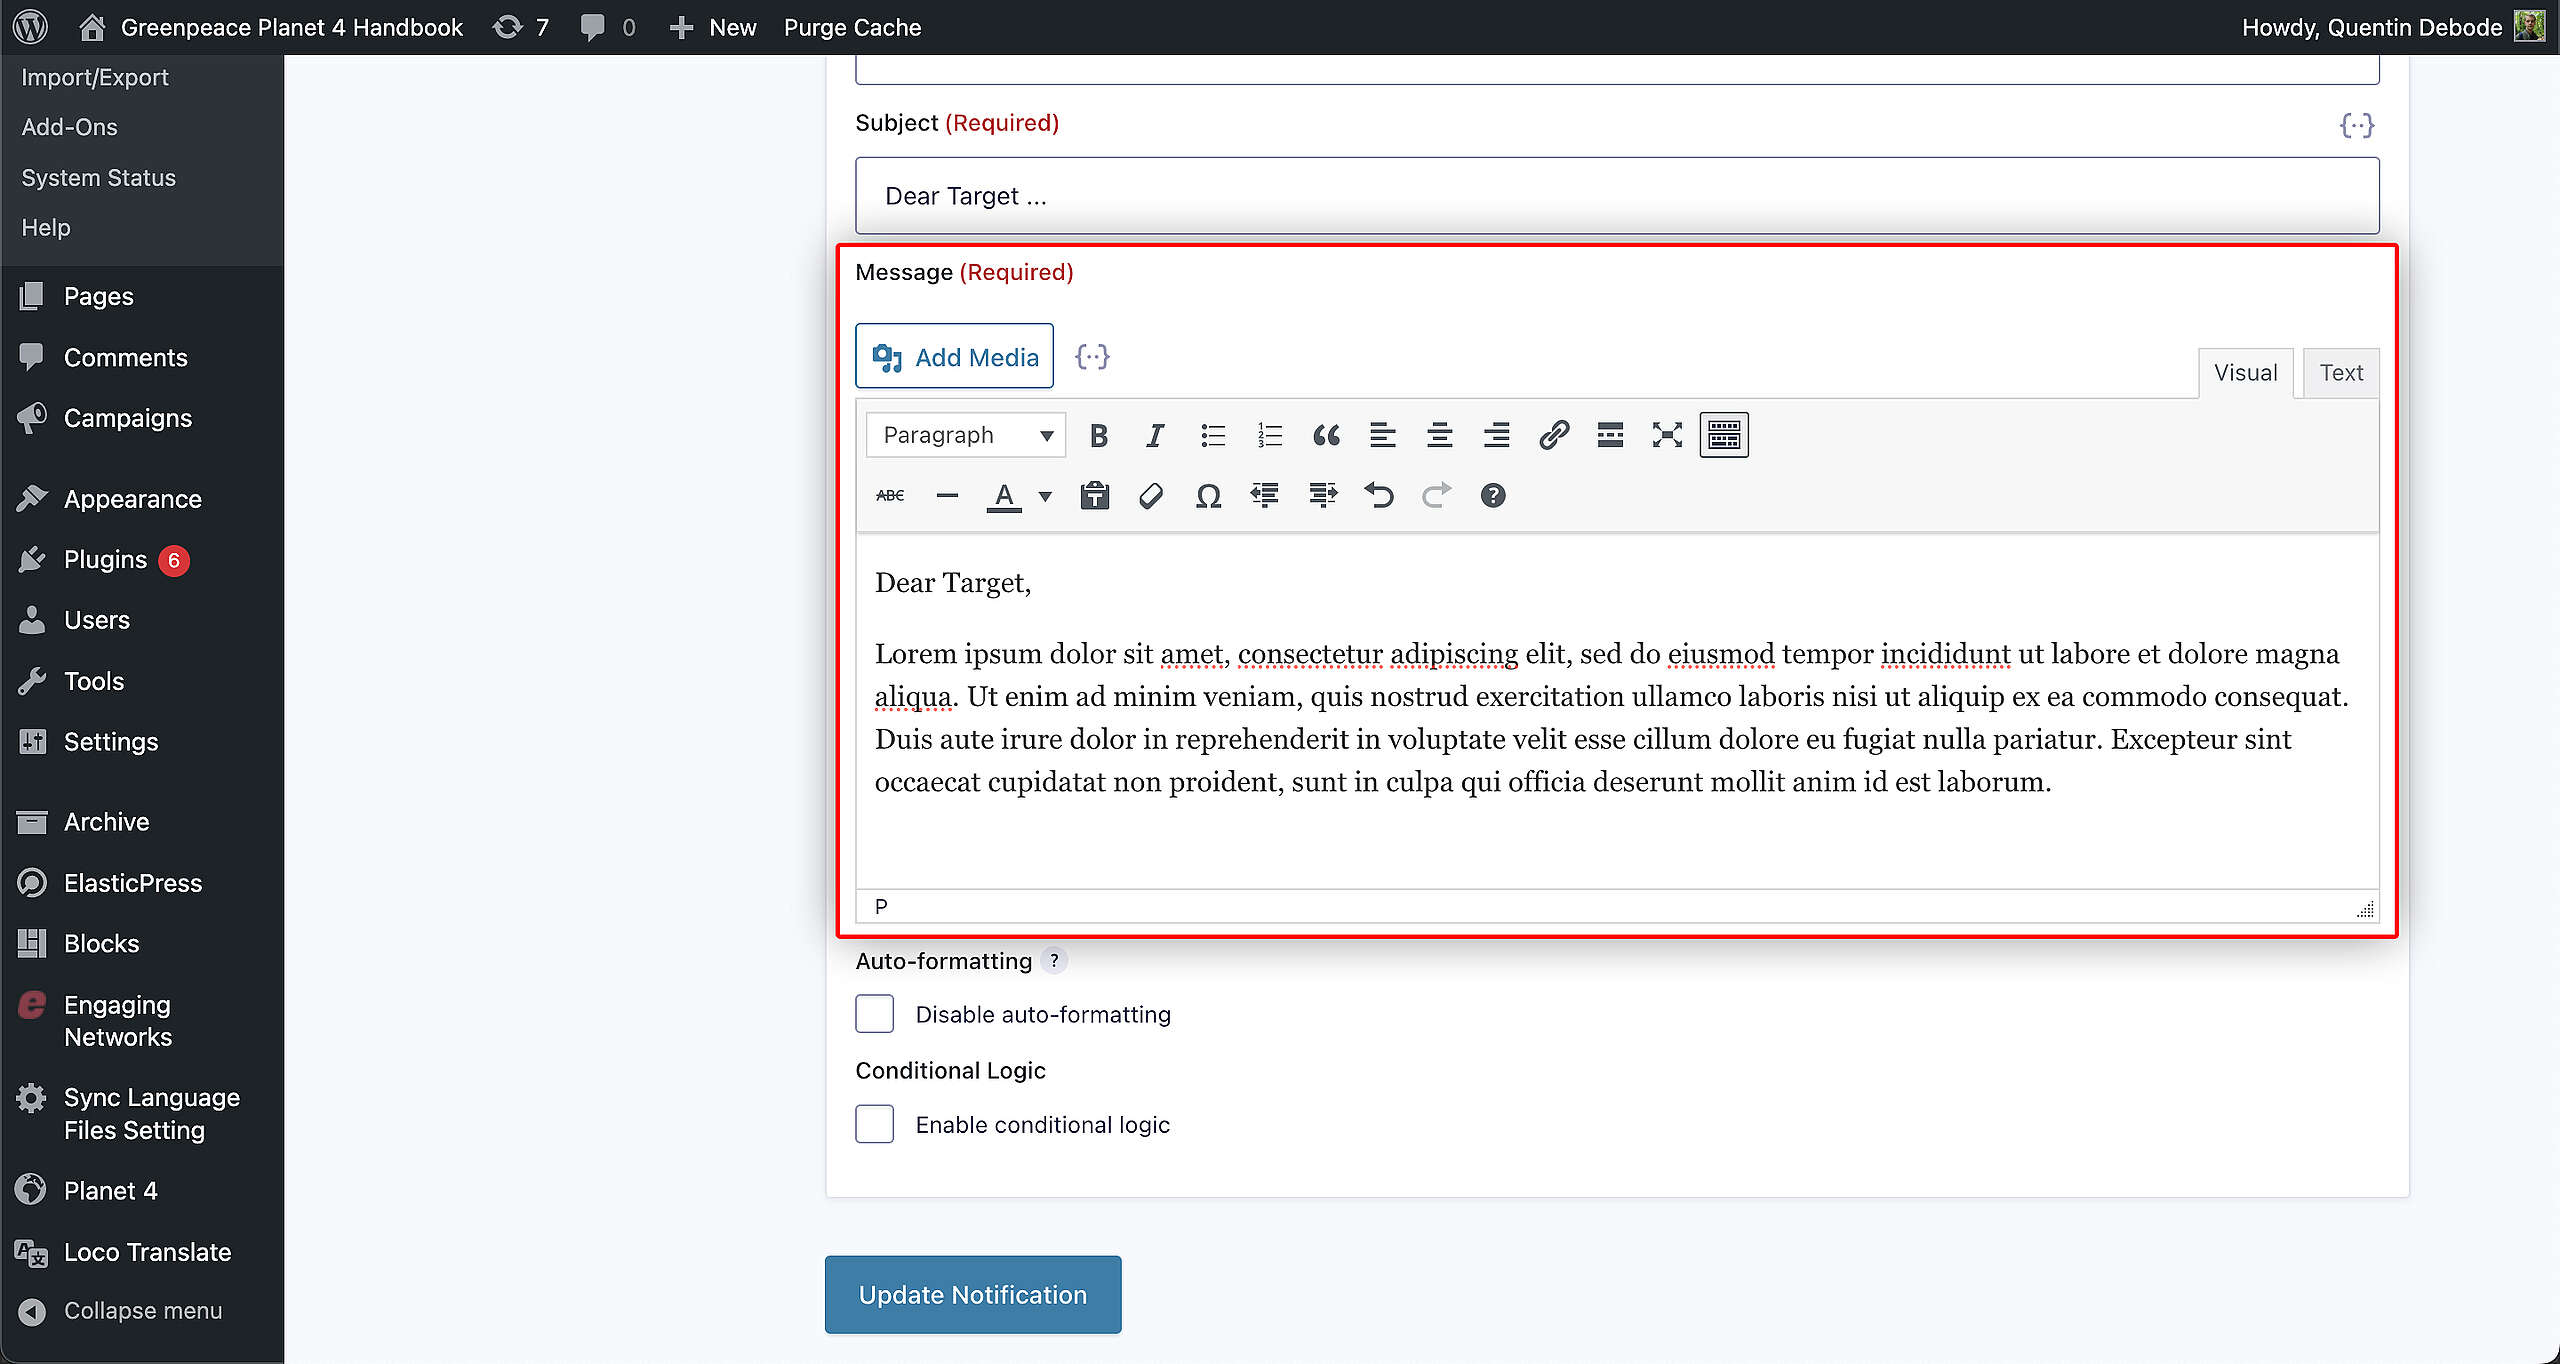
And the message itself that will appear in the Email to your Target.
In case you don’t have an open Paragraph field where people can customise the message, make sure to put your campaign ask in here. This will be the content of the email.
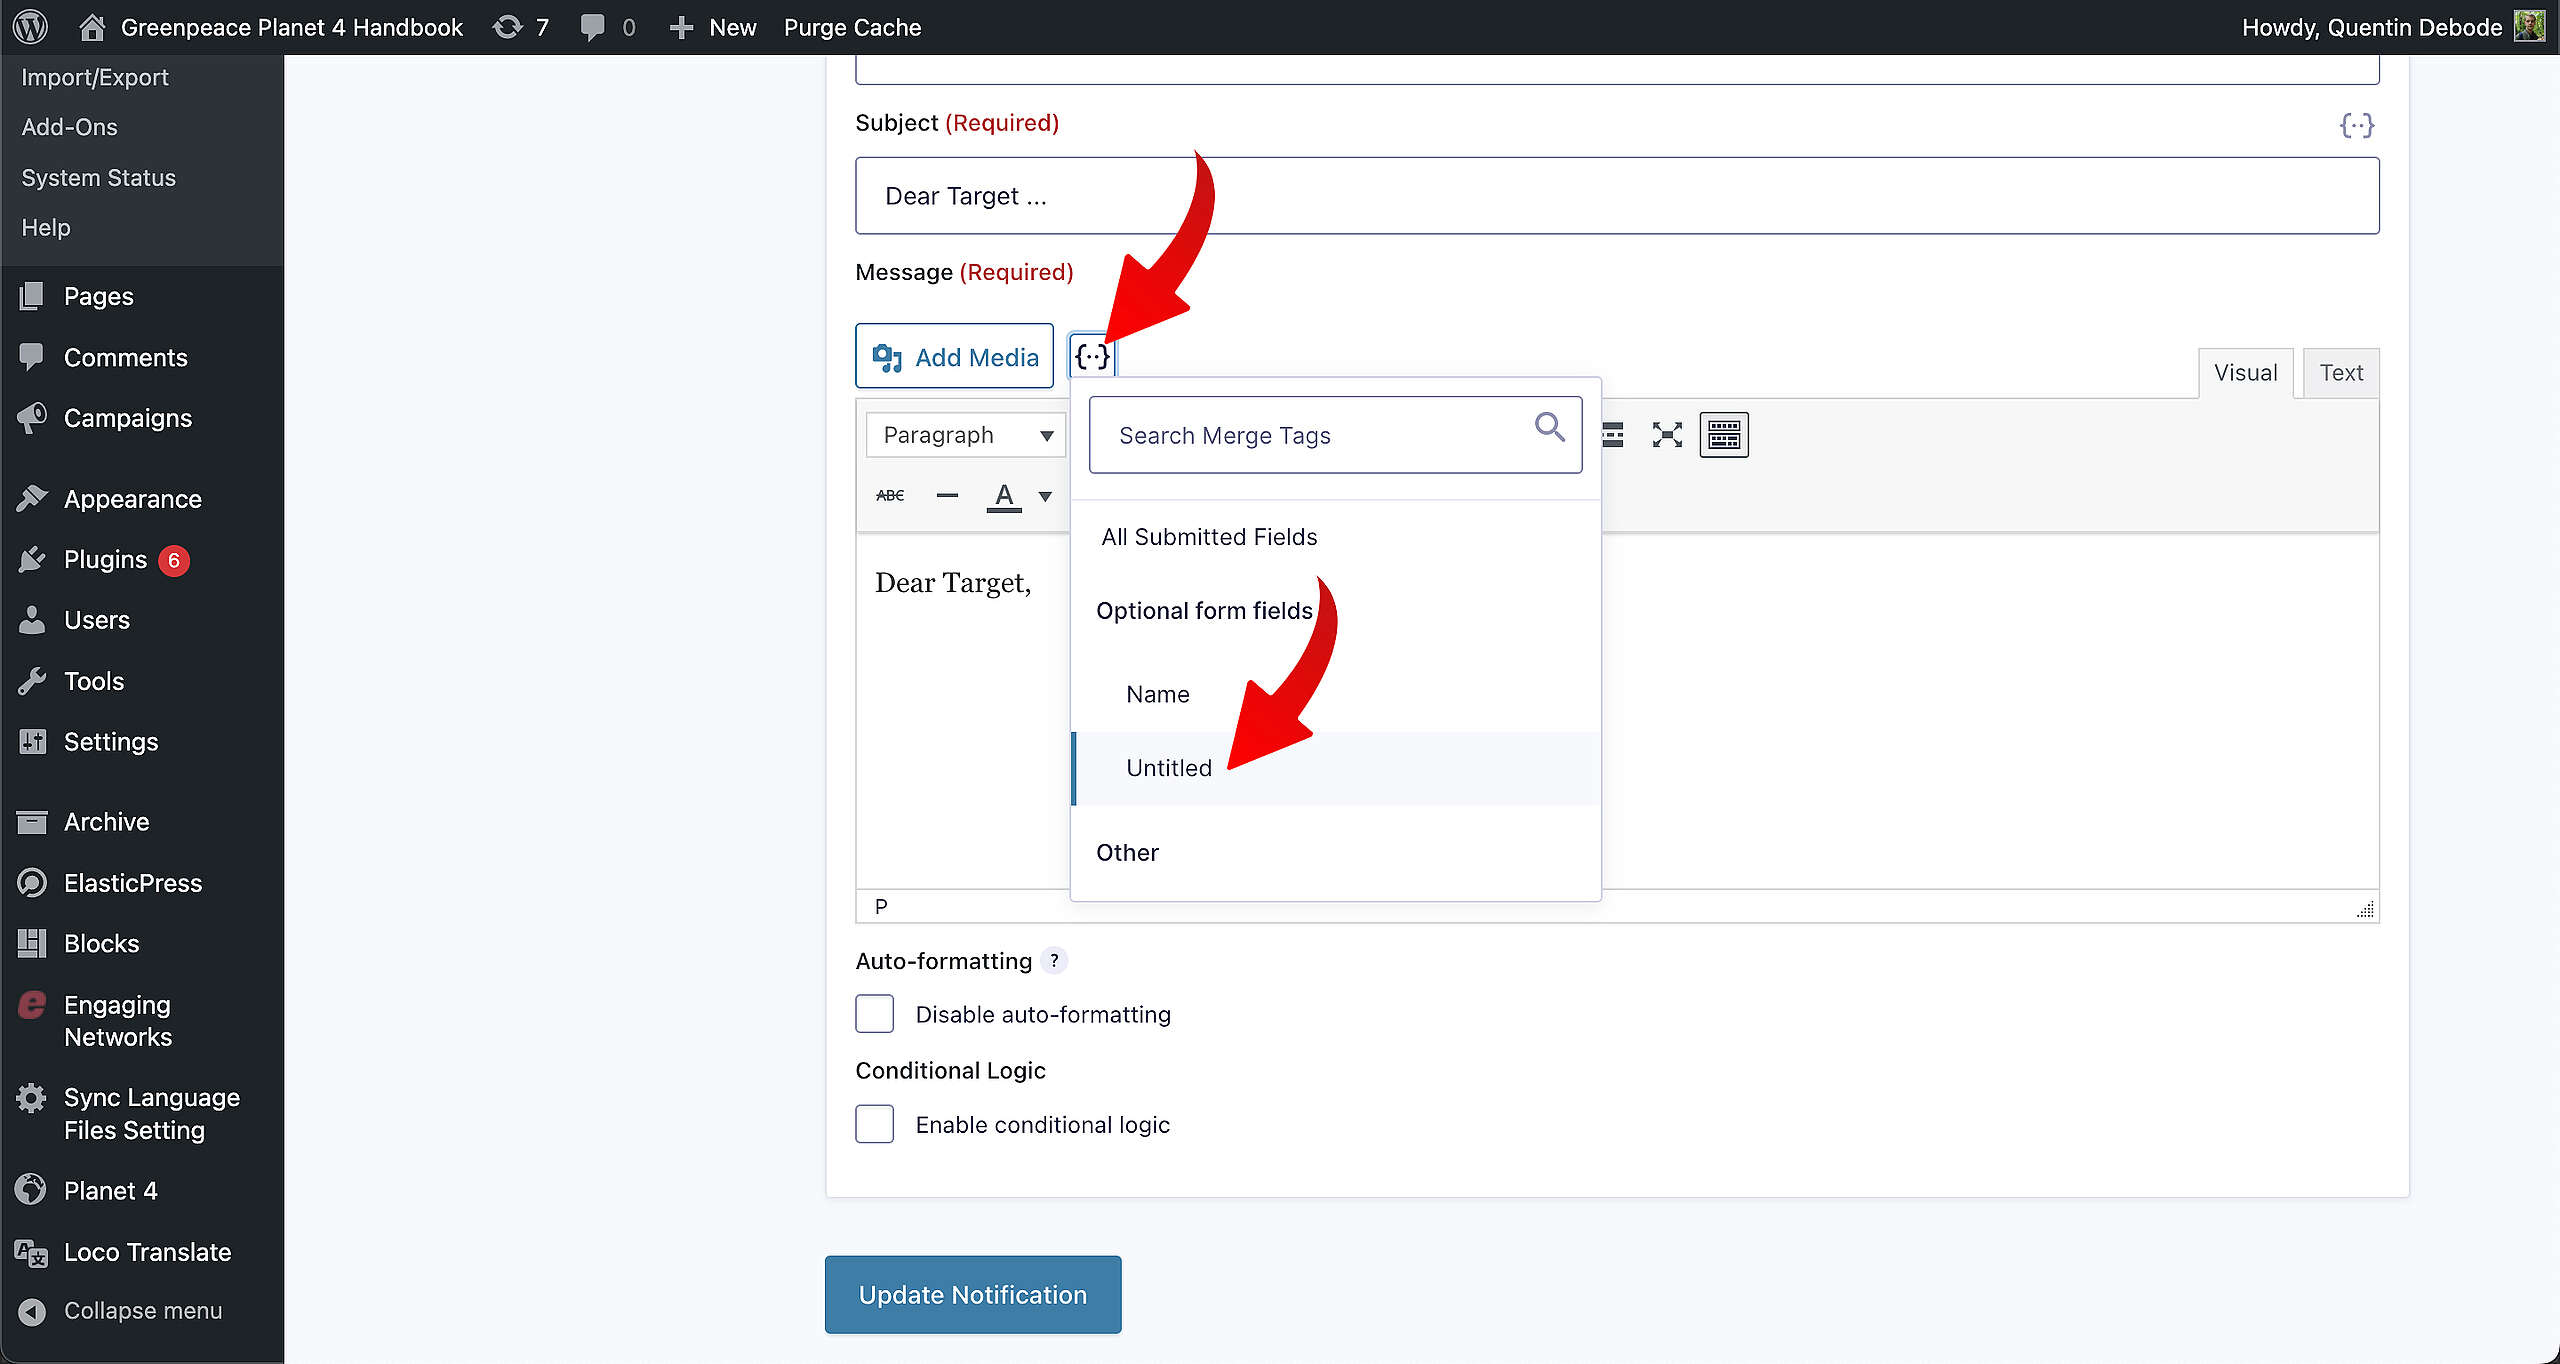
If you however do want to use the Paragraph field from the form, once again click the icon and select the related Field.
It should then look something like this:
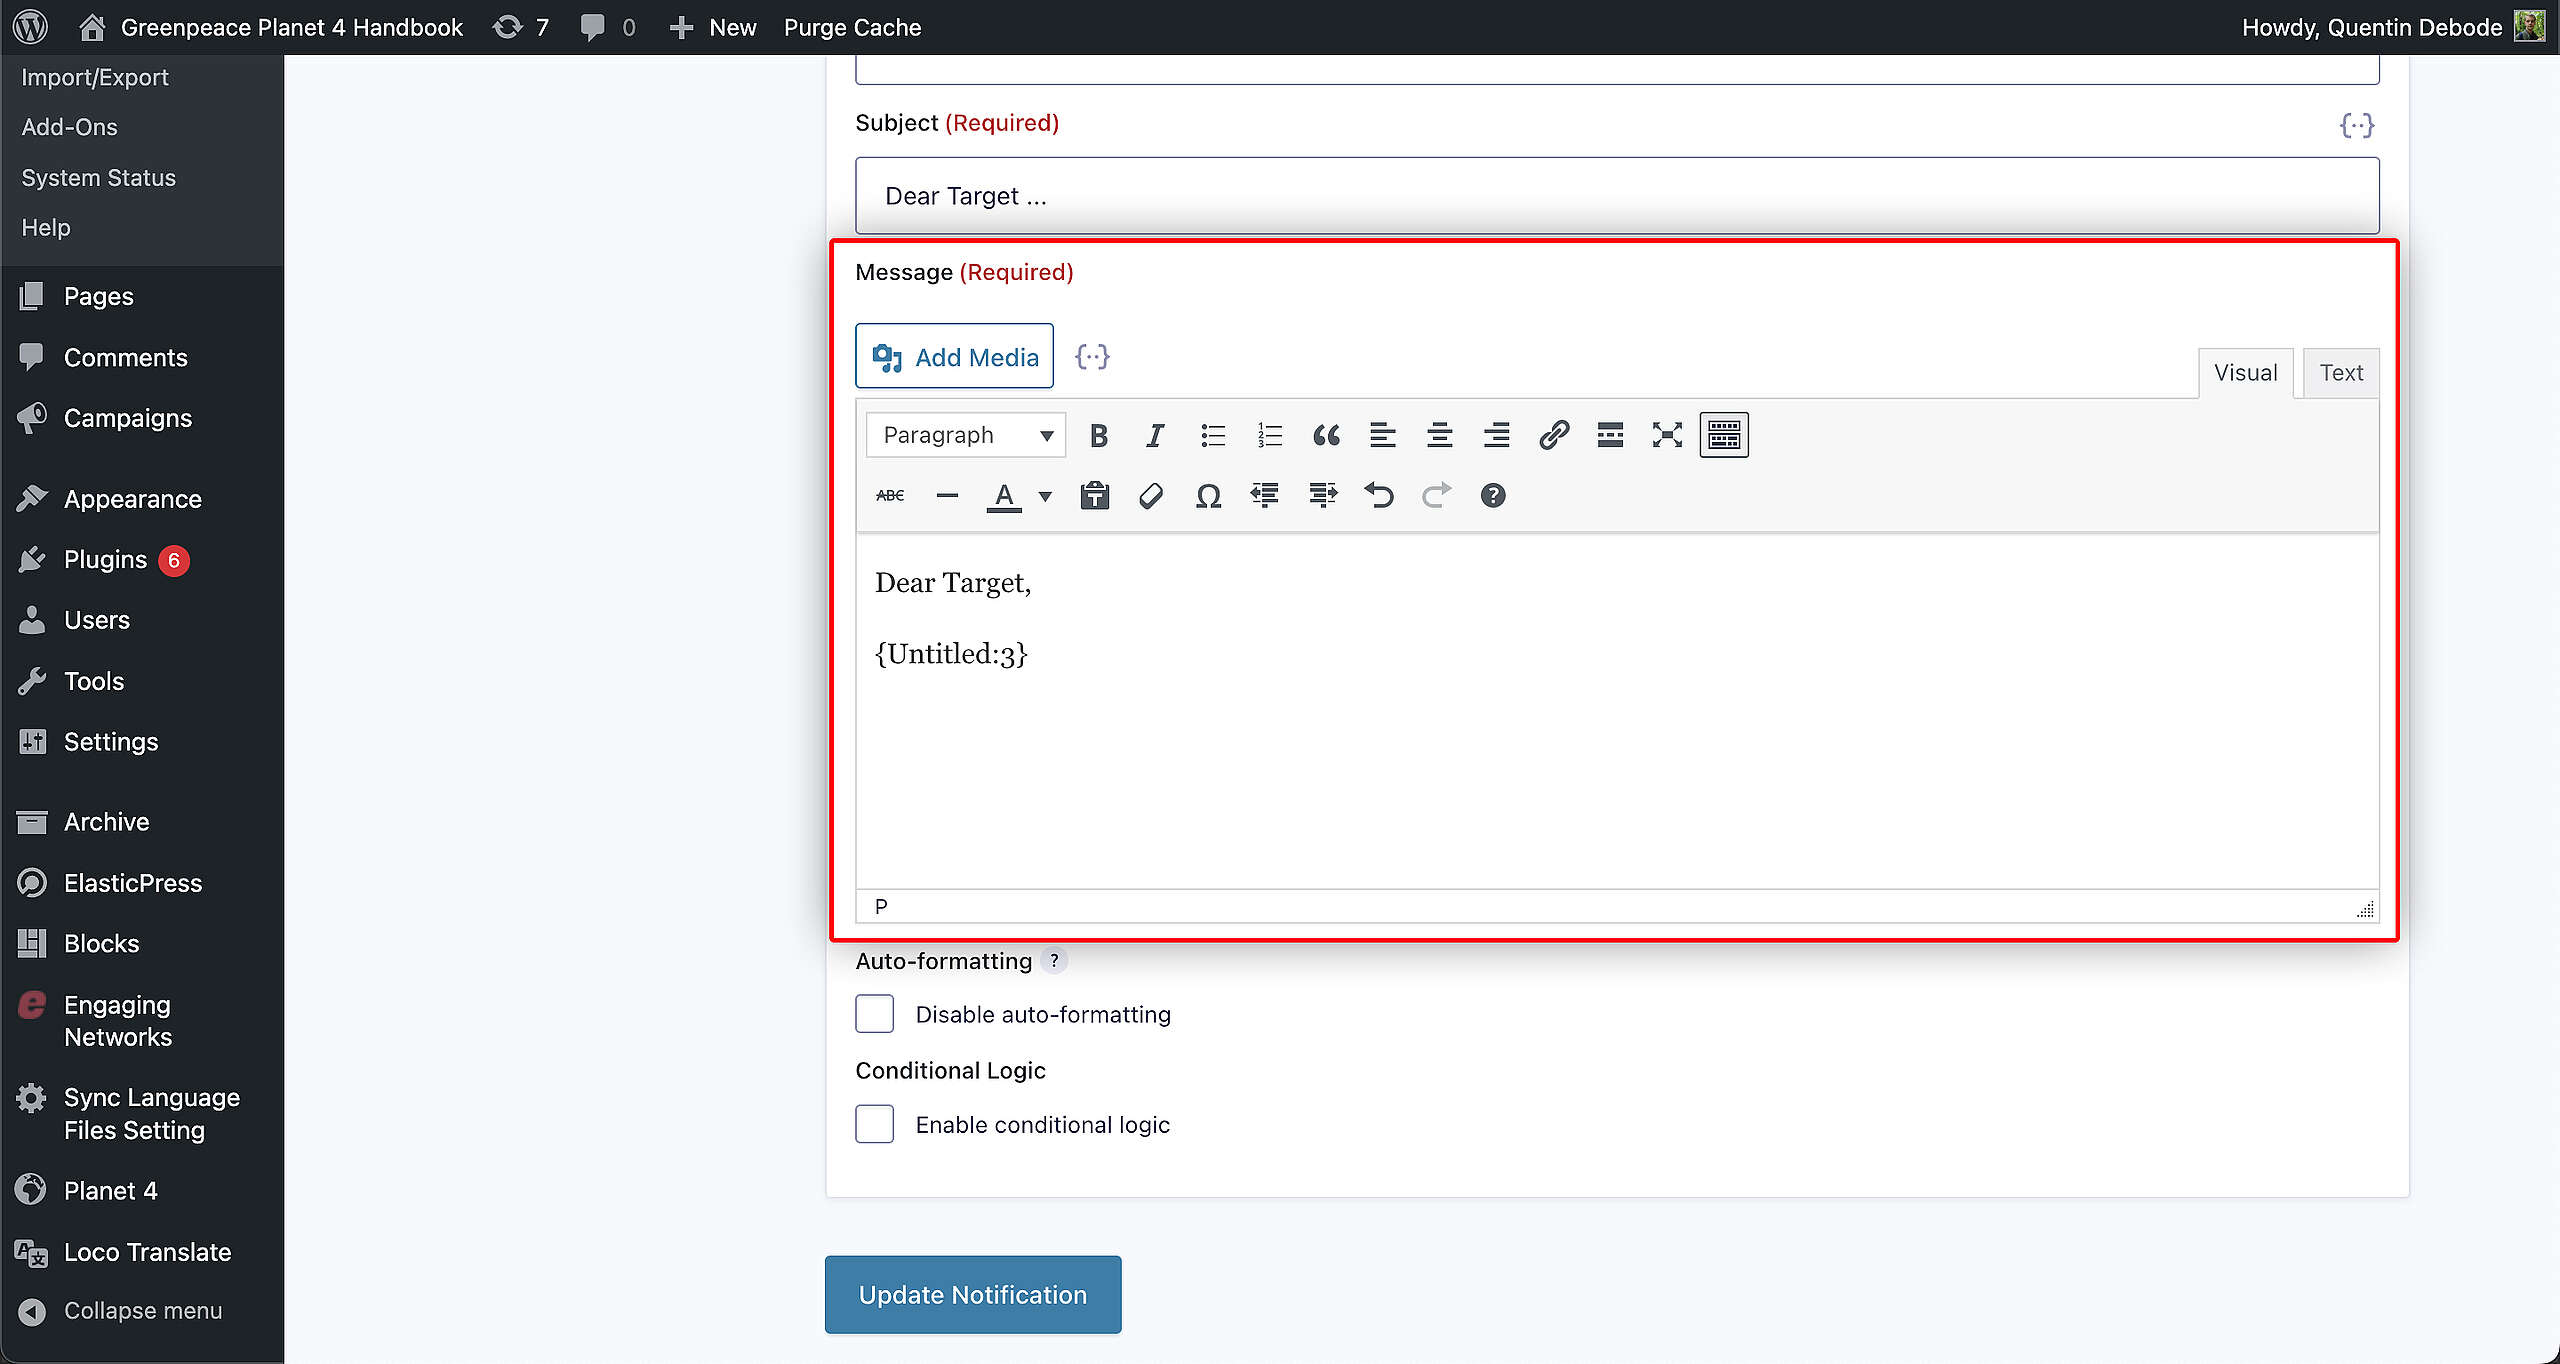
You can of course add other things to email as well. Other fields, images, … Make it your own!
And of course: Make sure to Save by clicking Update Notification.
Testing
There’s an easy way to test your Form and to see if the Target will receive the desired email.
Fill in your own email in the Send To Email field, instead of your Target’s email. This way, every time the Form gets submitted in the front-end, you will receive the email. A good way to preview what your Target will see.

Case Study
-
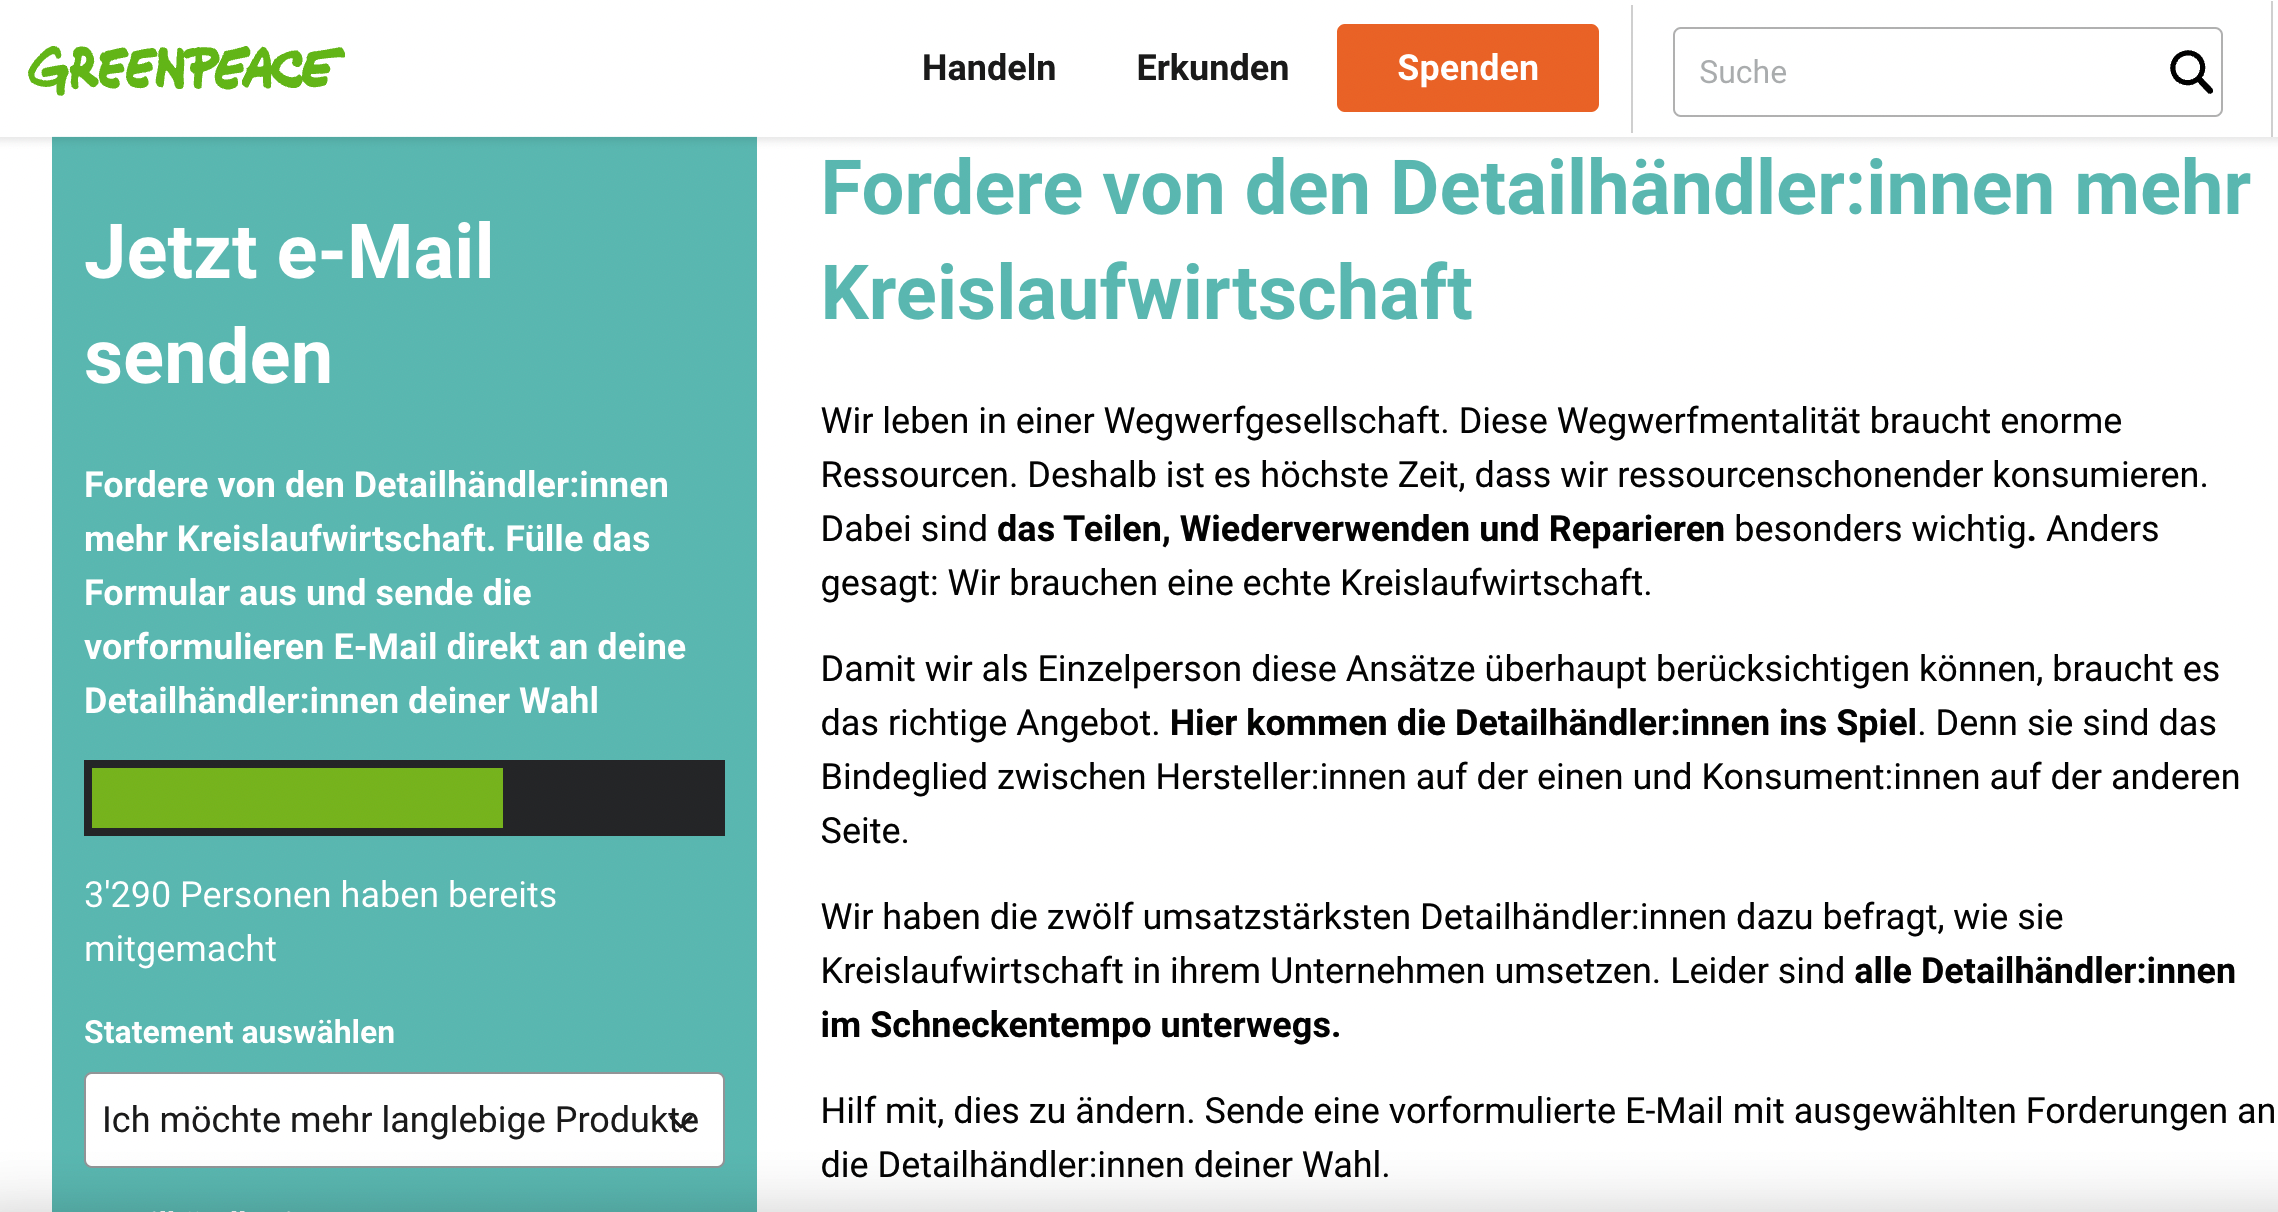
Building an Email To Target (ETT) form in P4 with Gravity Forms in Greenpeace Switzerland 🇨🇭
How we built an ETT Campaign using the P4 Form builder