Need to set up a new Homepage from scratch? This overview will help you out, from the very beginning, to adding content, to page settings and publishing.
📚 Create Content > Pages > Homepage
Creating a new page
The Homepage is the very first page that visitors see when they enter your P4 website. For a Block Patterns overview, go here.
New page
🔎 Where can I find this ? Dashboard > Pages > Add new
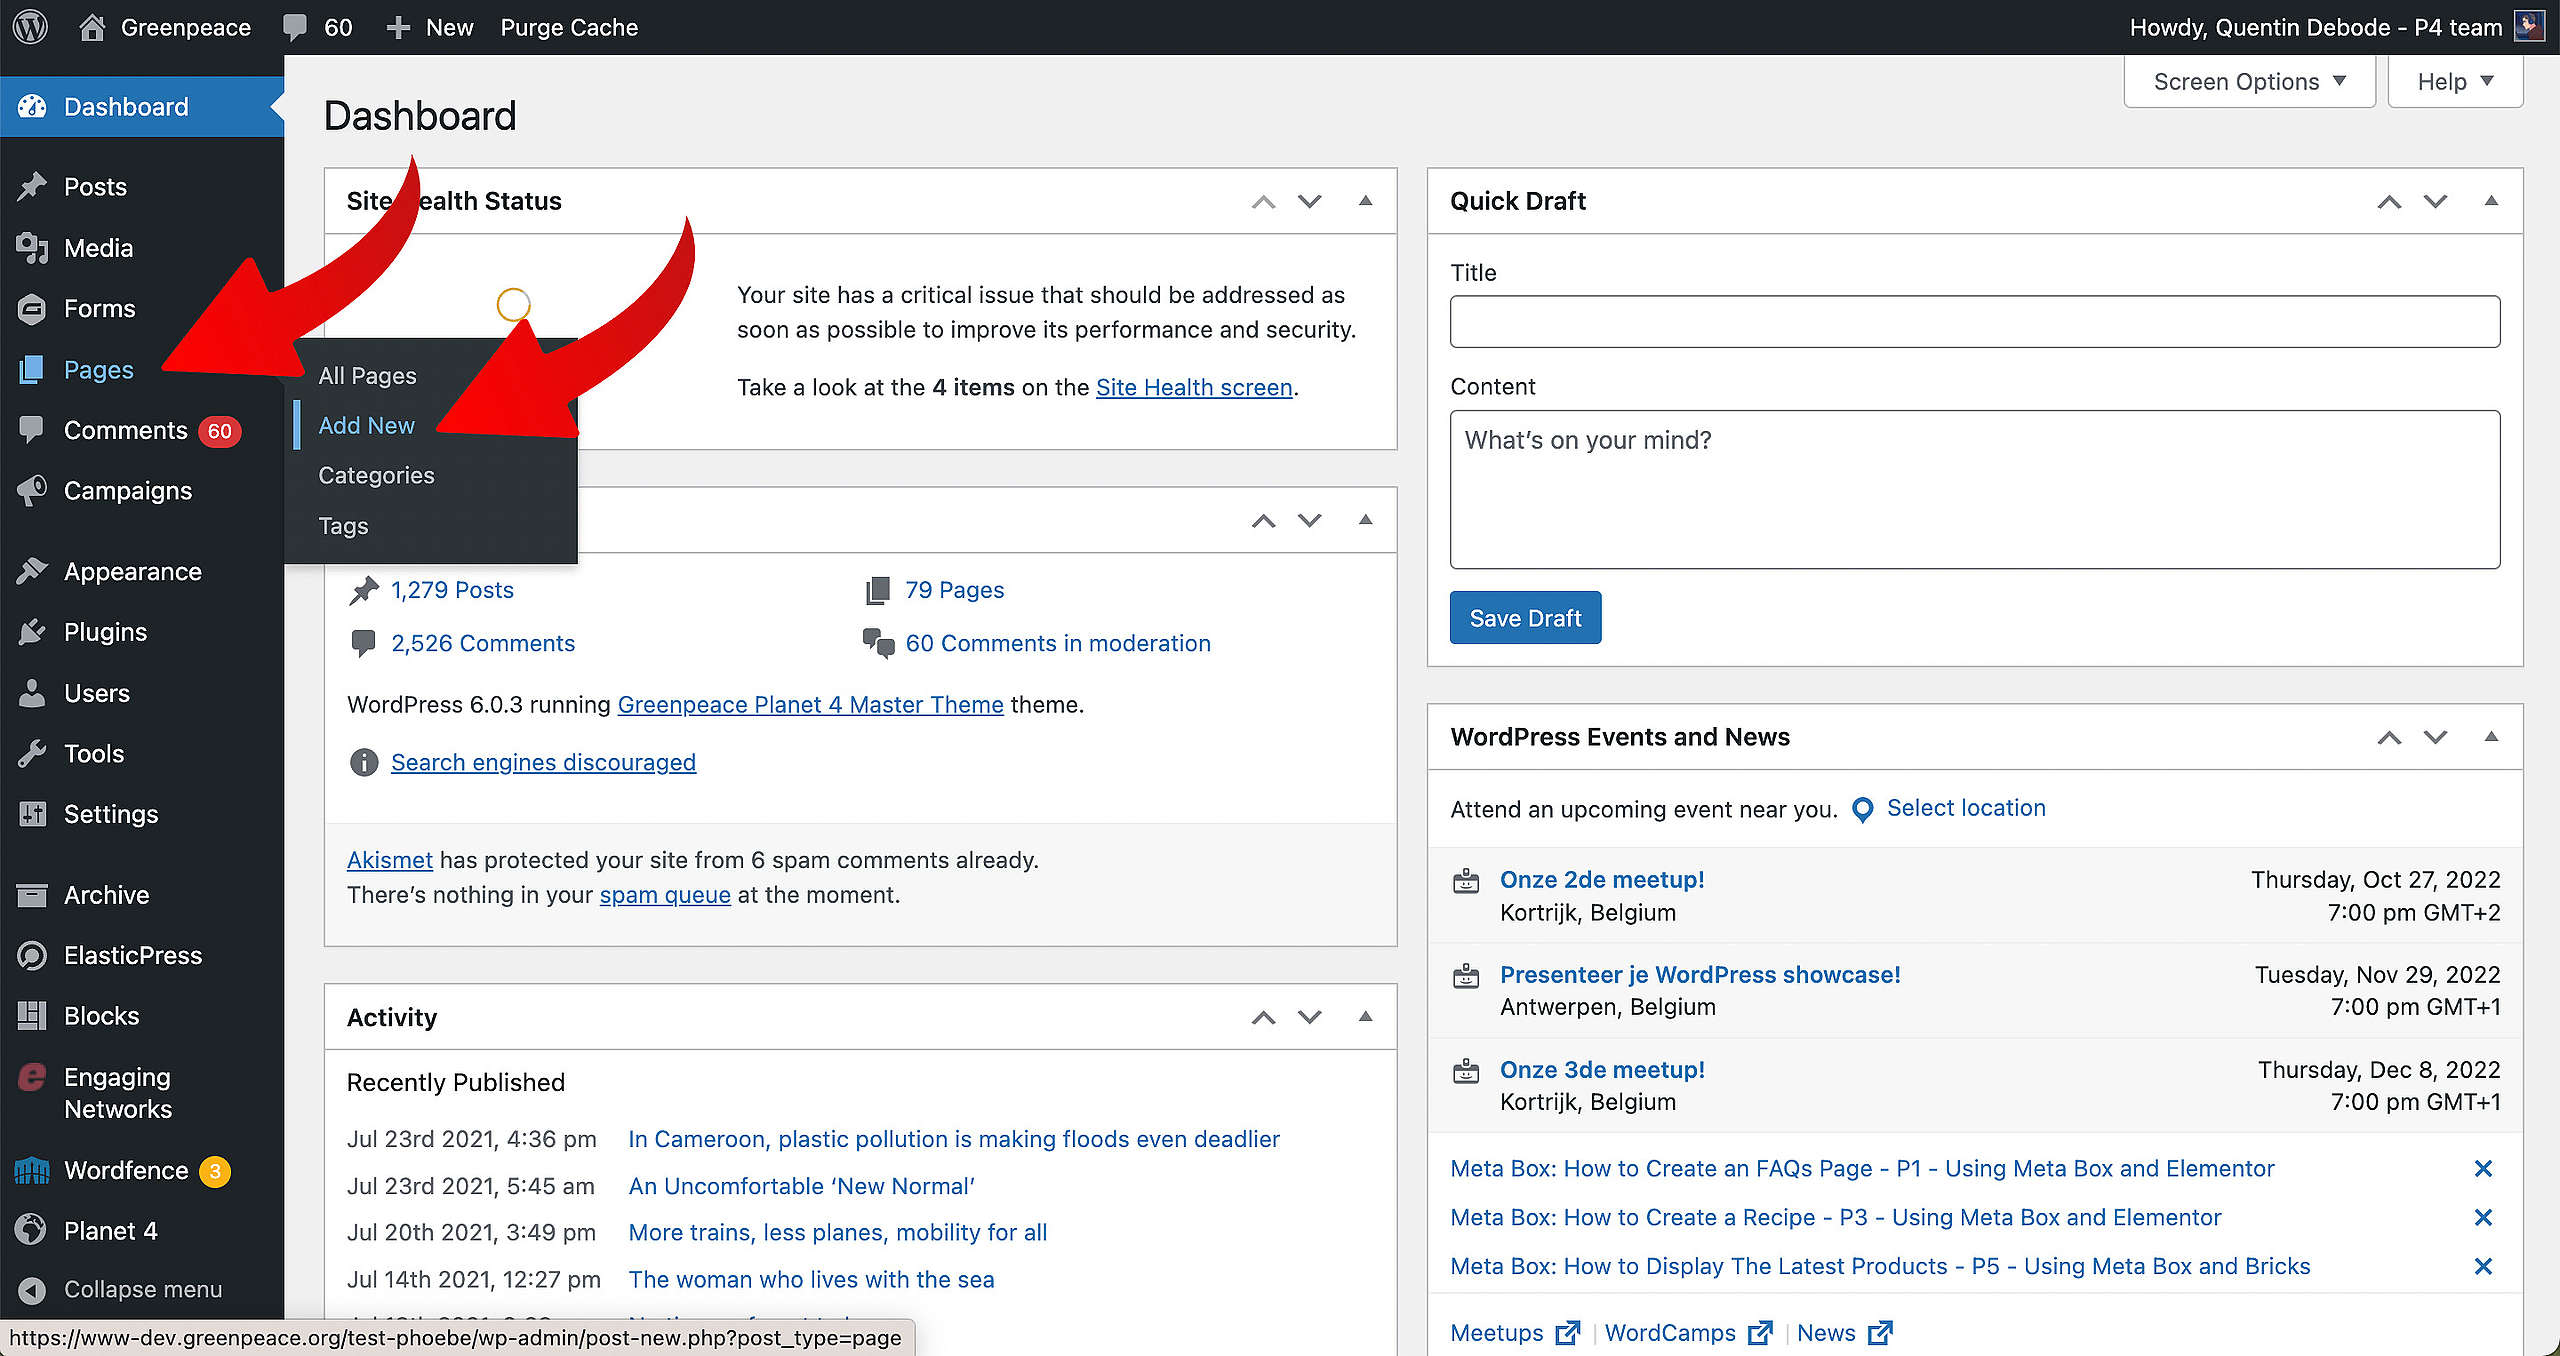
Let’s start. First, go to your Dashboard and select “Pages”. You’ll be able to create a new page there, by clicking “Add New”.
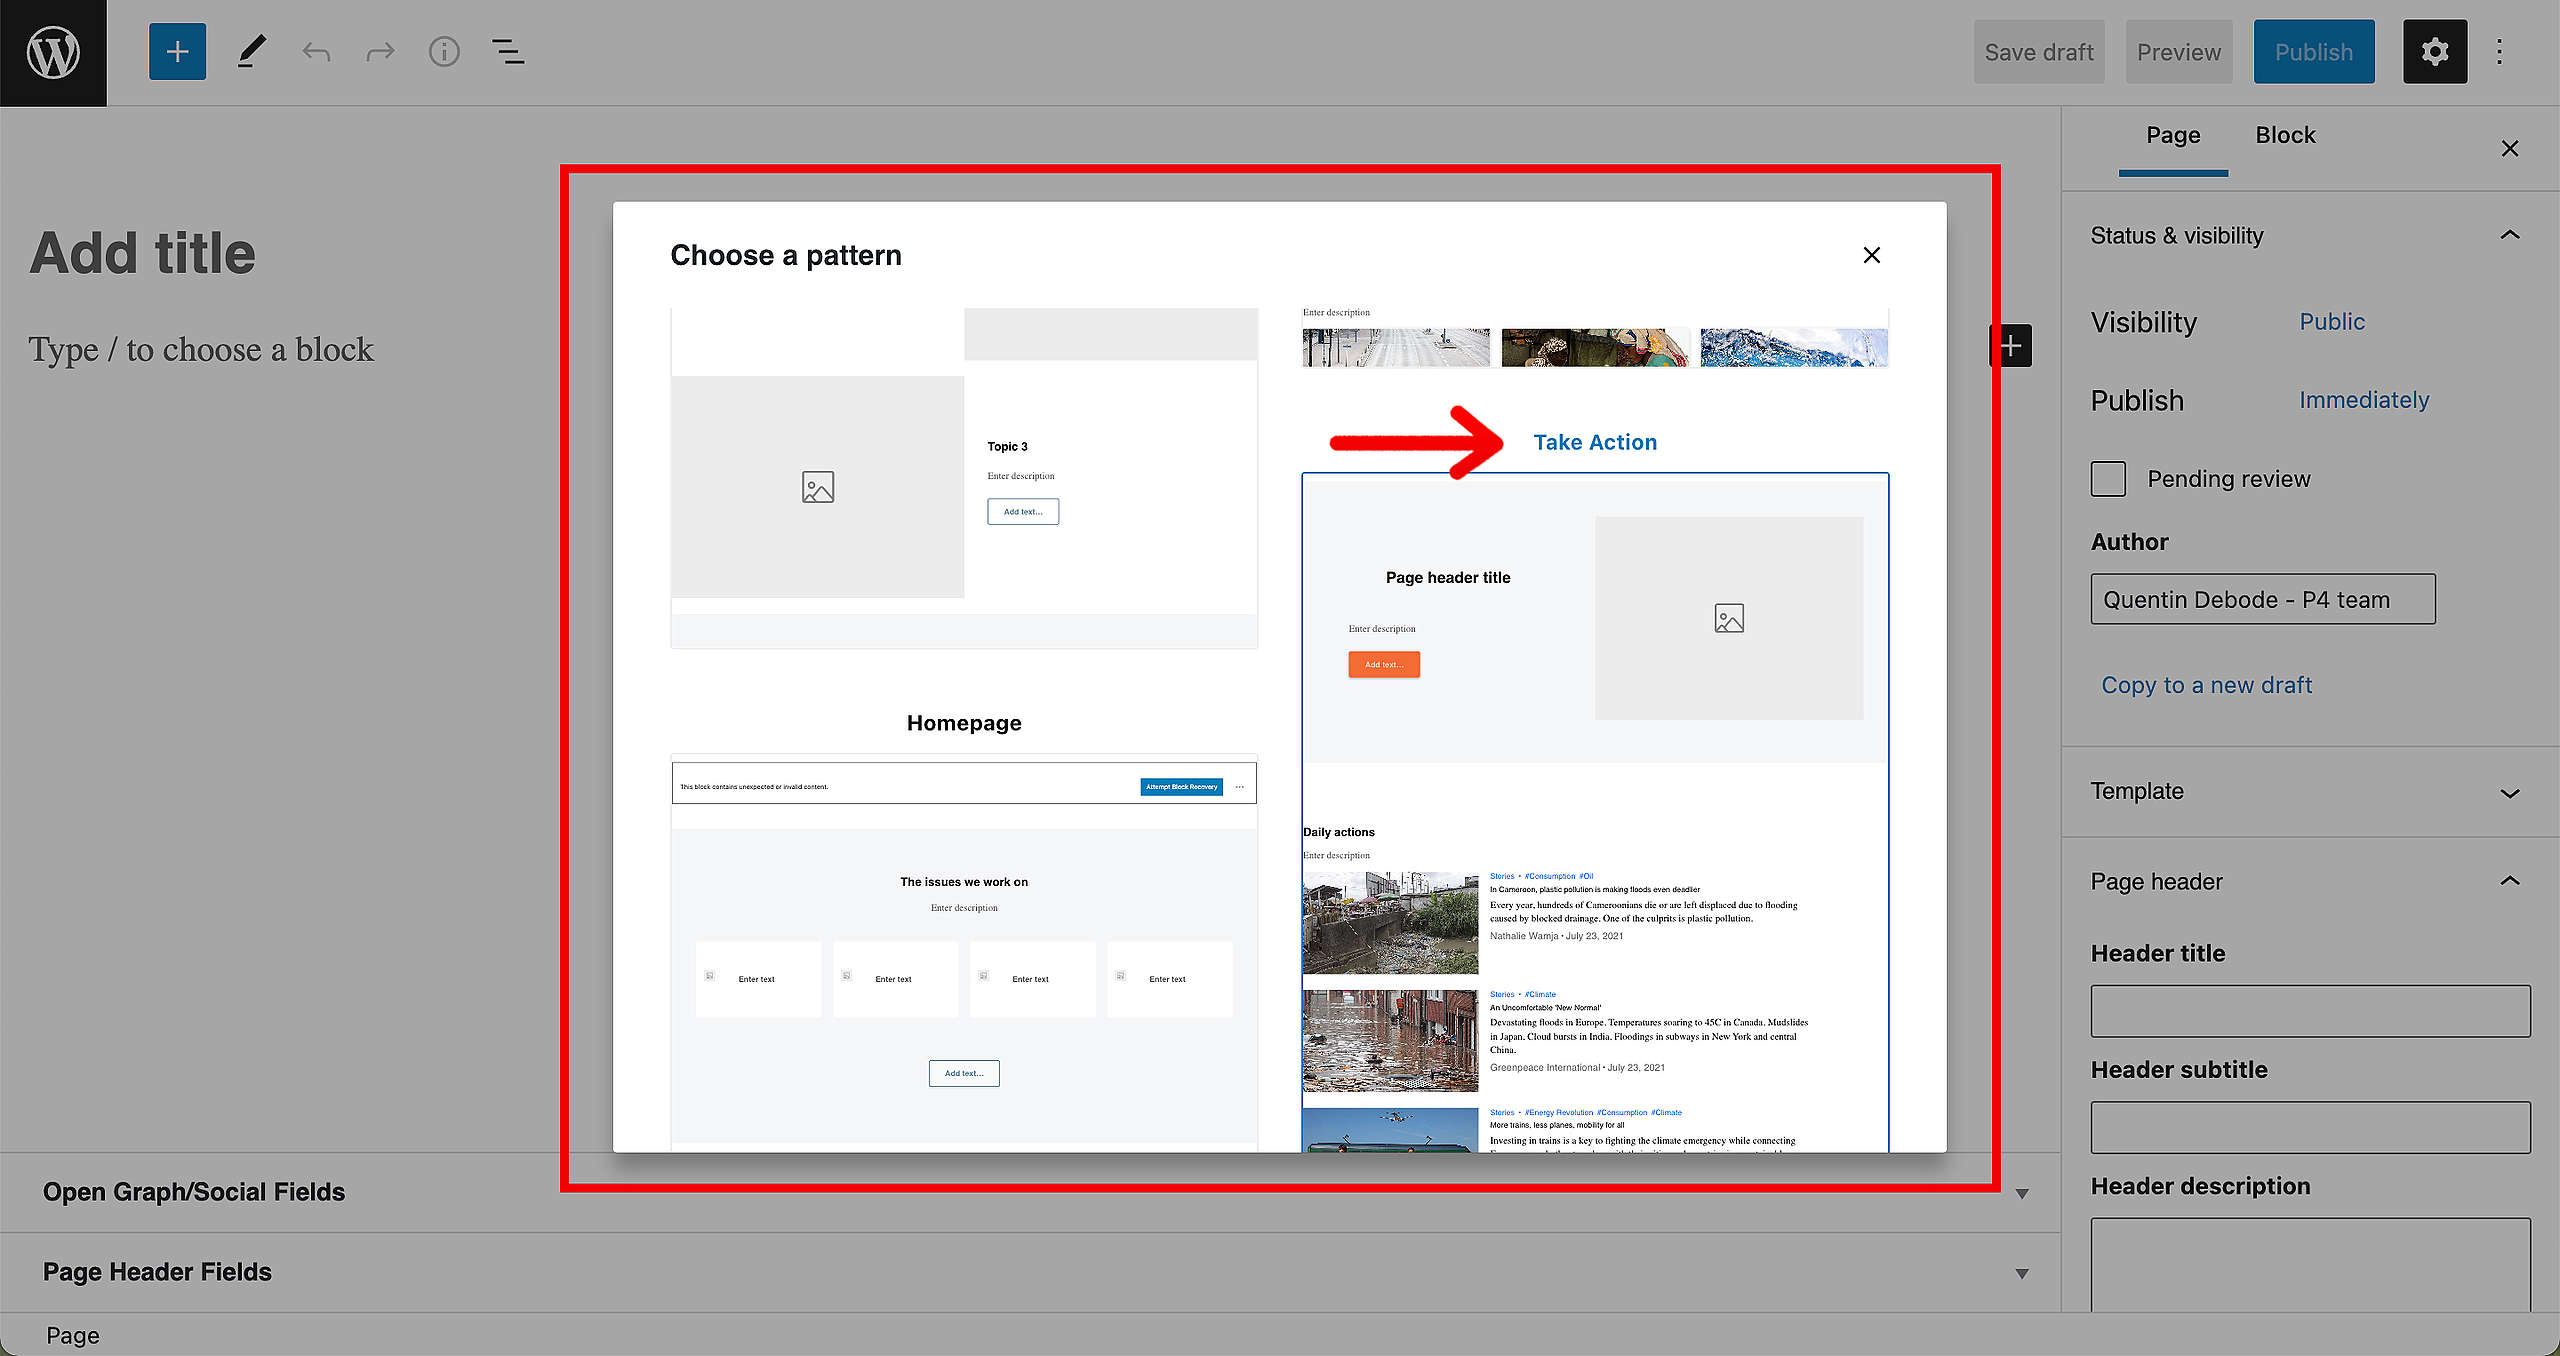
When you’re loaded into your new page, you’ll get a screen where you can select a pre-existing pattern. For this example, we’ll be selecting the Take Action page (you need to scroll a little bit, but it’s there).
🤔 Key Info : Don’t forget to Save your page from time to time by clicking “Save Draft”.
Content
As you can see, loads of content has automatically been loaded in. You can still add (and/or remove) Blocks and Patterns, by clicking the Plus sign or removing a block on the Block itself.
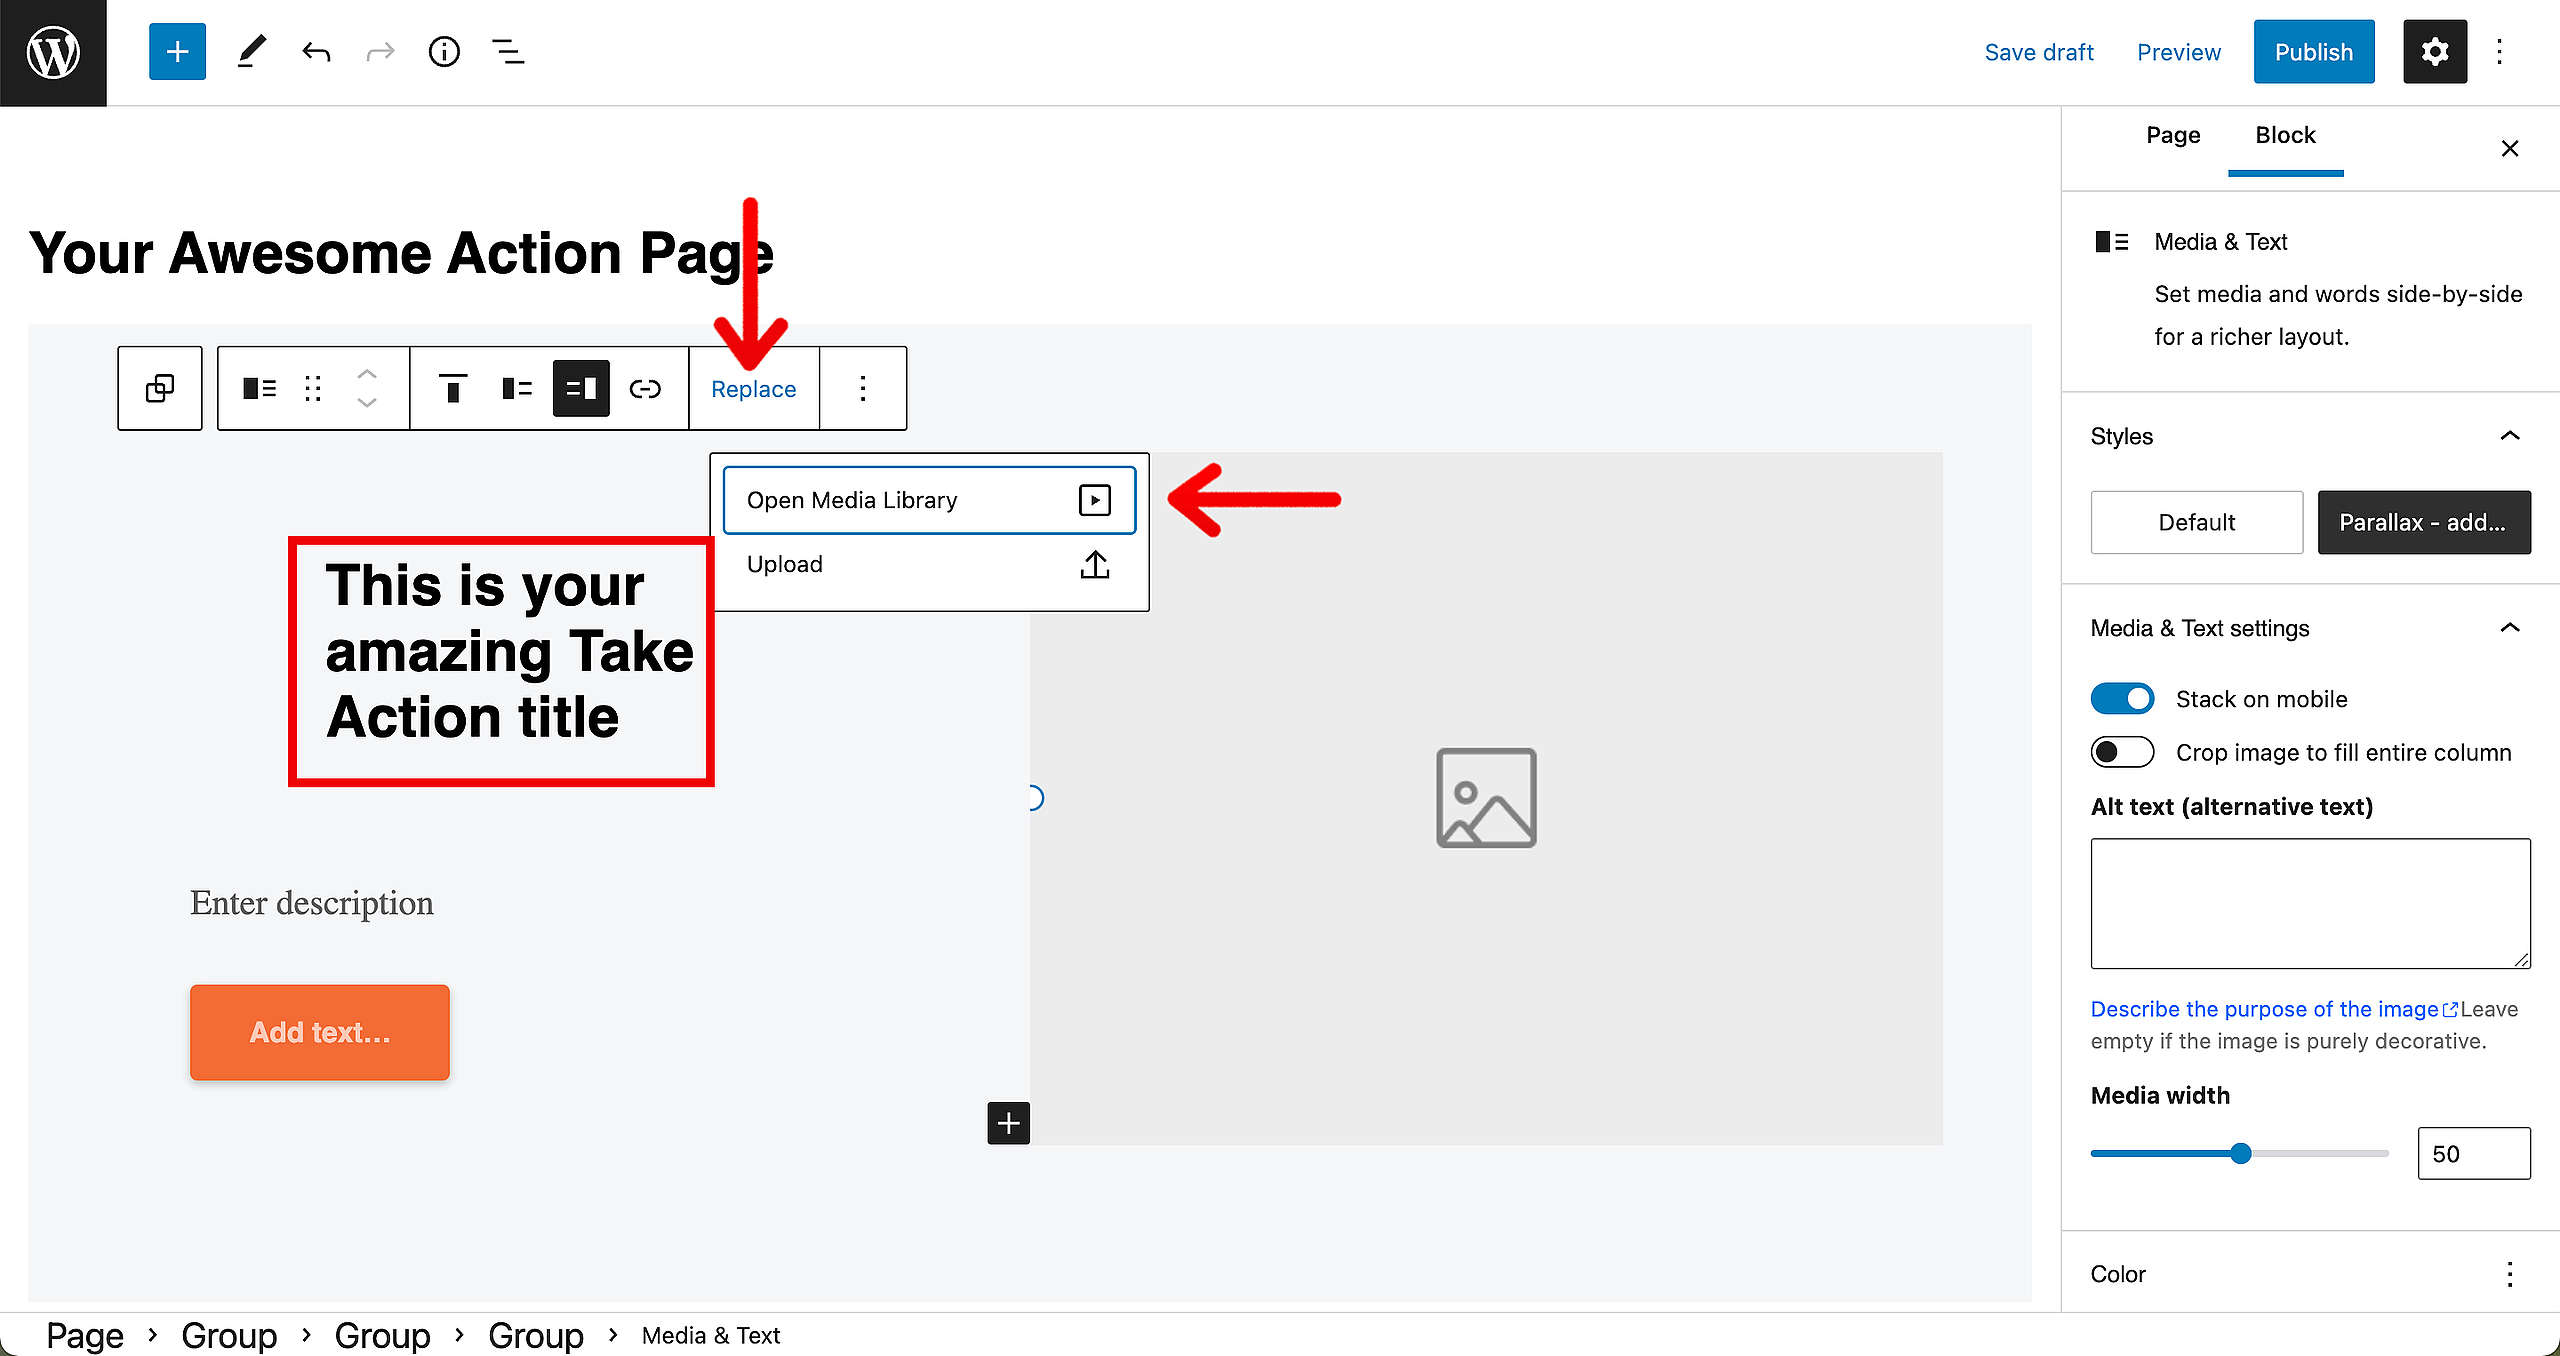
Let’s start by filling in the title, description, button in the header (Media & Text Block) and select an image to feature in there. To add the image, simply click on the grey placeholder and select “Replace”. Choose if you want to upload a new image or want to select one from your Media Library.
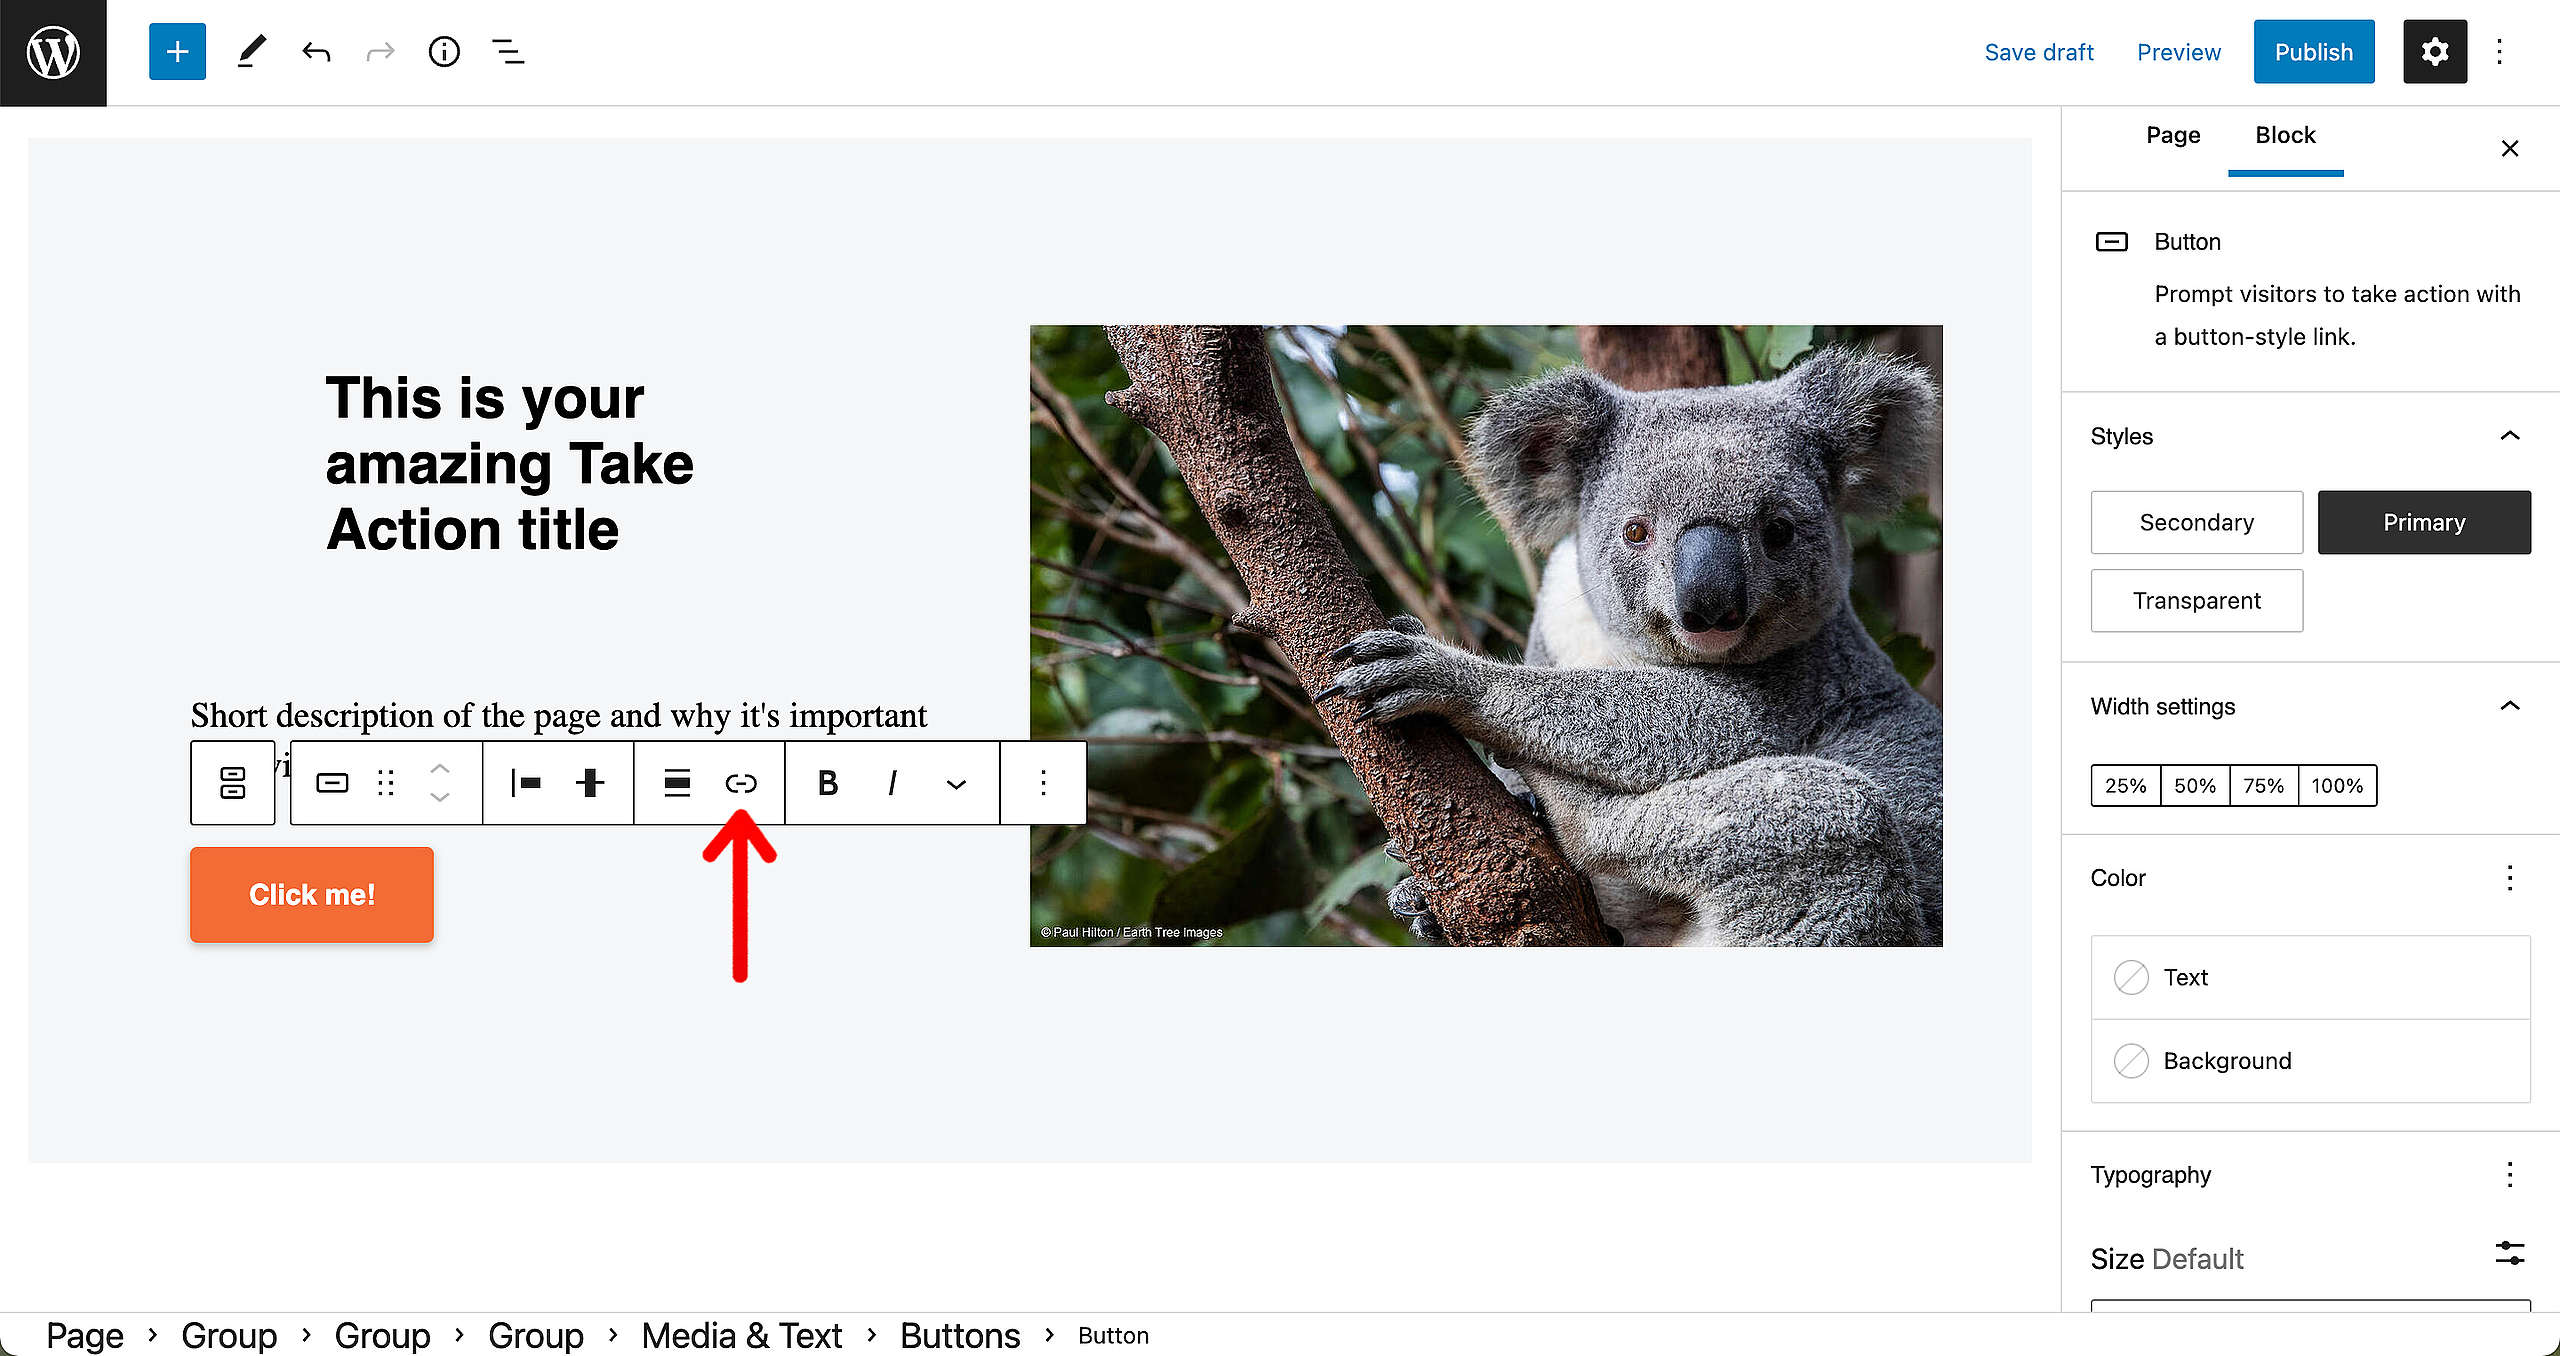
Now that we’ve done this, make sure the button is clickable. When you click on it, select the Link icon (see image below) and fill in your link in the bar that will appear. You can choose if people go immediately to a new tab or not.
Next, we have an Articles overview. By default, this will take all the articles from your site. So go to the right sidebar and find the “Select Tags” option. Make sure to fill in the relevant tag(s) to the topic of your Take Action page.
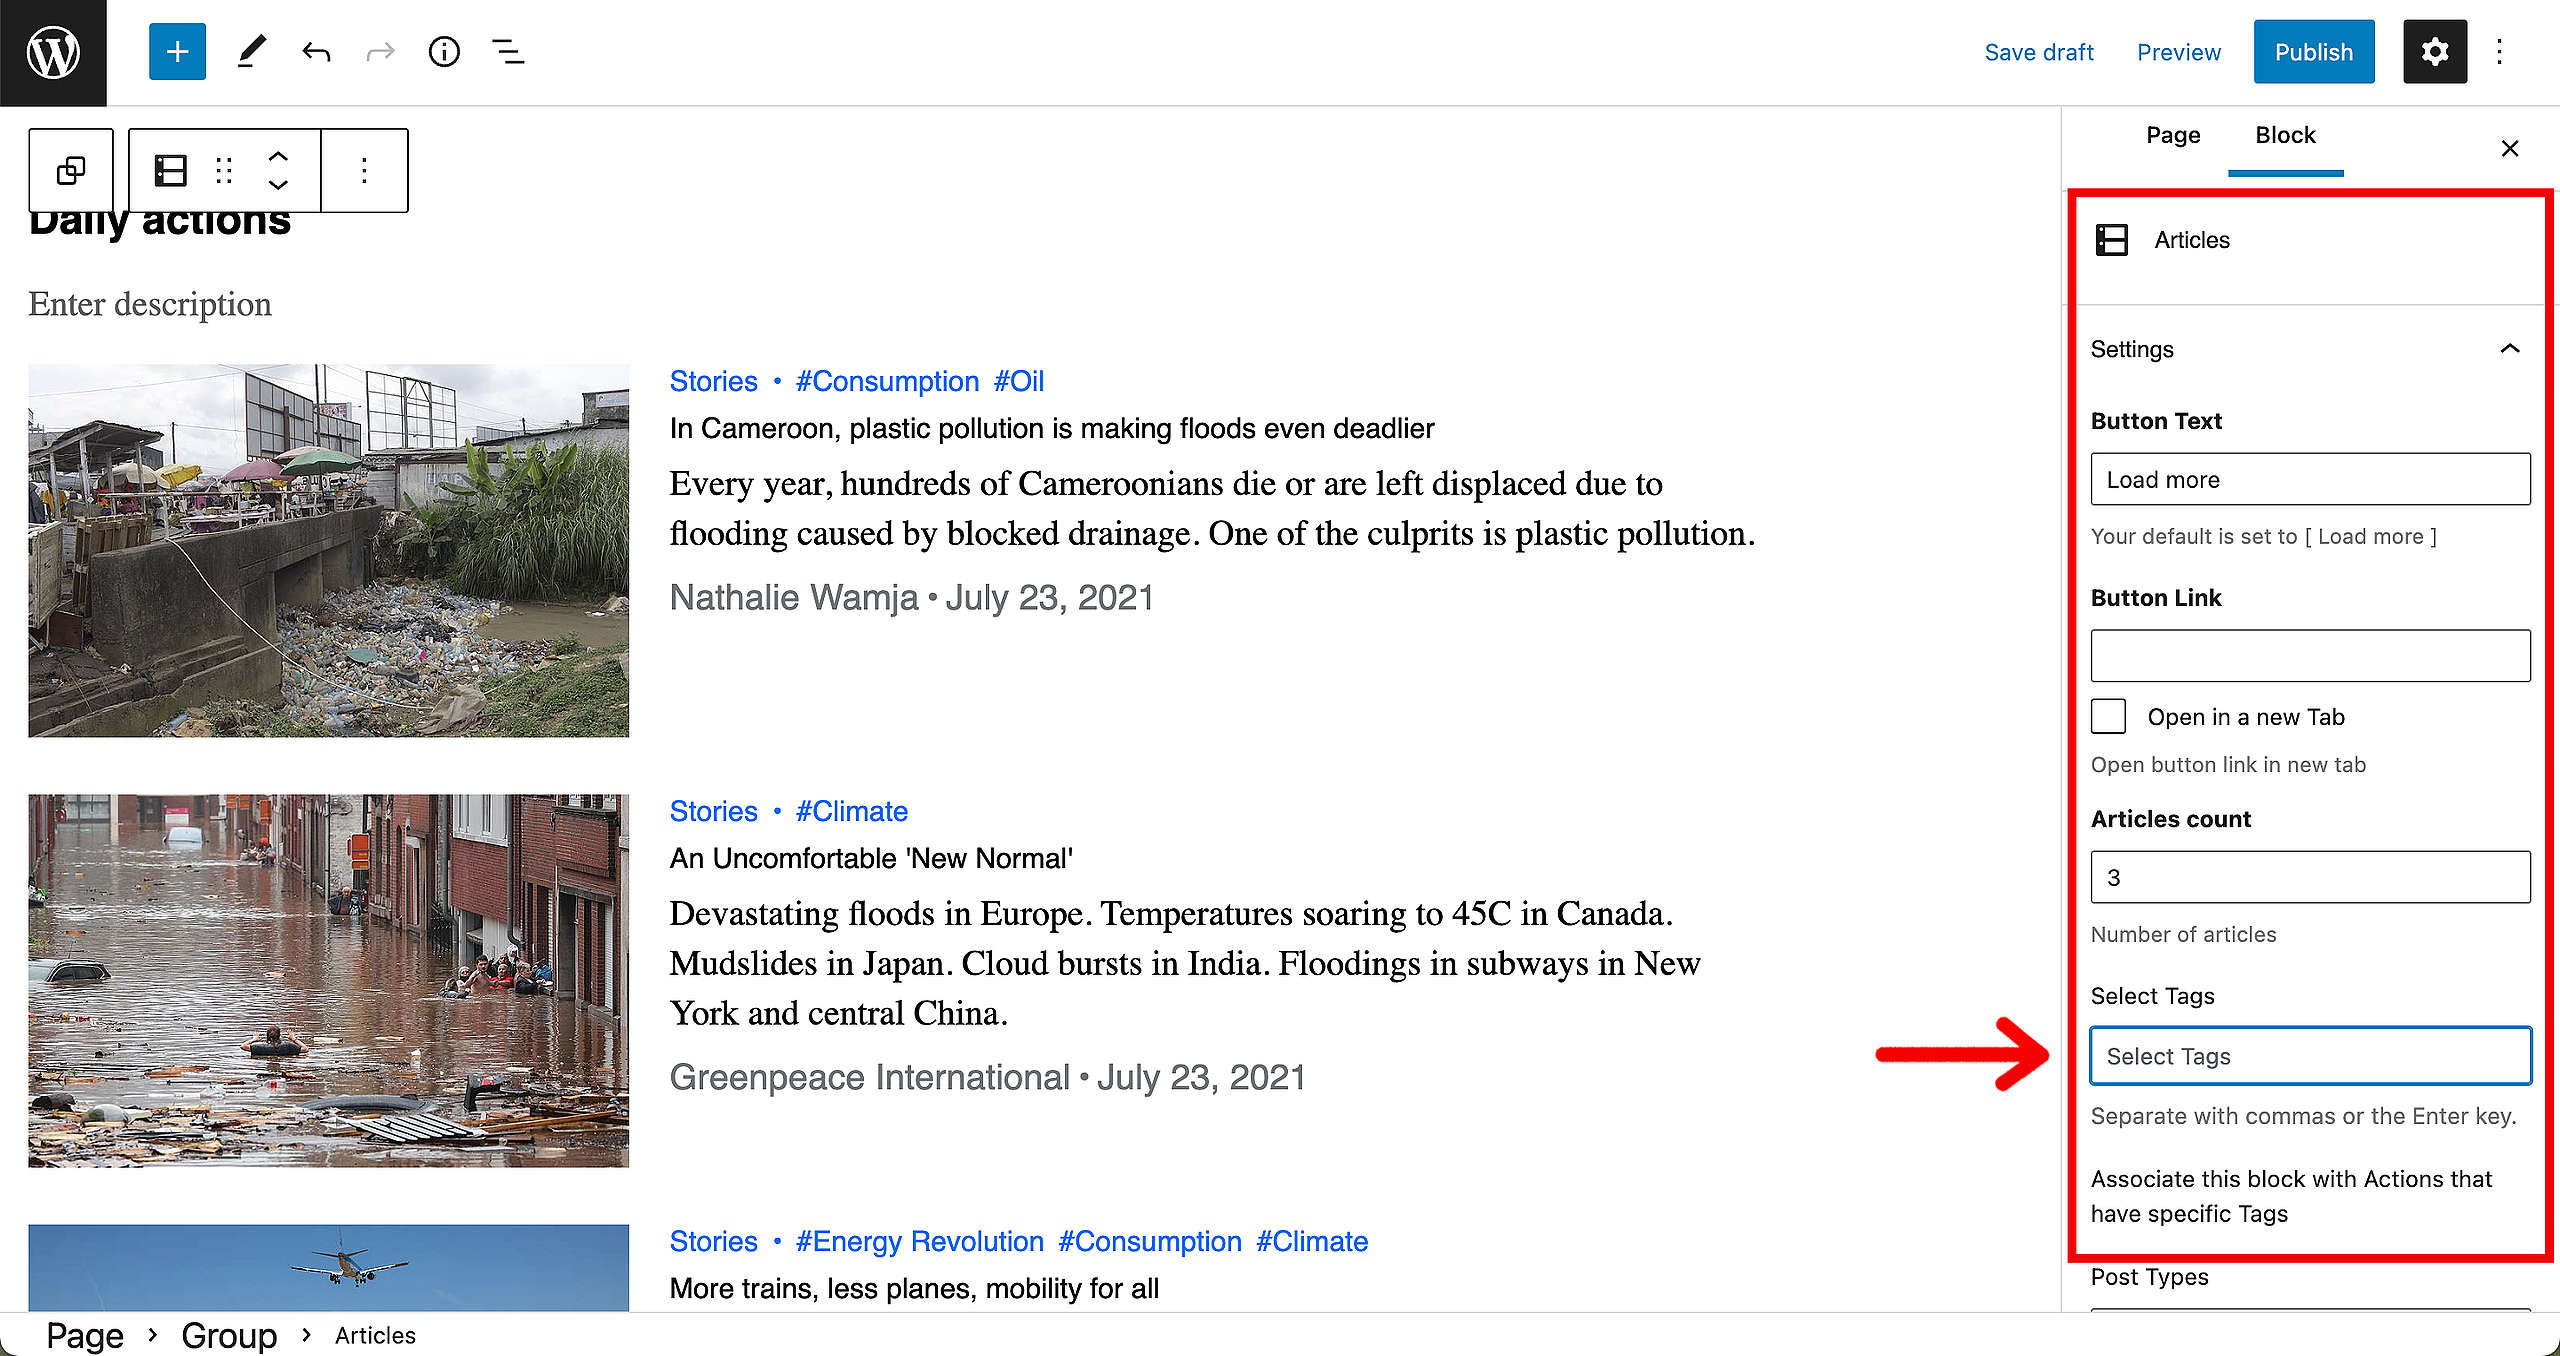
As you can see, the Stories (blogs) from this Articles Block now all feature entries from the Forests tag, as this is the one selected.
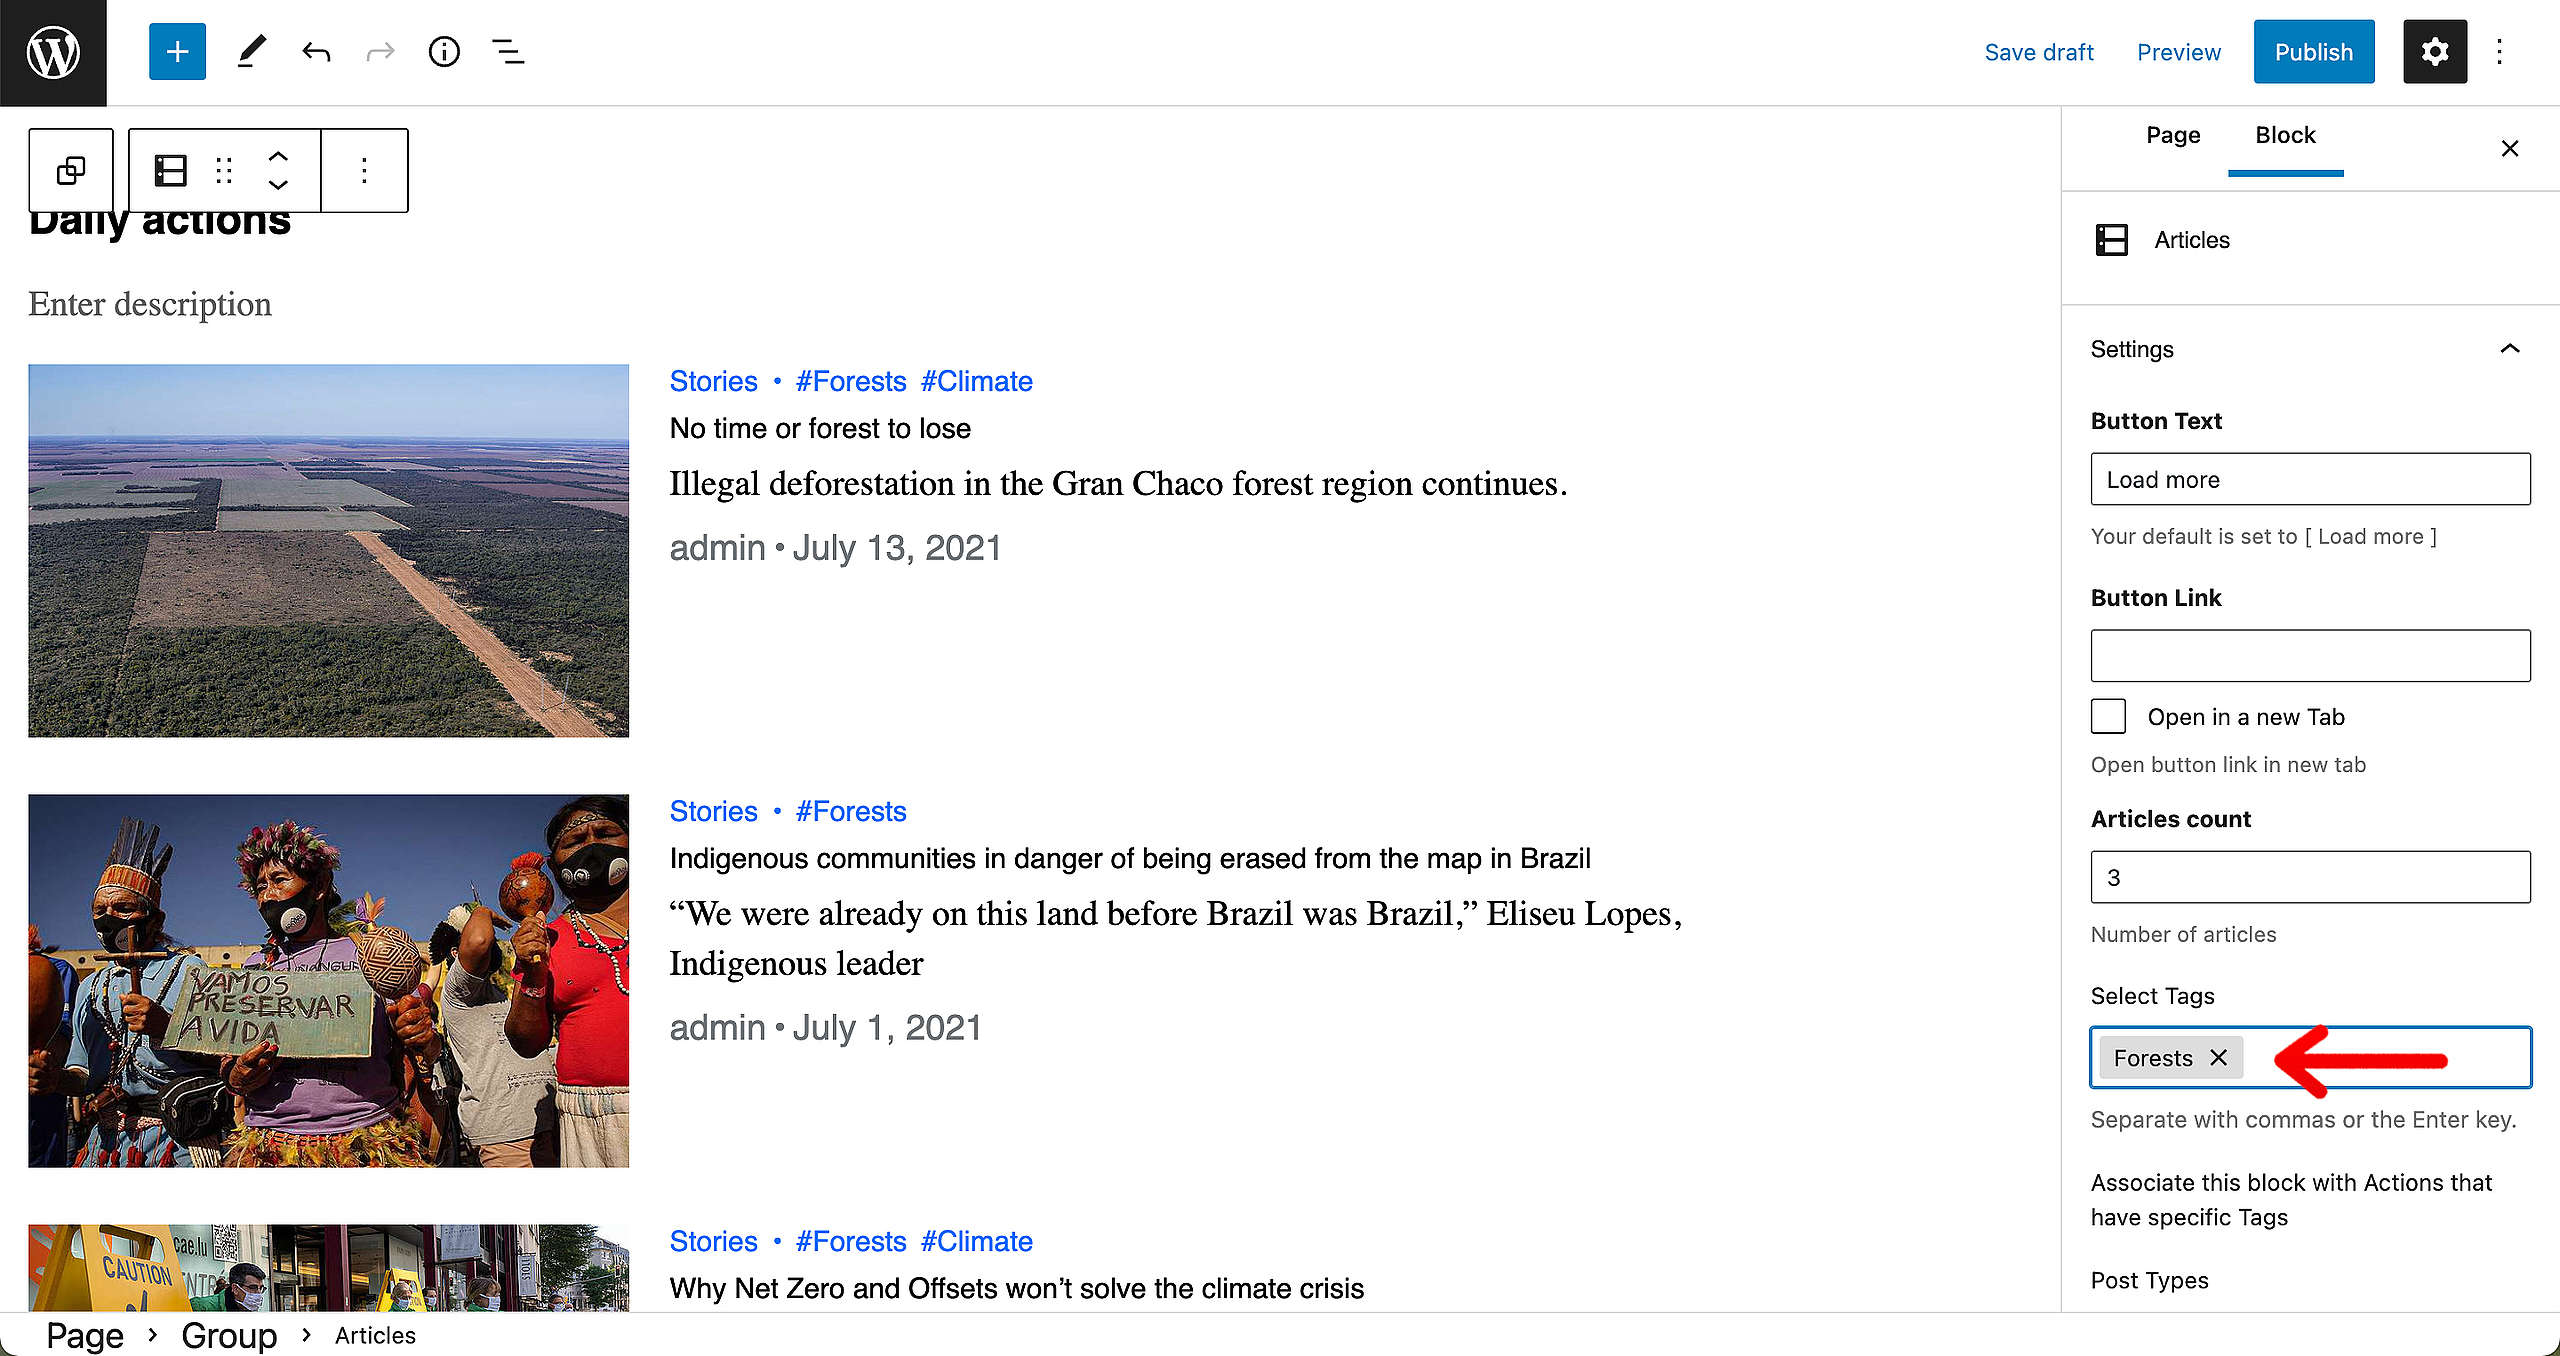
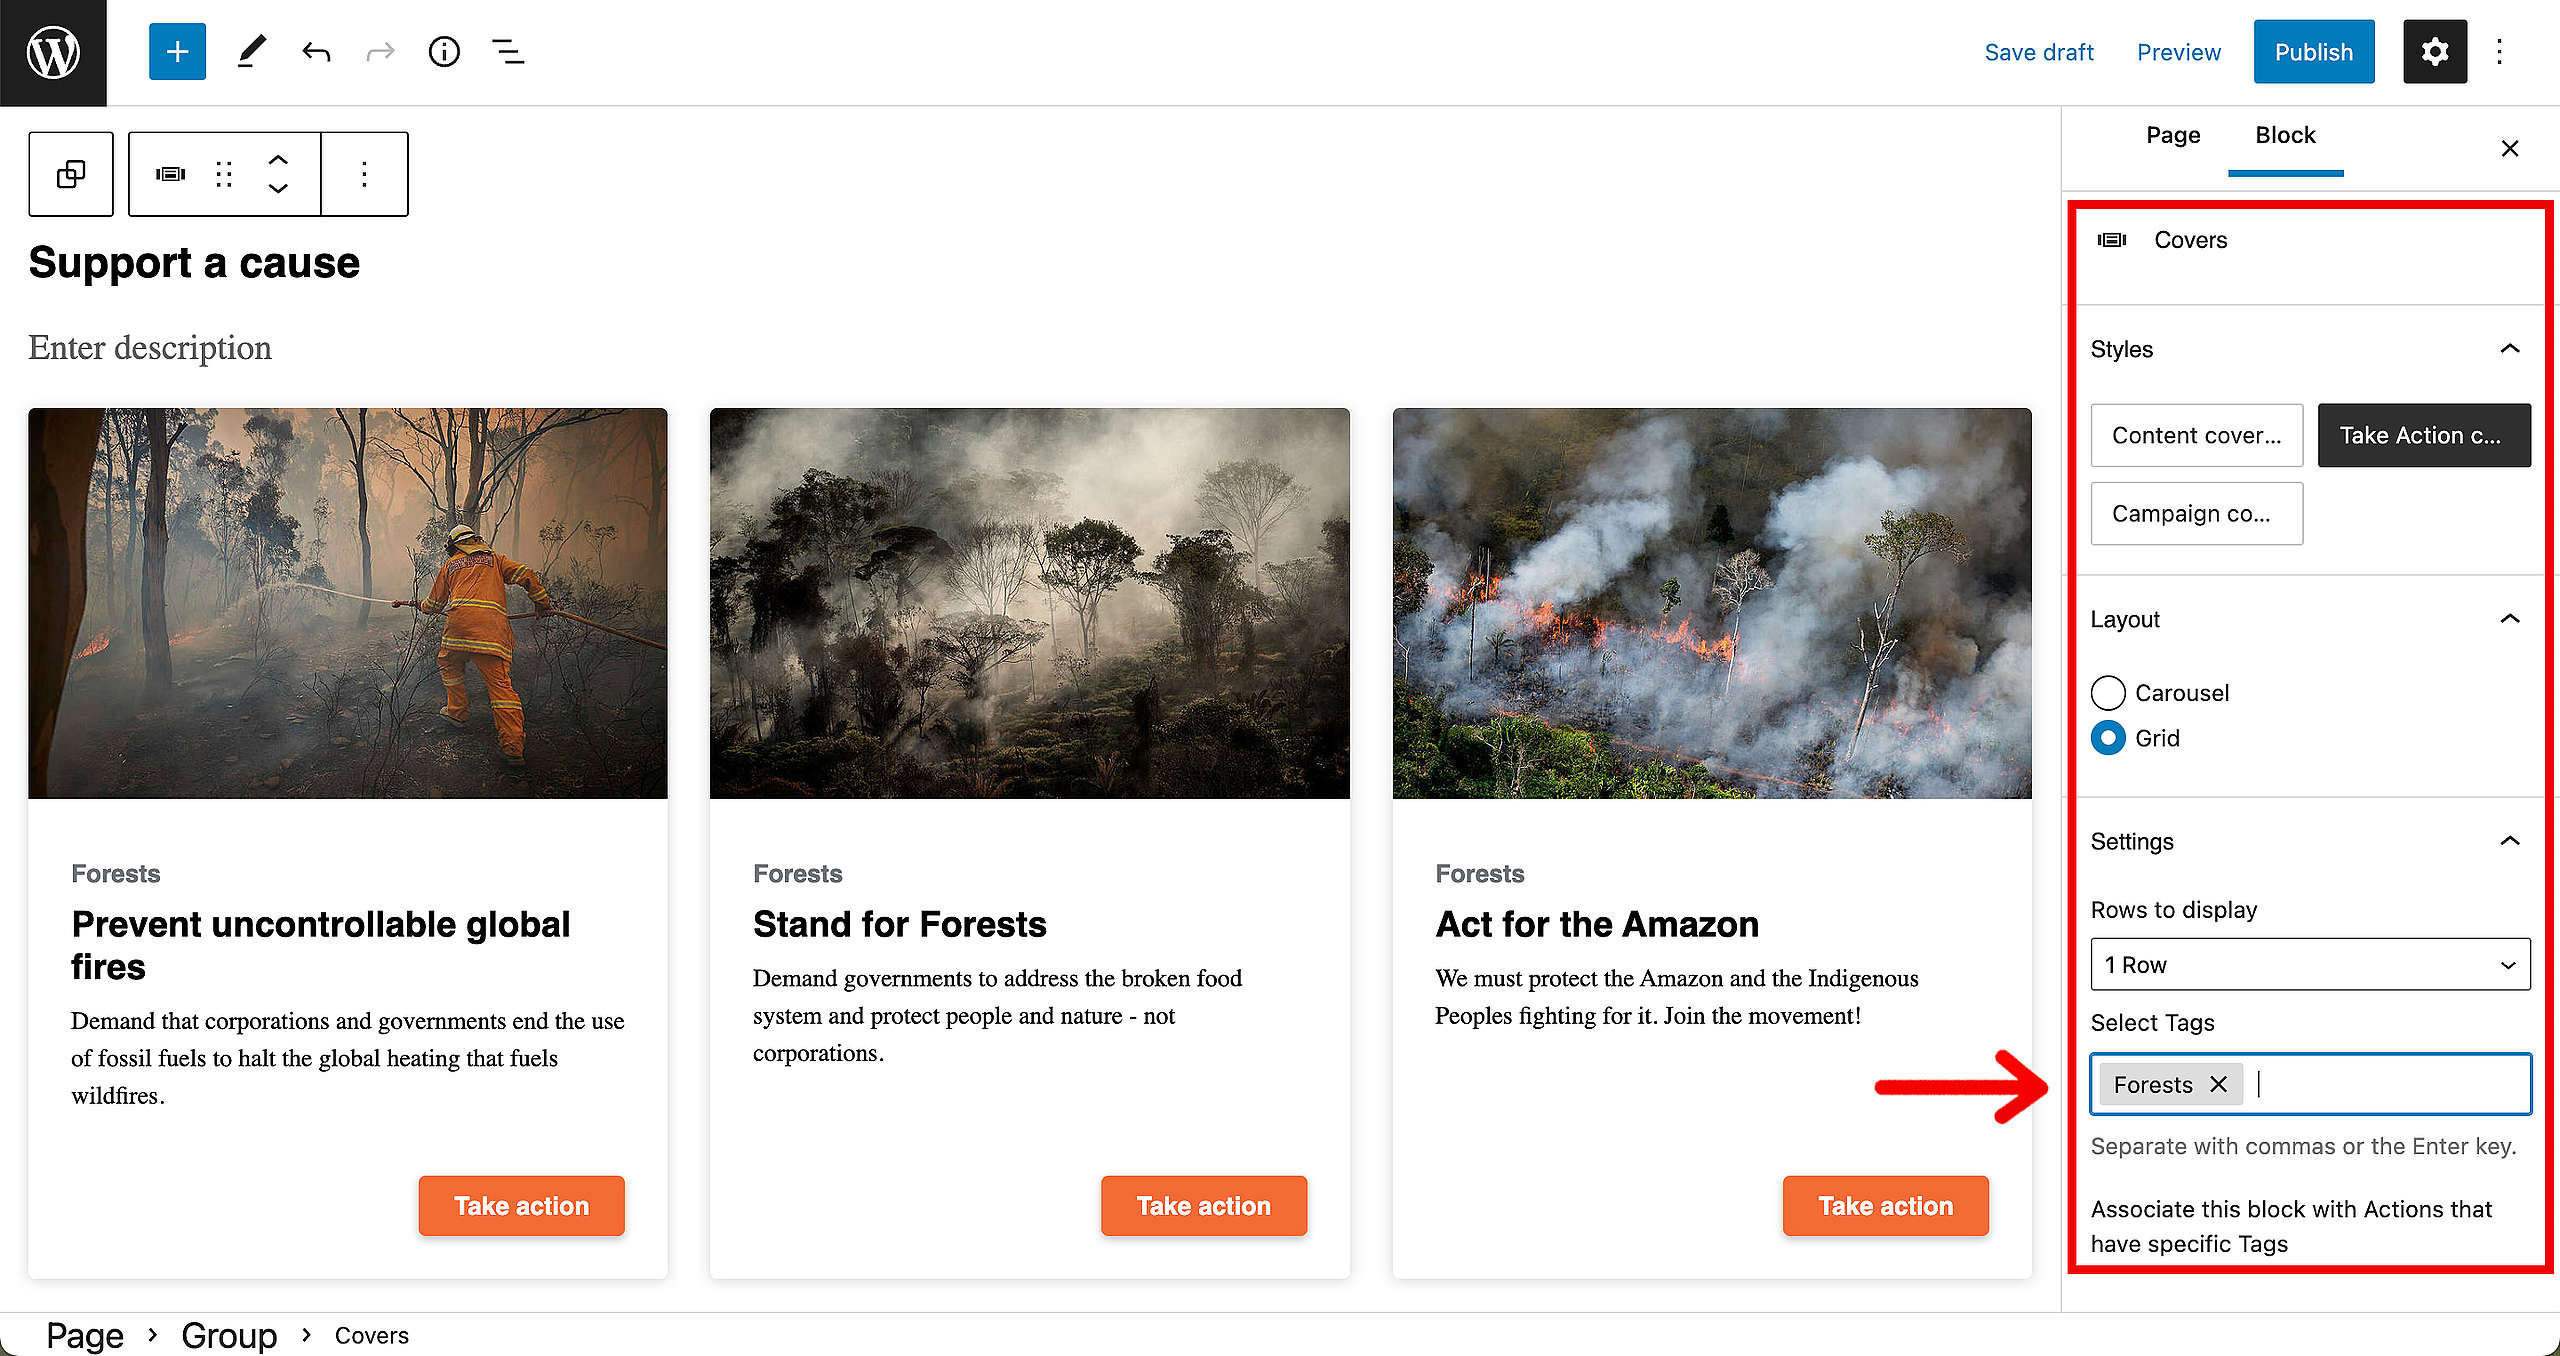
Moving forward to the actions. Here you’ll need to the same: Fill in the relevant tag(s) so the right pages show up in the Take Action feed.
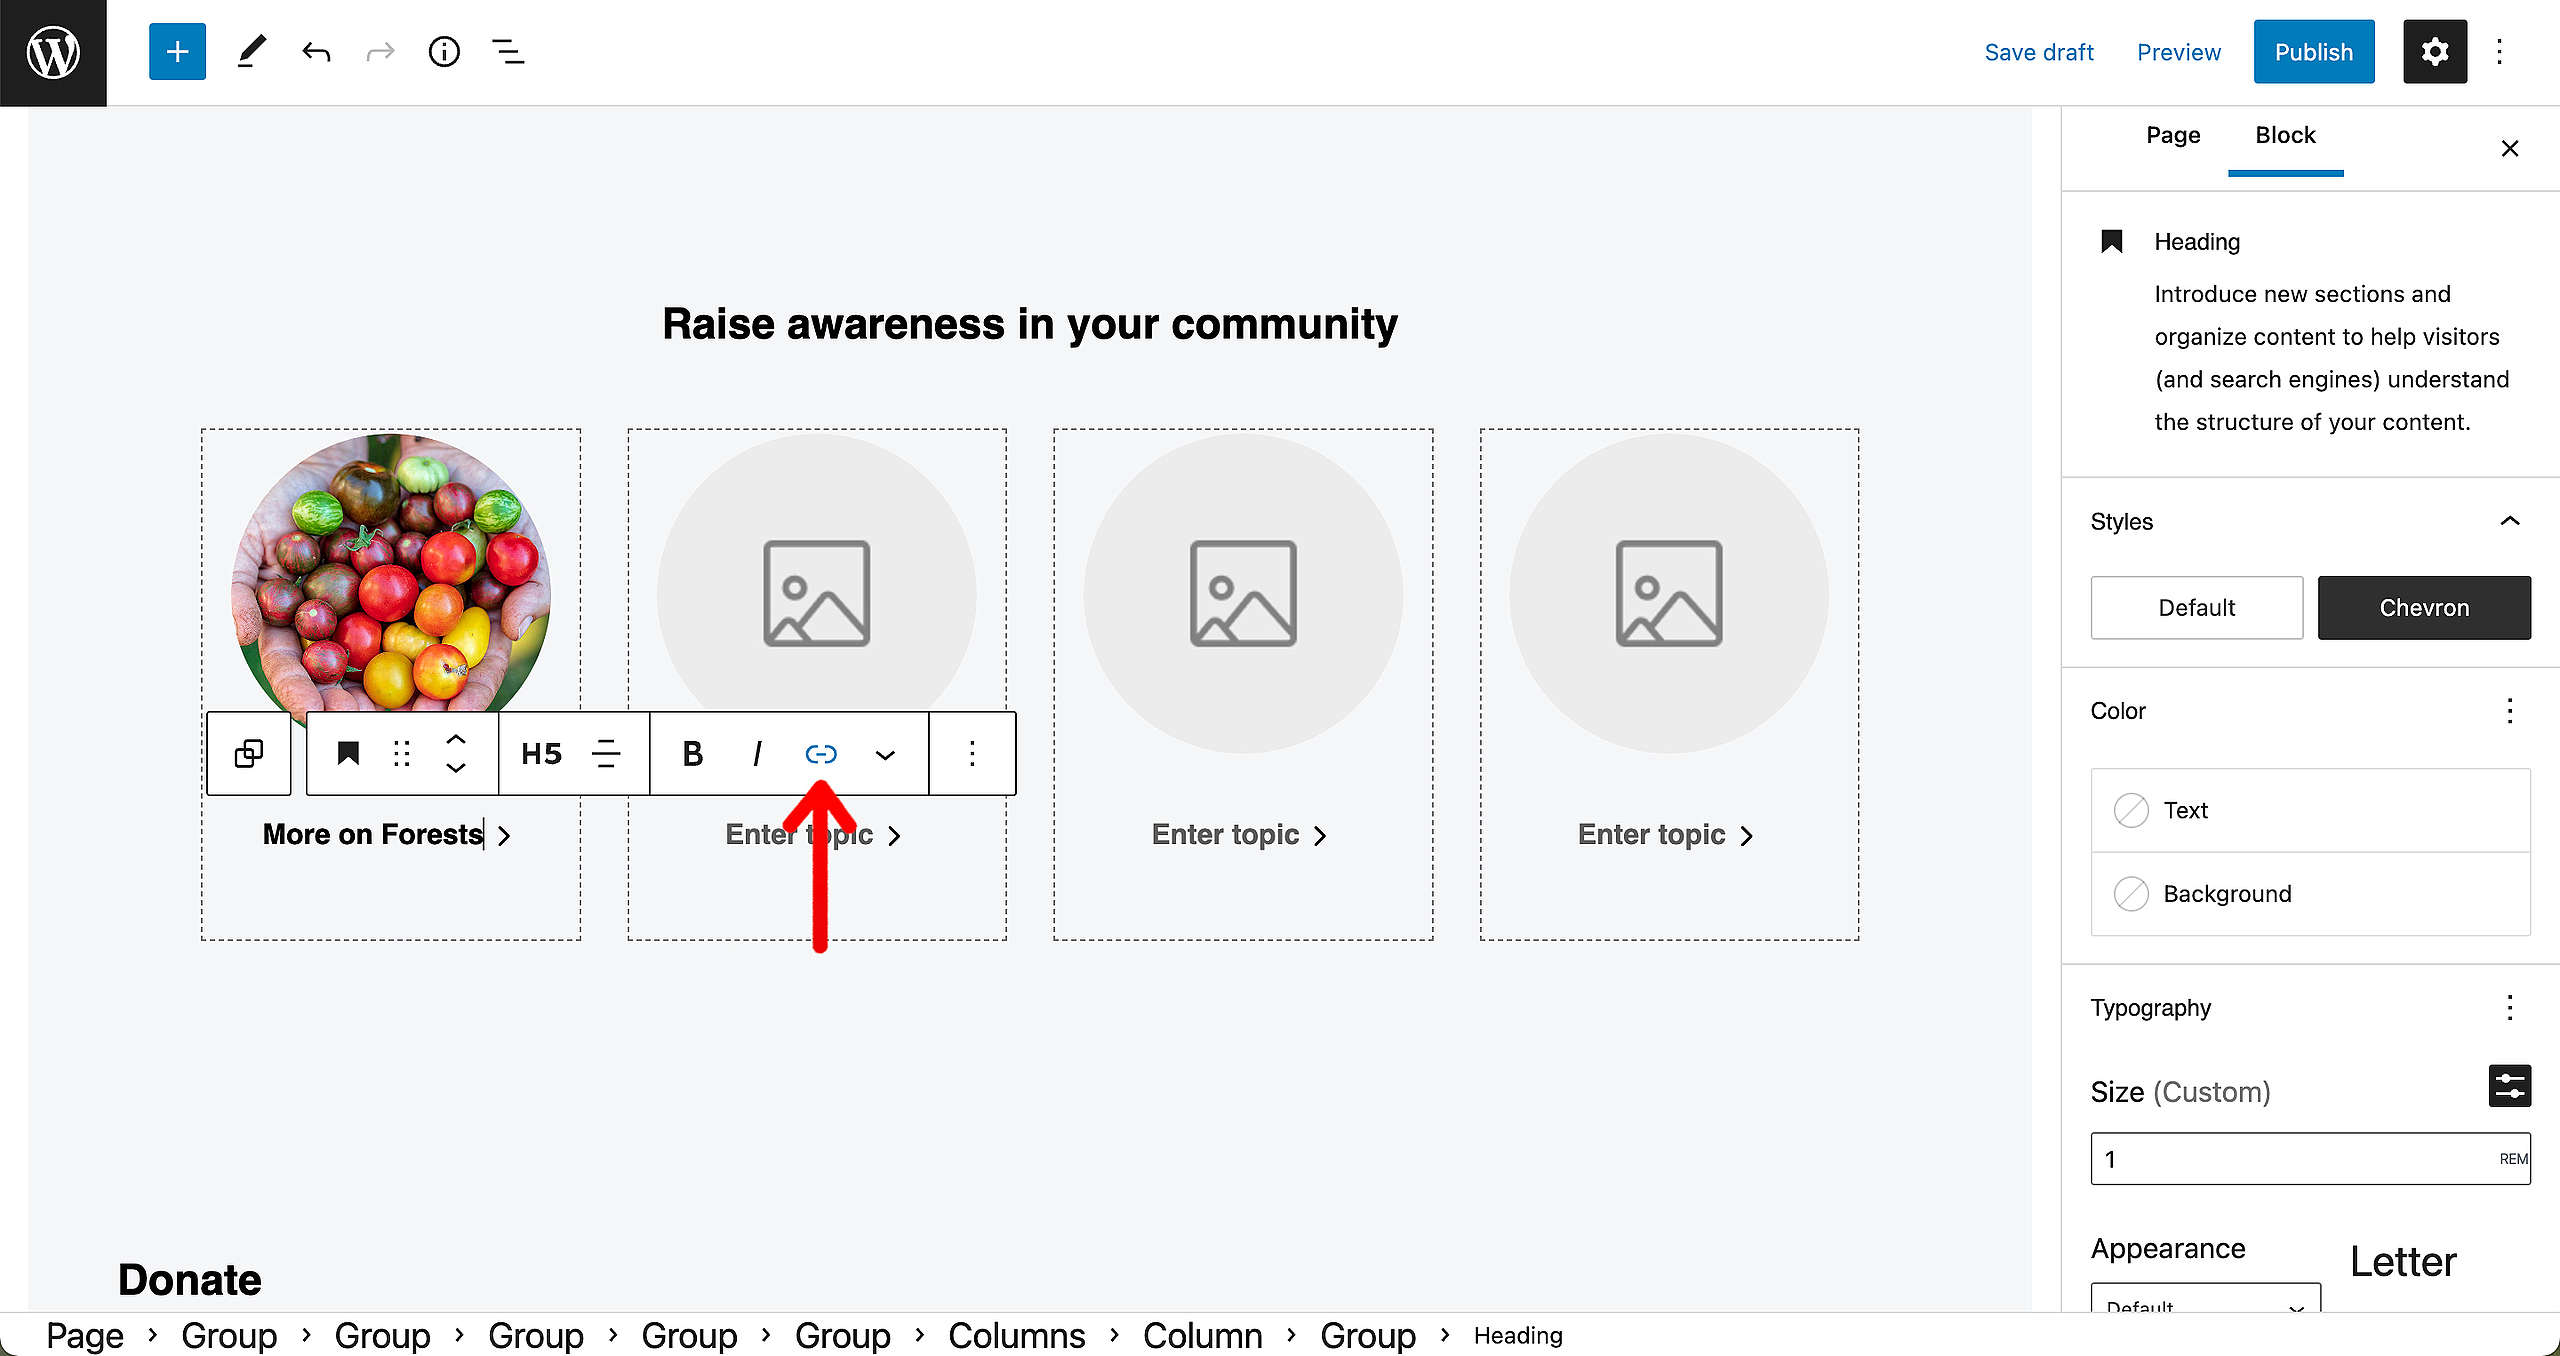
To make sure people can get more information, there’s an option to direct visitors to more info surrounding the topic. Replace the image, provide a little text and don’t forget to add the link by once again clicking on the Link icon.
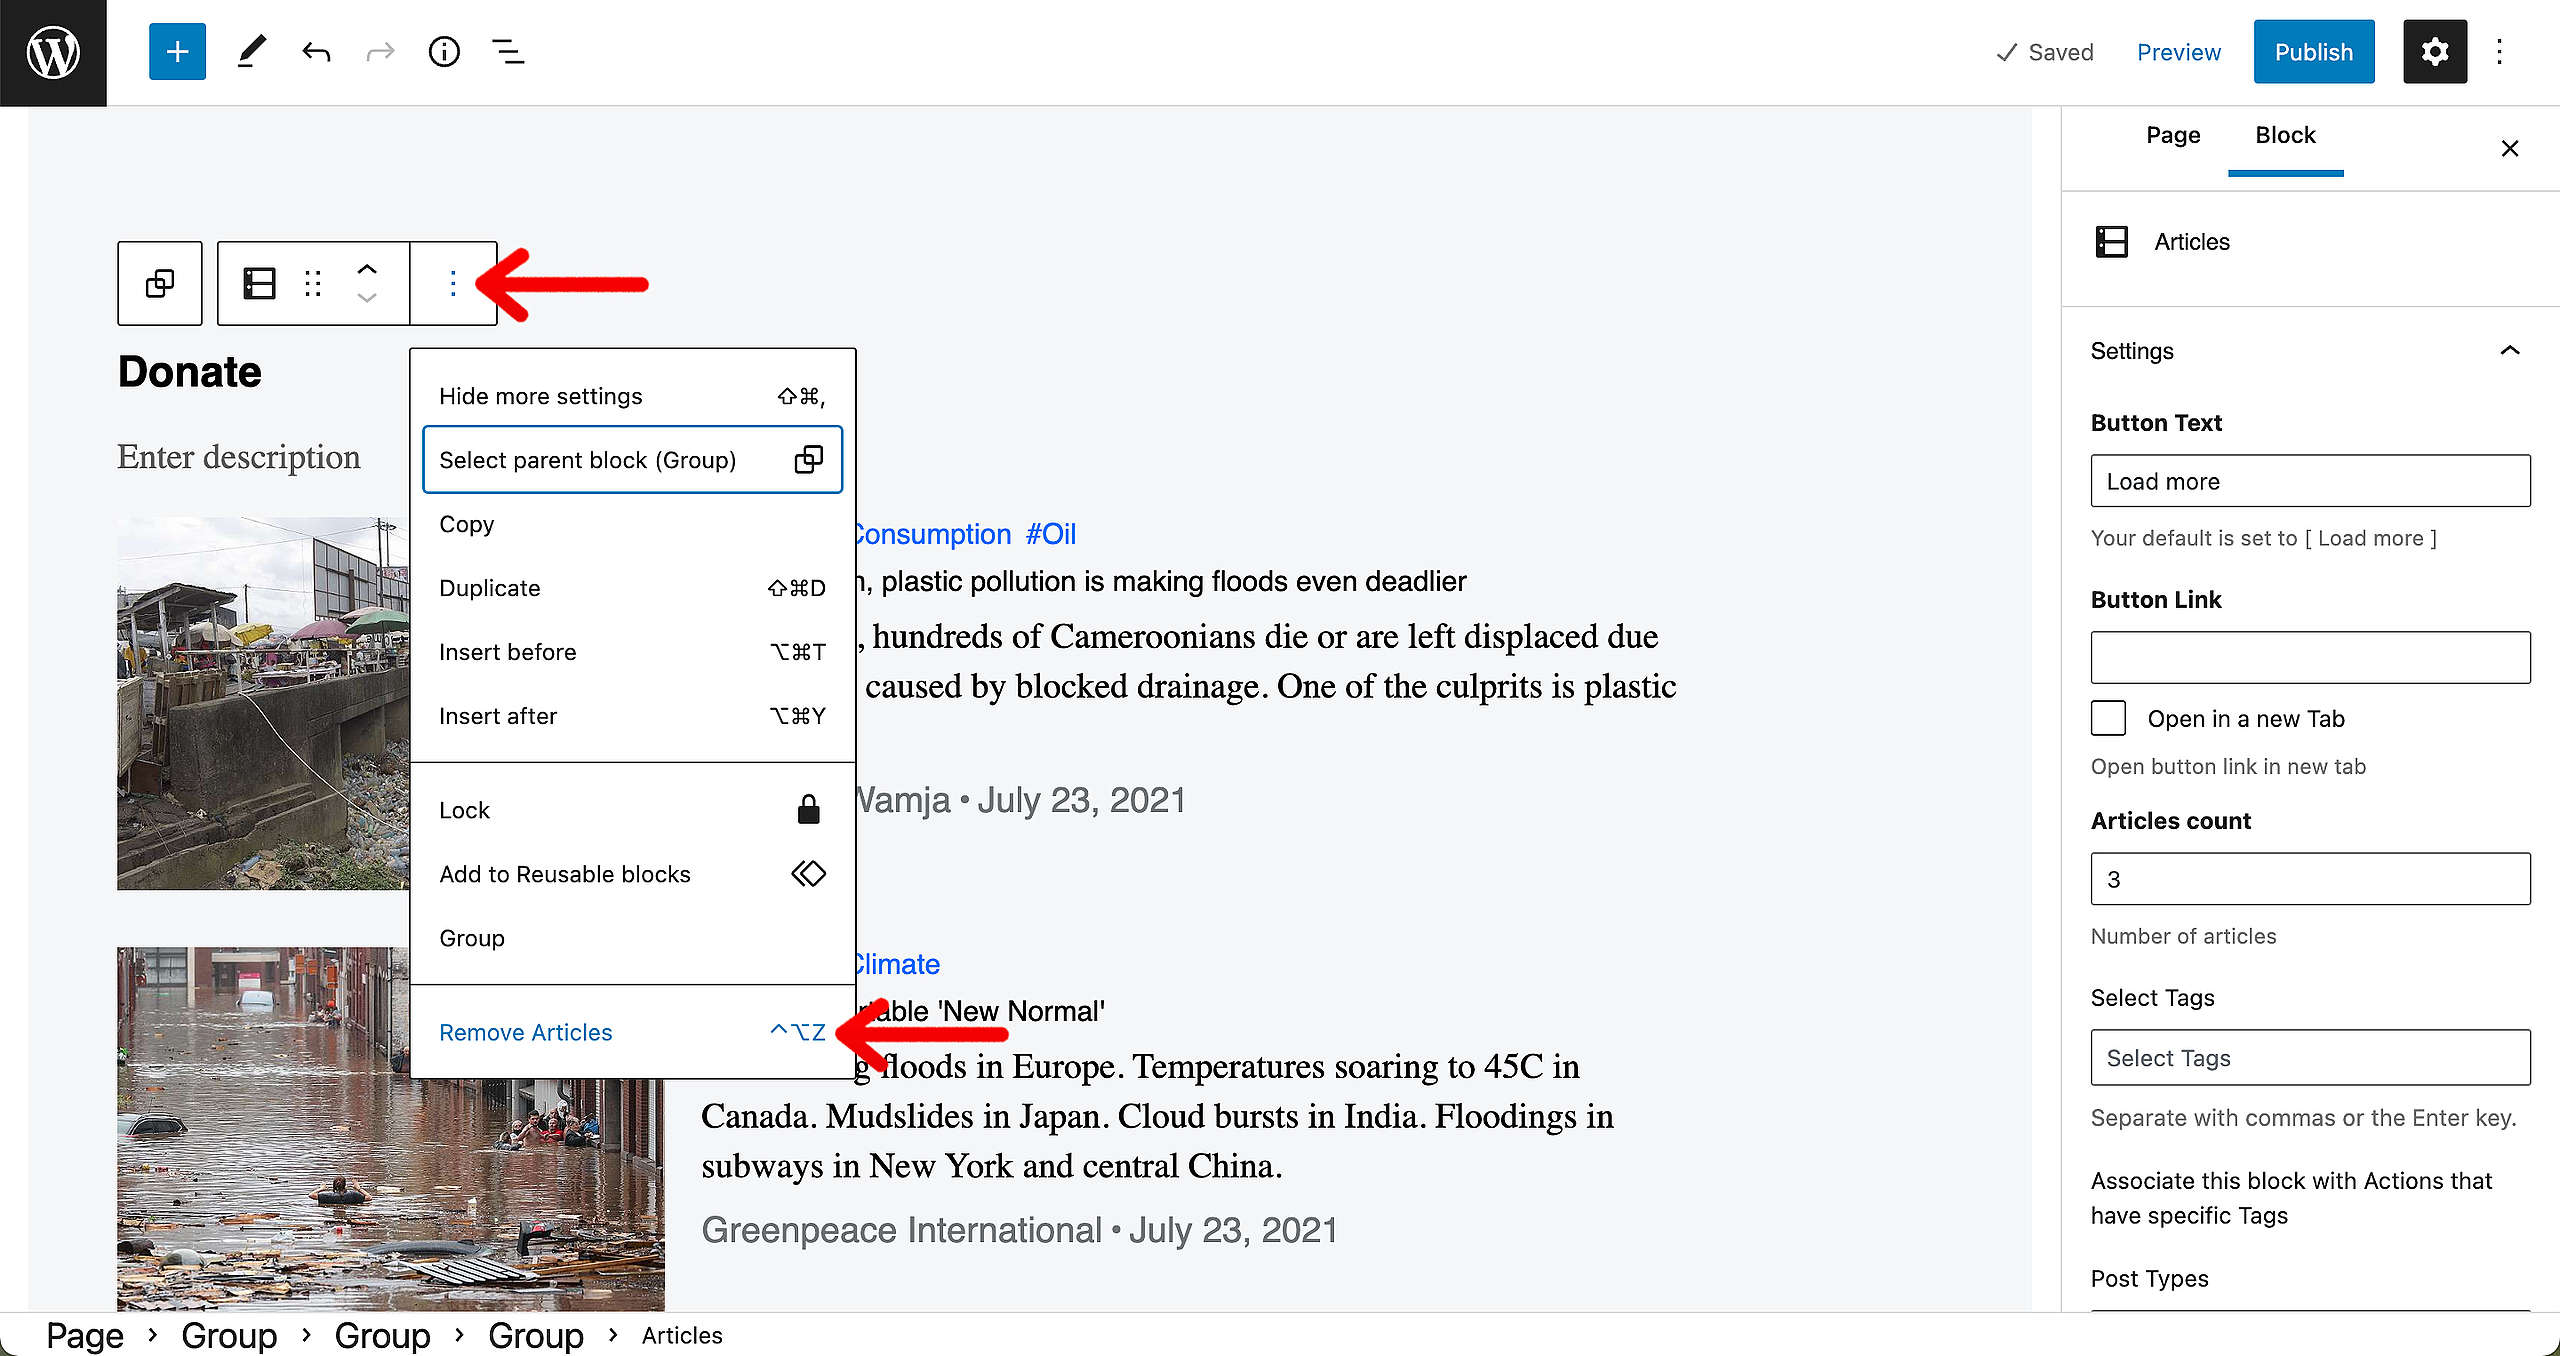
In a standard Take Action page Pattern, you’ll see multiple Articles blocks. If you think that is too much, all good: Just remove the Blocks by clicking on them. A box will appear: click on the three dots (see image below) and select “Remove Articles”. The Block will then dissapear.
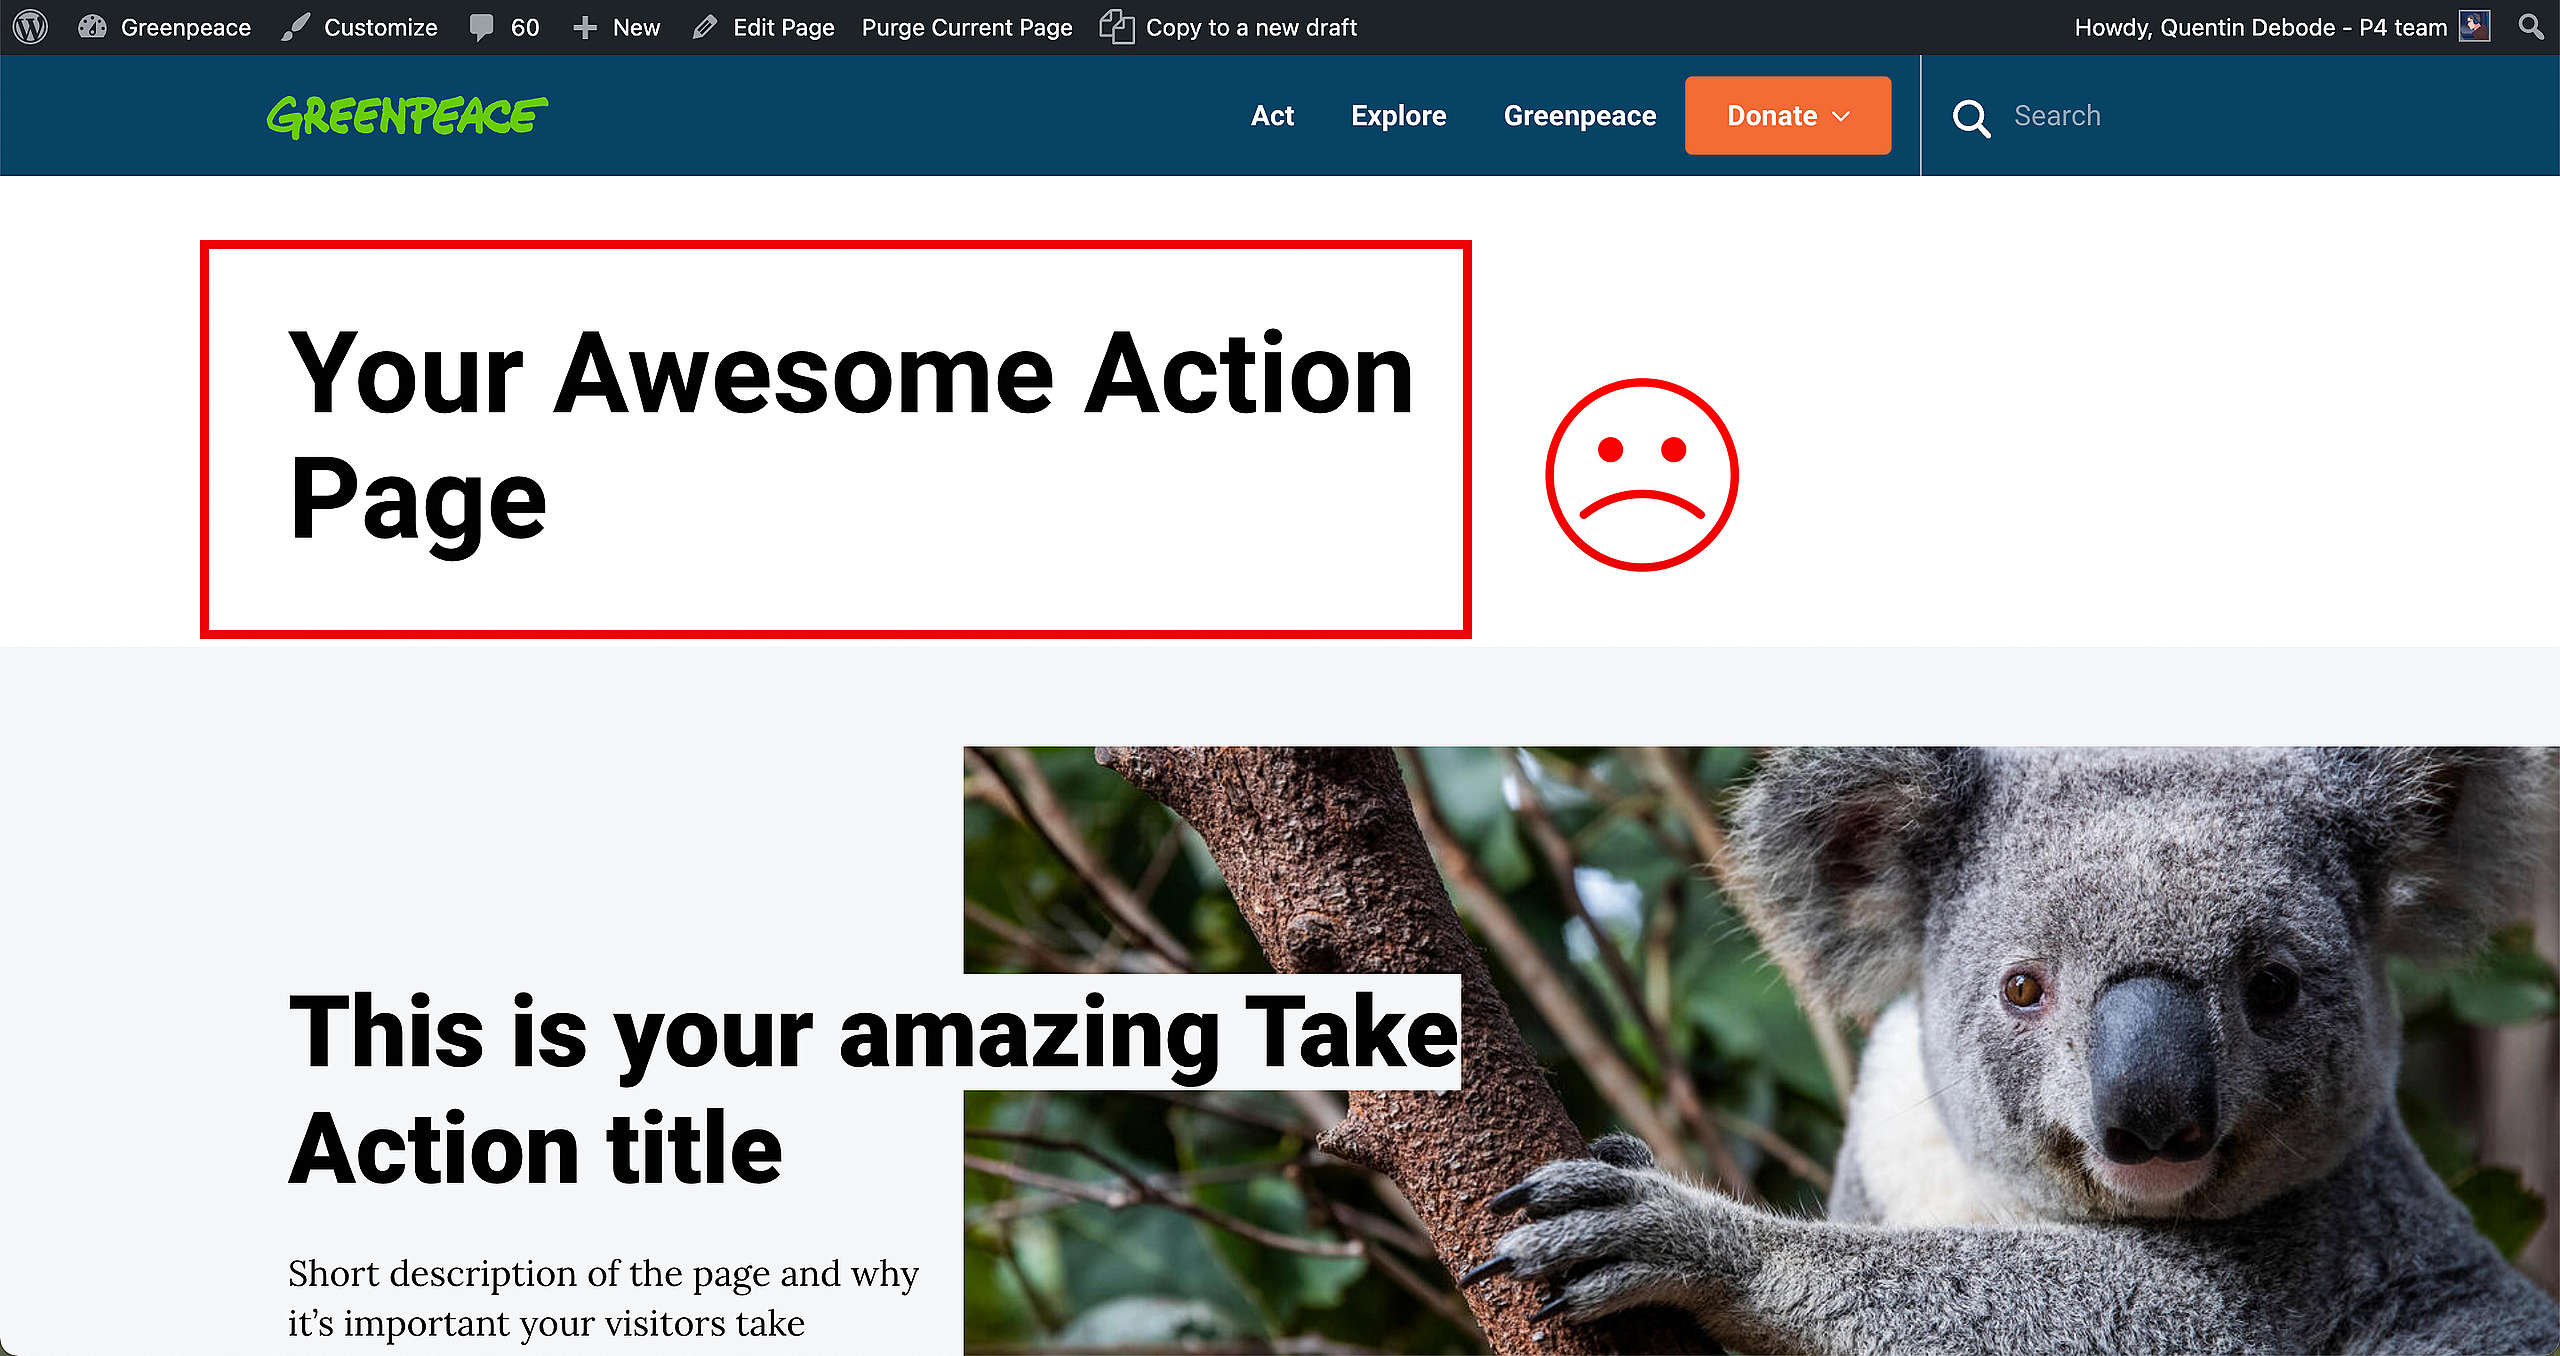
Let’s Save / Publish the page, but oh no, our standard page title is visible on the page. This kinda ruins everything, doesn’t it?
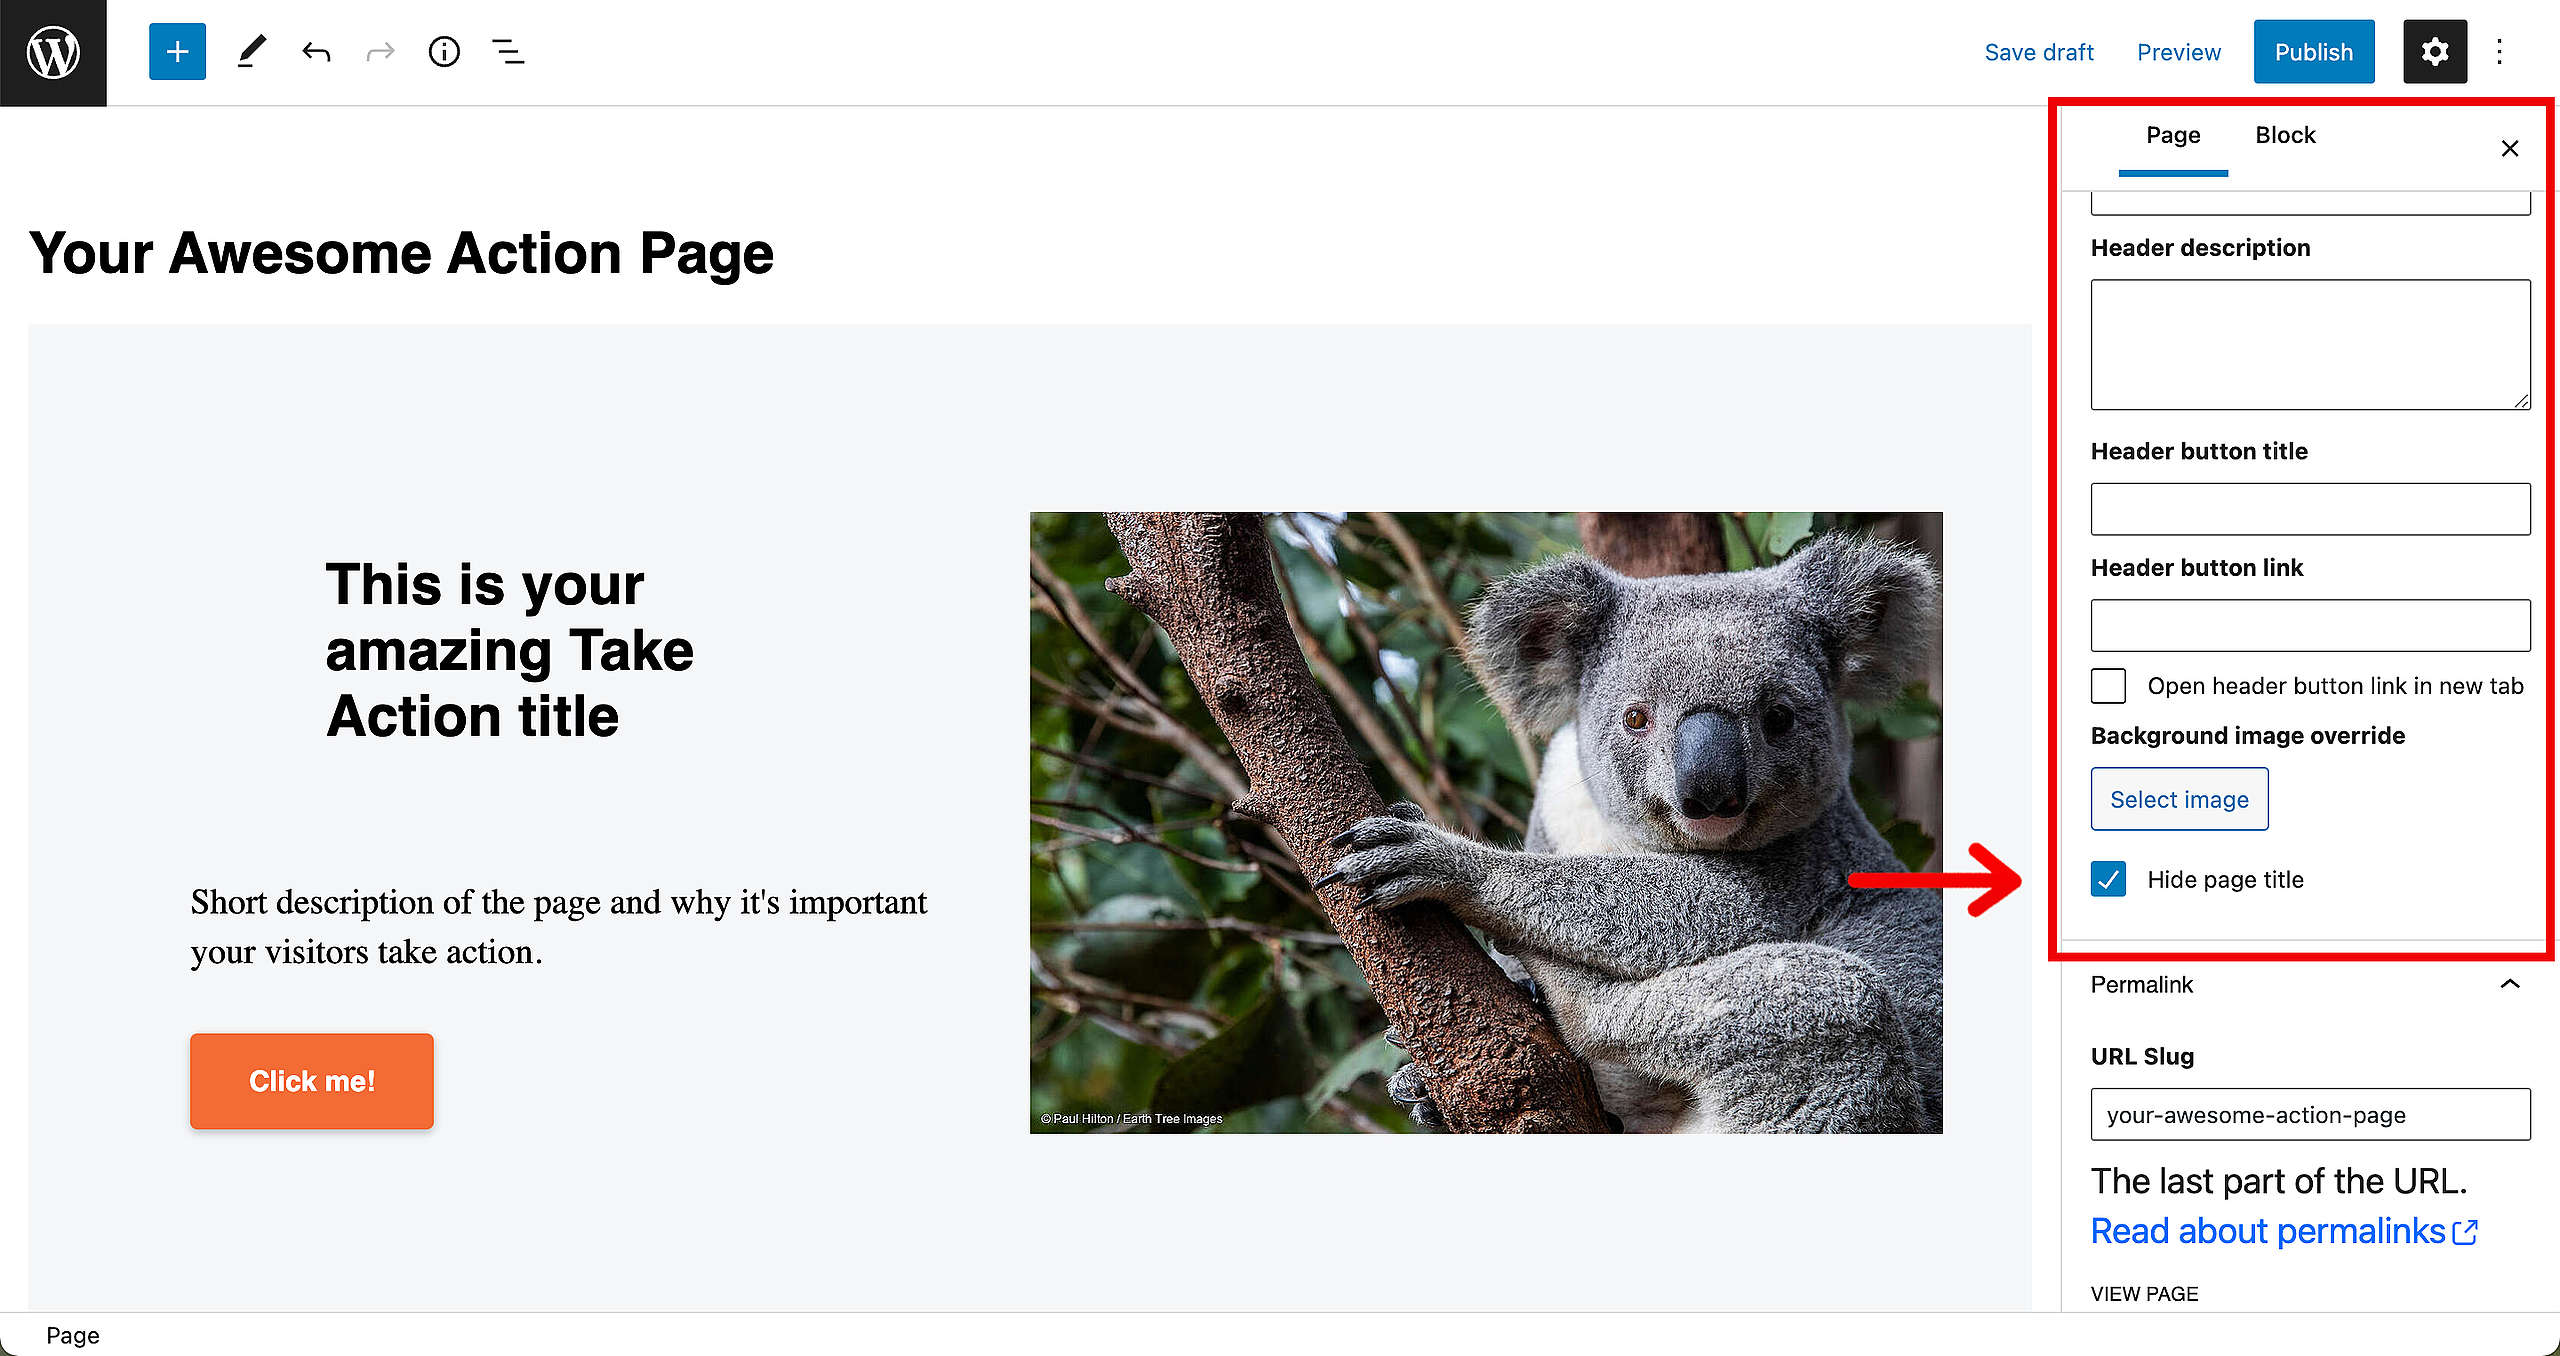
To remove that title, go back into the Page Editor and find the option to “Hide Page Title” in the right sidebar. Make sure that is selected (as seen on the image below) and once again Save / Update the page.
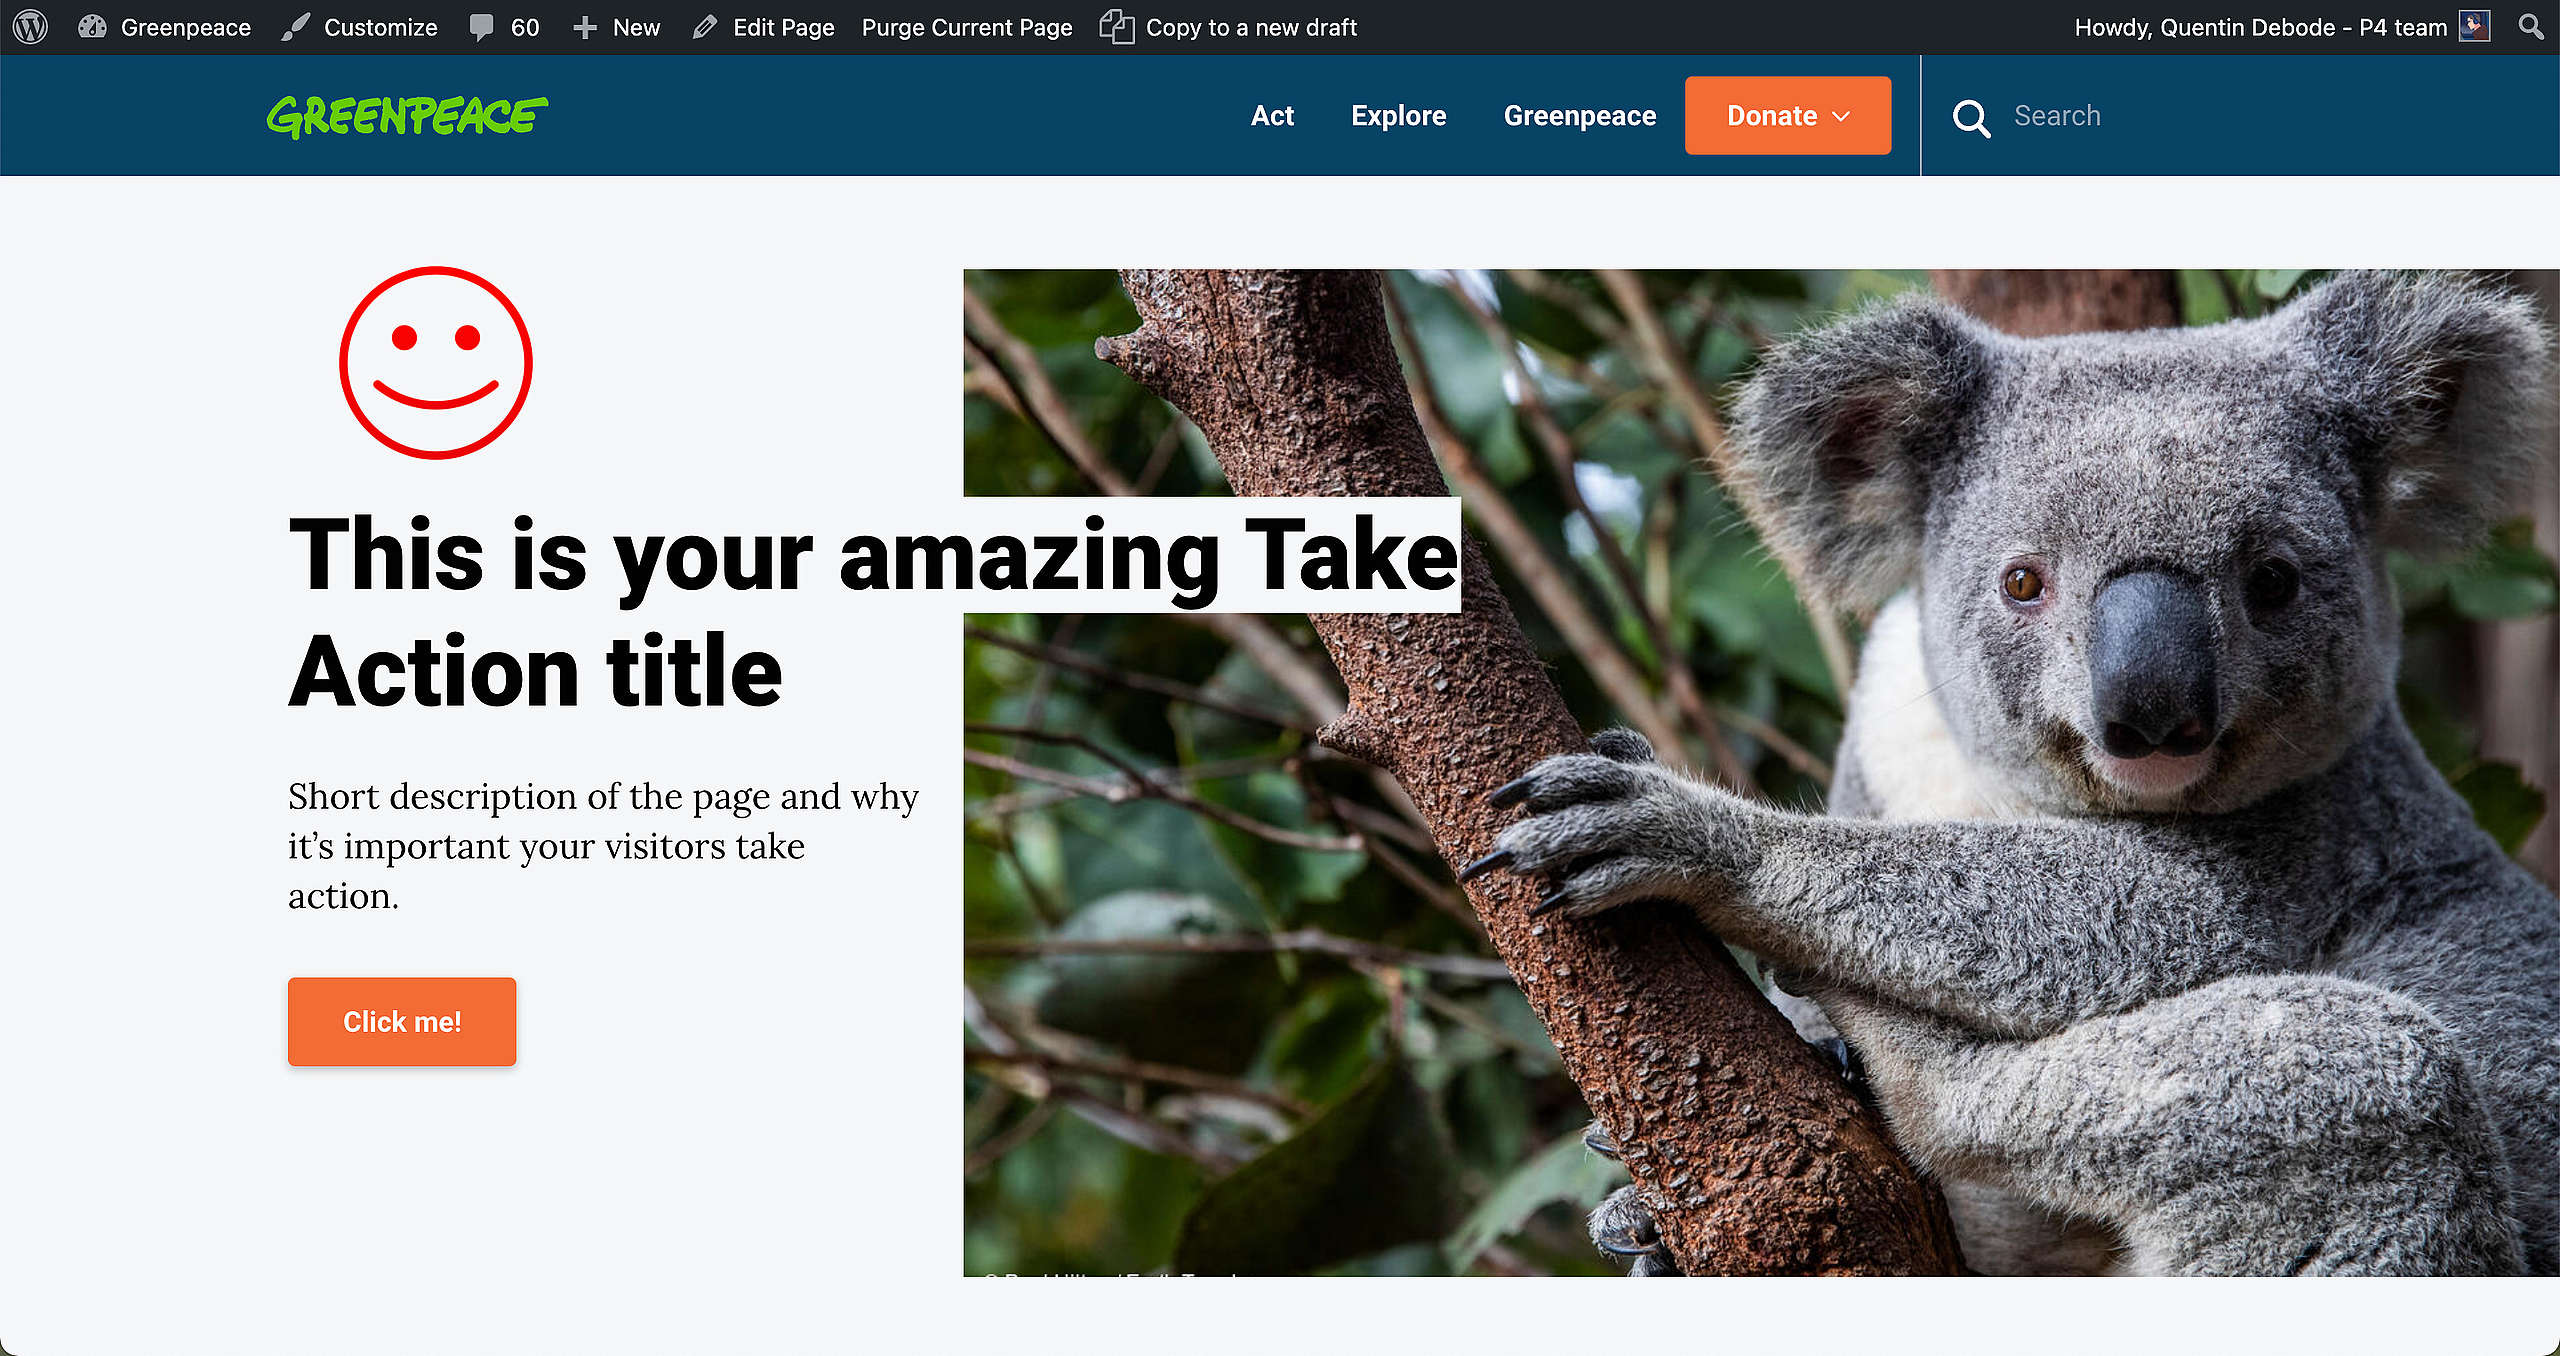
As you can see, the title is now gone, and the page is looking fantastic!
🧑💻 To learn more about Blocks and Patterns, go to this page in the Handbook.
Confirming the Homepage as the Homepage
#soon
Hide page title
You can hide the Page title from the frontend whilst still having the title in the system on both Evergreen and Default page templates.
Just locate the “Hide Page Title” command in the Page Header fields. This is especially recommended when using the “Form on the Side” style of the Engaging Networks form block, or when using the Page Header block.
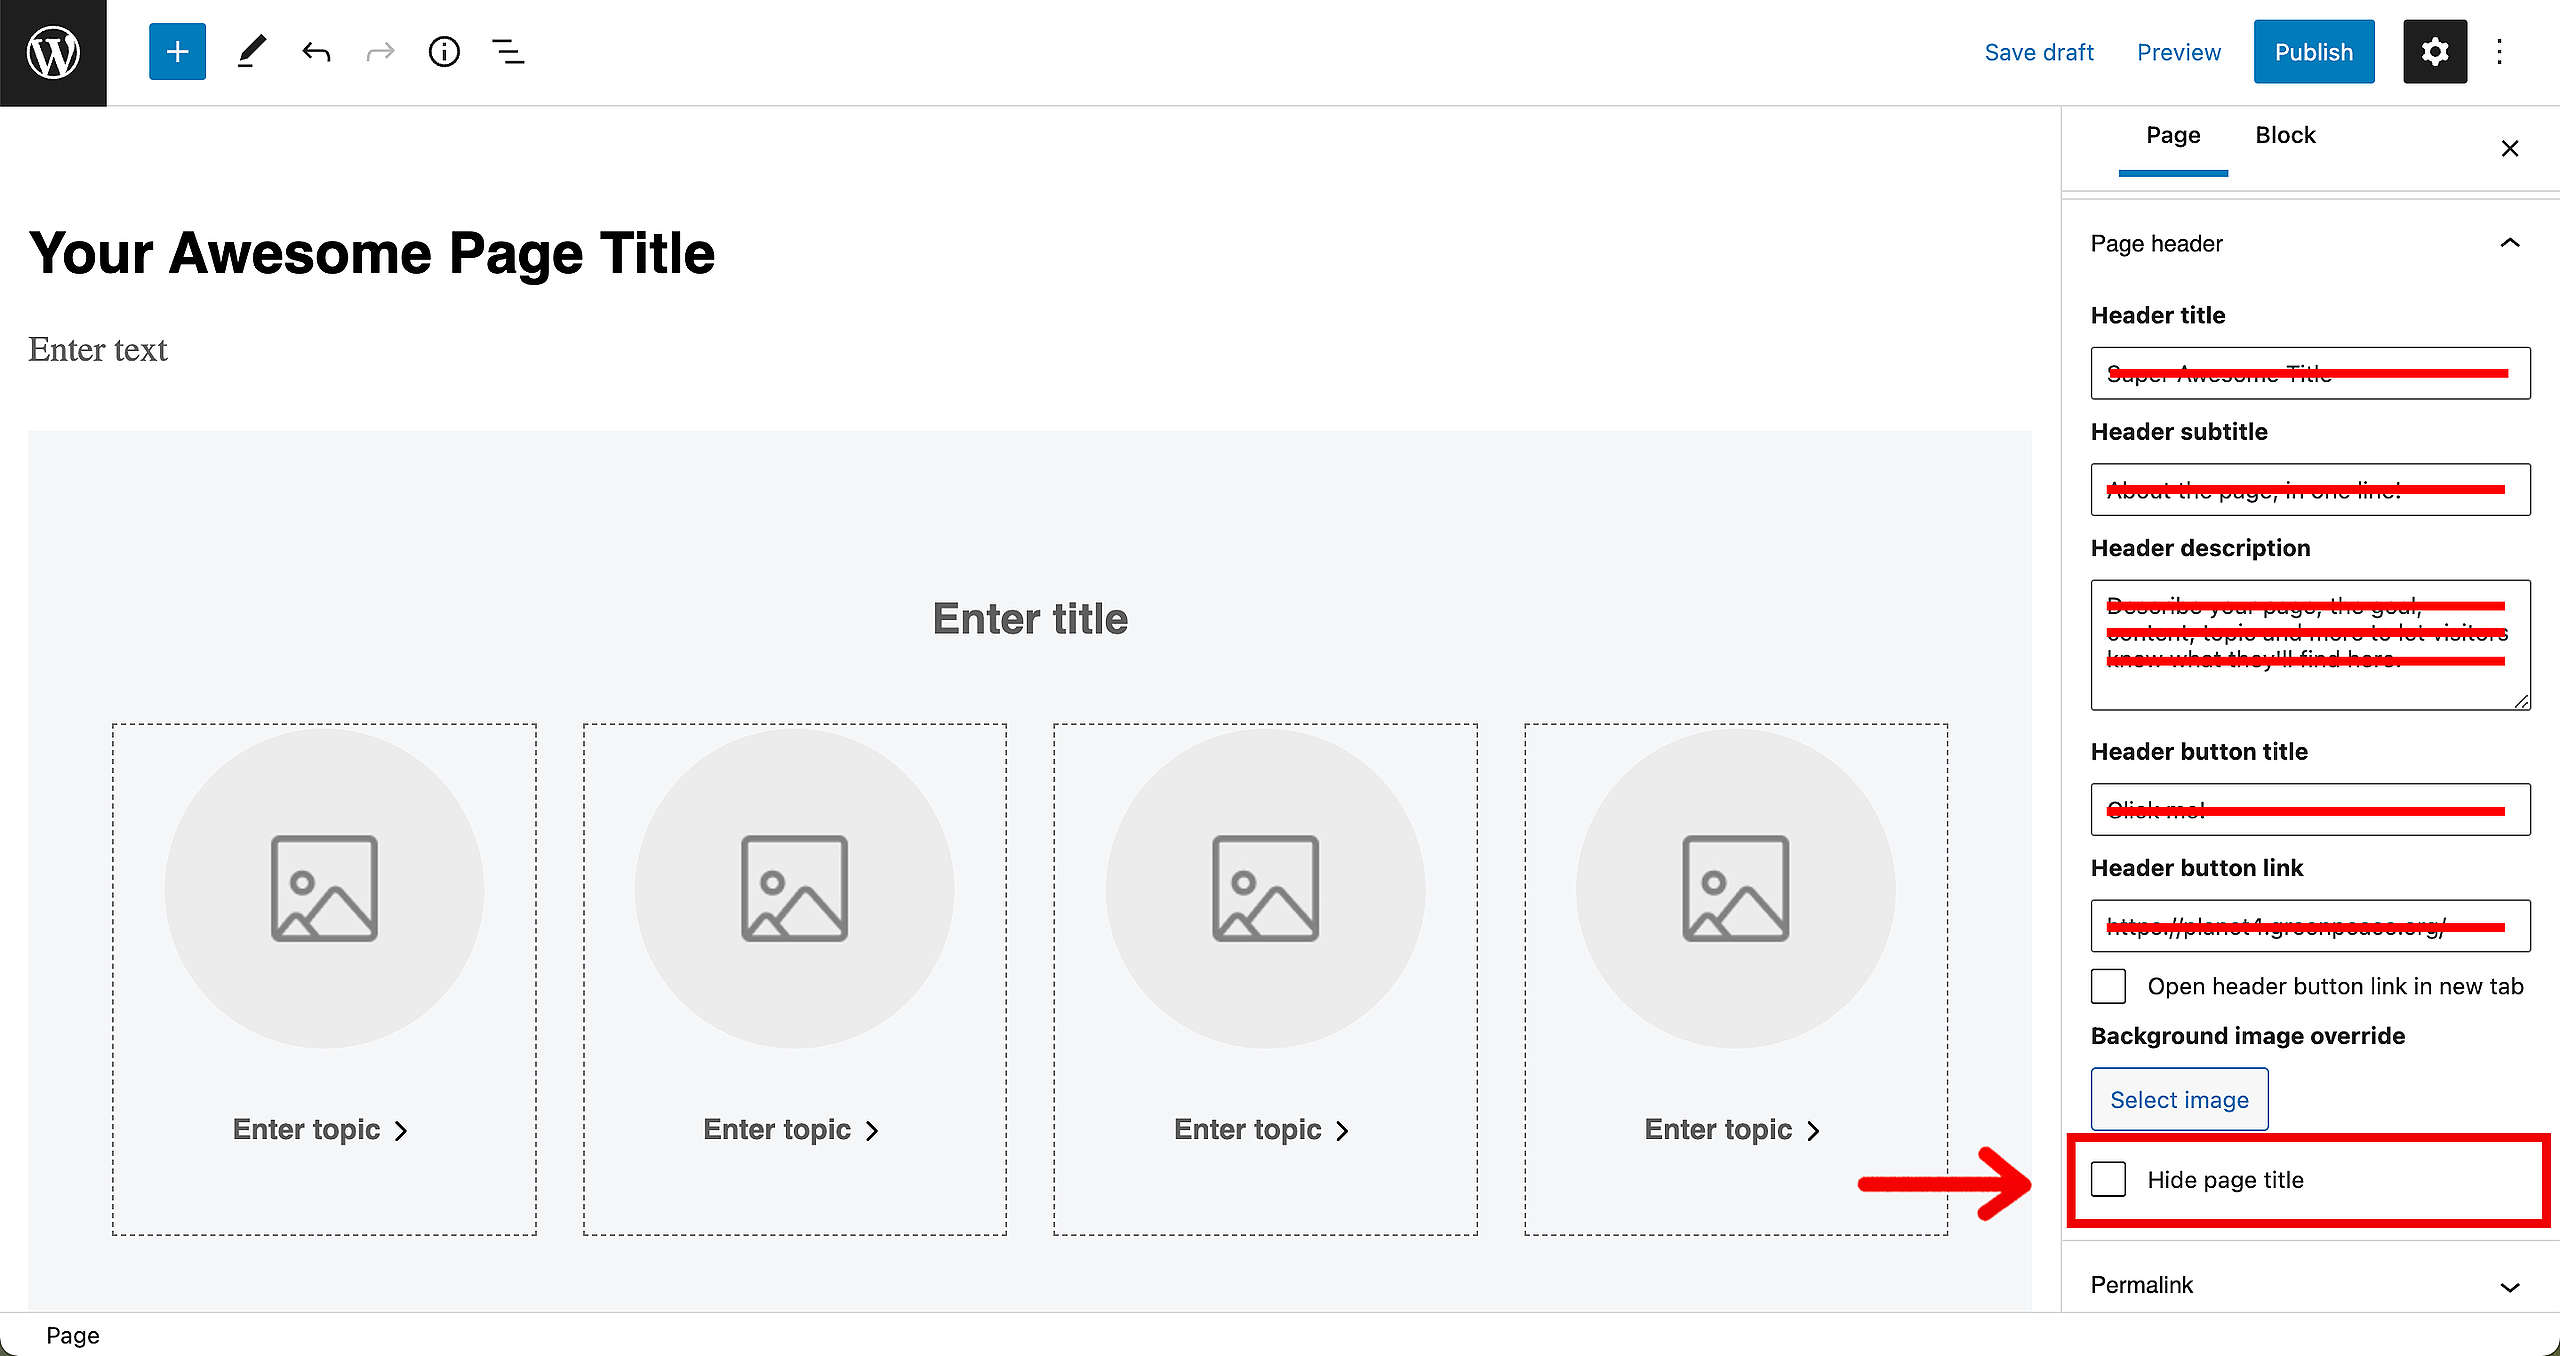
🤔 Tip : Just to be double-sure that nothing will appear in the Page Header, make sure to keep all the fields empty.
More on Creating and Managing Pages
Video
All you need to know about how Navigation, content types and pages interact with one another is in the P4 Admin Video.
- 00:55 Homepage, Act and Explore pages
- 15:00 Page Blocks
- 16:55 Navigation and Footer
- 21:05 Settings
- 26:26 Categories and Tags
- 32:55 Issue pages
- 37:55 Tags page
- 39:00 Take Action pages
🤔 Tip : Need subtitles? Enable them in the YouTube Video Progress Bar! You can do this by adding the timecodes in the description of your YouTube video.
Links & Resources
“Checking technical options, we discovered…” – Technical investigation
Architectural strategy – Multi-instances approach decision
Creating the first prototype – implementing Multi-instance P4 sites
