
Create a New Post
Posts are the most frequent type of content you will be creating in Planet 4, such as Press Releases, Publications and Stories (aka Blogs, News, Featured Stories, Articles…)
📚 Create Content > Posts > Create a New Post
Hi there! Are you a new user of GPI website? Make sure to send an email to [email protected] so your account is set up and activated.
Login and create a new Post
🔎 Where can I find this ? Dashboard > Posts > Add New
- Login to P4
- Select New Post
- Top nav: + New > Post
OR - Left nav: Posts > Add New
- Top nav: + New > Post
Post layout
The post page consists of a full description of an article, including social media buttons, author’s block, and a take action boxout. Under the description, the related articles block is displayed followed by a comments block.

Author name and picture
🧑💻 To learn more about Roles and Access, go to this page in the Handbook.
The Author field is automatically populated with the Username of the Post author. When clicking the name, users are redirected to the author’s profile page, which lists all posts authored by this person.
The Author’s profile image is now pulled out right underneath the Post title and displayed next to the name

As overridden Authors lack author page and bio, when the “Author Override” feature is set, the author image is removed.

Sidebar Options
Overview
🧑💻 To learn more and get a complete overview about everything in the Sidebar, go to this page in the Handbook.
Related Articles
Editors can add Articles block directly in the body posts. This is can be used as an alternative way of adding customized related articles. In that case editors can simply disable the “Include Articles In Post” option.

Post Articles Element Fields
At the bottom of the page, you will find another section where you can edit the following fields:
- author override
- take action page selector
- background image override
- open graph/ social fields
Author Override
The Author field is automatically populated with the Username of the Post Producer (you). If you are posting for someone else and they have a User Profile change it to their name in the Author dropdown. If they do not have a User Profile use the Author Override field. Use the Author’s full name only — no job titles here.
- For Stories use the full name of the Author. If they have an User profile, elect their name from the Author dropdown list.
- For PRs/Publications, the author is Greenpeace NRO, again select the name Greenpeace NRO from the Author dropdown list. e.g. for PRs and Publications published on GPI site, the author will always be Greenpeace International.

🤔 Key info >> Only names in the Author dropdown will generate Author Profile Pages. If you attributed a Post to an author using the Author Override field their name will not be enabled on the front end and they will not have an Author Profile Page
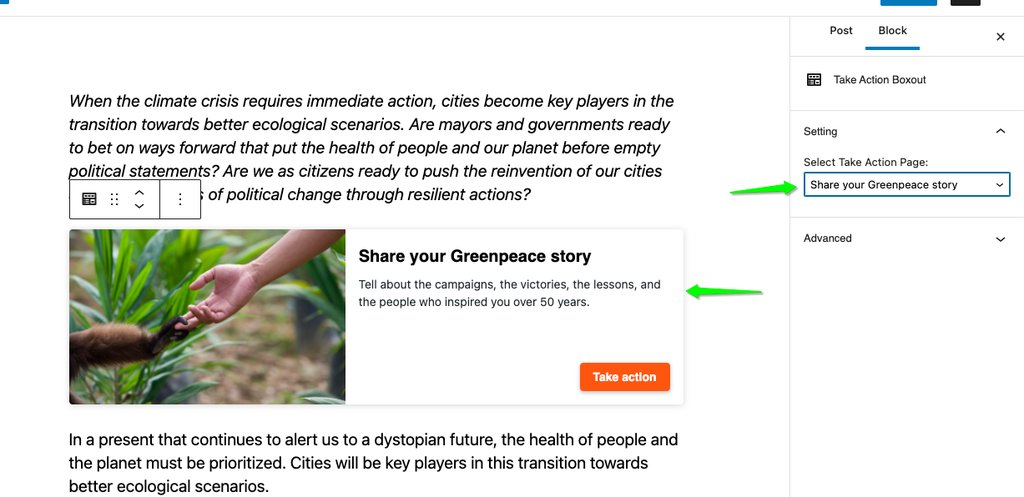
Take action Page Selector
It’s recommended to use this field for Stories and Publications only.
From the drop down menu choose the related Take Action page, if one exists. Otherwise, you can also customise the card. Learn more in the Take Action Boxout block page.
Post Content/ Body
Copy – paste content from Docs, Word or email, etc. into the Visual mode of the body and it will keep all your hyperlinked URLs. If there is no need to keep the formatting, then click on Paste as Text button or paste your copy into any Text Editor, then paste into the content/ body field.
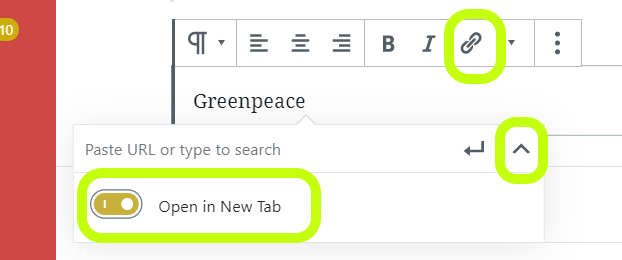
To open hyperlinked URL in a new tab, select the content, click on Insert/edit link from the WYSIWYG menu, paste the URL in the box that appears, click on the little arrown on the right corner of the box and a new window will open.
In the new opened window, click on Open link in a new tab and then on Apply or simply click anywhere outside the block.
Single images / photos
click the Add Media button, then Upload Files -> Drop files OR Select Files.
If the photo was imported via the GPI Media Library (Image Archive) plugin, the image meta data will be automatically populated; such as description, alt text and photo credit. This content will appear automatically on the front end of the site when the image is used.
Be sure to check/edit the following fields:
- Title – MANDATORY make sure is not bilingual (often times image titles from the GPI Media Library have two languages)
- Caption – MANDATORY keep it short and simple, no more than 30 words or so.
- Alt Text – MANDATORY the title of the image and the photo credit as it is from the Media Library (eg: Boreal Forest in Cameroon. © Jiri Rezac / Greenpeace). Text in the Alt field is visible on hover for images embedded in Posts.
- Description – can be the same content as the Caption field. This field is not required.
- Credit – MANDATORY add the photographer credit. © Alex Yallop / Greenpeace. Make sure you follow the order that is in the WordPress Media Library.
- Click Insert into post
- All the above mentioned details are, at the present moment, being automatically pulled if Editors take images from the GPI Media Library (media.greenpeace.org), since there is an integration between P4 and GPI Media Library.
You should never alter or delete any credit line as provided by the Greenpeace Media Library (this includes adding “Greenpeace” where omitted, or changing the order of attribution).
These are the fields in Edit Mode:


And here’s an image in the live site:
When no caption is present there is no blue caption field present.
On mobile devices, on embedded images the caption will appear below the image, not over it.
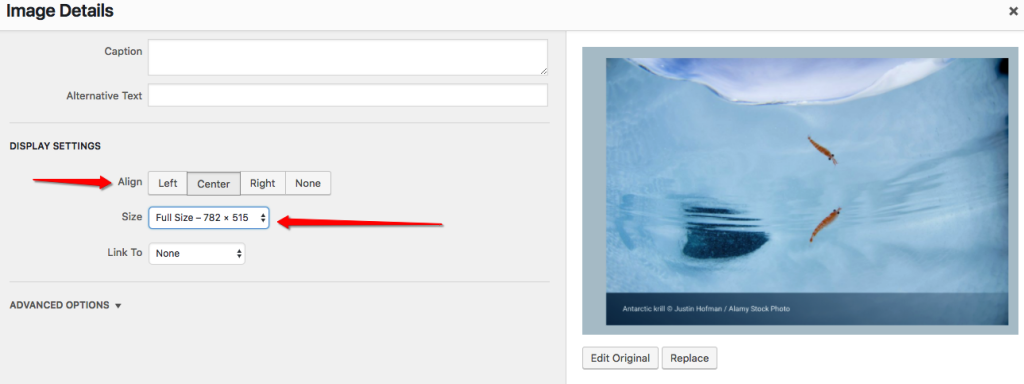
Image Gallery
Add Media > Create Gallery > Choose Images > click Create New Gallery
It’s easiest if you upload all of your images first then go to your Post and create the gallery.

To Edit a Gallery:


To Edit a Gallery Caption:
🤔 Image tips
|
Embed Videos and other media
There’s loads of things you can add to your Post. You can insert Tweets, YouTube videos, Spotify tracks and much more. For this example, we’ll embed a YouTube video in our new blog by selecting the YouTube option in the Blocks bar on the left.

After that, you’ll see the Block appear in the article. Simply copy/paste the URL from YouTube into the bar and click on Embed. The video will be loaded into your Post.

🤔 Key info : embedded YouTube videos are by default in privacy-enhanced mode, to avoid 3rd party cookies fired by Google and protect our users’ privacy.
Add video from GPI Media Library
To add a video from the GPI Media Library, copy the .mp4 URL

Add PDF and other docs
- To upload a PDF inside a Post – needed when there is a request for a publication type of content (have both content about a report and the pdf)
- click on Add Media -> Choose a file and hit insert into post.
- To upload a PDF in the WP Media Library needed when there is a request for an URL linking to a specific report
- click on Media (left navigation bar once logged into WP), click Add New -> choose a file and the PDF gets uploaded.
- The document will not appear in the latest news section but it will be available in the Search section.
- edit the title of the document before uploading on P4 so it is representative – eg
- YES: greenpeace-report_imaginary-trees-real-destruction_march-2018.pdf
- the name of the report should also be modified once uploaded, in the Title section. eg: Imaginary trees, real destruction (this will help when the editor embeds the PDF in a post
- NO: e697ef71-e697ef71-legal_writ_e…
- YES: greenpeace-report_imaginary-trees-real-destruction_march-2018.pdf
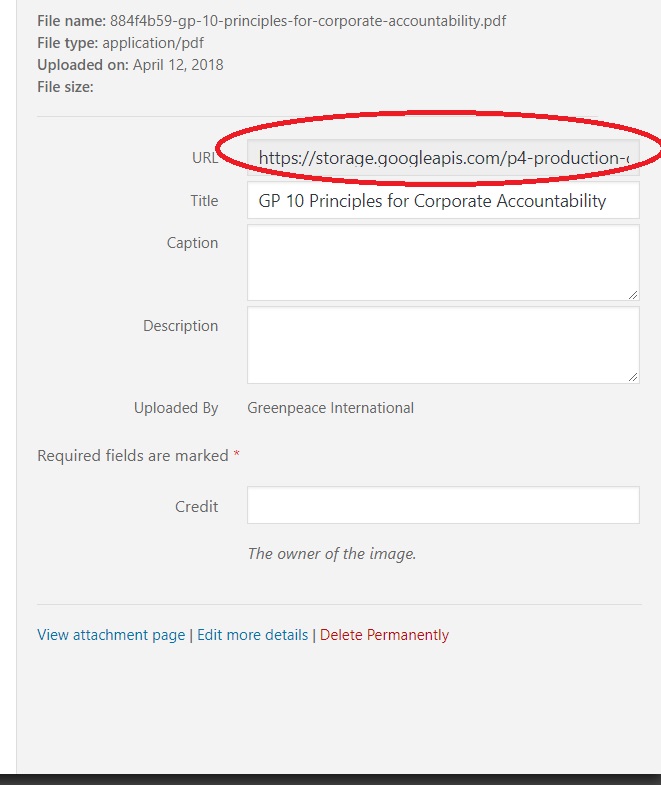
- the URL is available once you click on the uploaded PDF and a new window opens, in the URL field
Manage Posts in the back end
Once logged in, go to the left side navigation bar and select Posts -> Page Types. Click on the number under count corresponding to the category you are interested and it will take you to a new window with filtered results according to you selection.

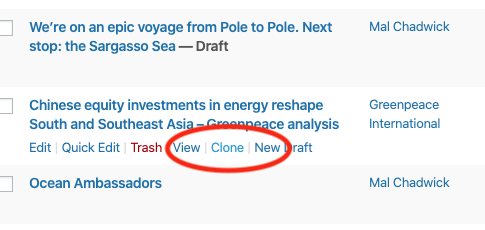
As mentioned above, you can copy / duplicate posts from the backend / Admin dashboard:
- when hovering over a title, a “CLONE” button/link will create a DRAFT copy of the post or page, with the same title, URL, content etc..
Quick Edit a Post
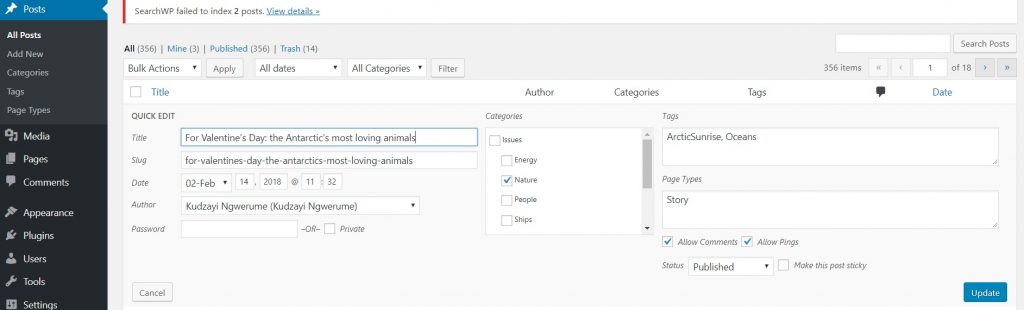
Some information about a Post can be edited from the dashboard. To Quick Edit a Post, go to Posts > All posts. When the list of posts appears, hover over the post you want to edit and the option for Quick Edit will appear.
Information such as the title, the slug/URL, publication date, author, categories, tags, post types and status can be edited with the Quick Edit option. When finished editing, click Update.
Comments
🧑💻 To learn more about Discussions and Reading settings, go to this page in the Handbook.
Comments are available in POSTS only, and anyone is able to post a comment (apart from spams or bots, of course).
When not logged in, users can comment anonymously using any name they prefer.Whenever a comment is posted, a P4 Editor has to approve it in Dashboard > Comments, moderation settings will differ from office to office.

Enable comments for several posts
To enable comments section on posts pages for several posts (for eg, after the migration of content), the editor should follow the next steps:
- go to All posts
- select the posts that are needed, either choosing a specific author, category or tag, by clicking on the specific keyword, so all results are loaded
- select Bulk actions
- select all the filtered posts – by ticking the box before Title or by selecting each one of posts individually
- change the status to Edit and click Apply
- a new menu will open
- go to Comments and change status to Allow
- click Update


Now all the selected posts should have the comments sections enabled at the end of the posts.