
Create Get Informed Pages
Need to set up a new Get Informed Page from scratch? This overview will help you out, from the very beginning, to adding content, to page settings and publishing.
📚 Create Content > Pages > Get Informed Pages
Creating a new page
The “Get informed” will replace the current “Explore” page. The purpose of this page is to allow users to learn more about a specific topic.
New page
🔎 Where can I find this ? Dashboard > Pages > Add new
Let’s start. First, go to your Dashboard and select “Pages”. You’ll be able to create a new page there, by clicking “Add New”.

When you’re loaded into your new page, you’ll get a screen where you can select a pre-existing pattern. For this example, we’ll be selecting Get Informed.

First, fill in your page title and just to be sure, already save this draft.

Content
Let’s get to the template!
First thing you’ll spot is the explore block. These are places where you get to put the categories of topics this Informed page is about. Replace the image with a new one by clicking on Upload, or find one in your Media Library.

Don’t forget to link both the image and text of the topic towards the relevant page. Click on the icon and insert the link in there.

After that, we have the Media and Text section. A place where you can show the multiple problems and topics by giving them a good title, description and a button link to the relevant page. Replacing the image is done as everywhere: Click on replace and select the image from the Media Library, or upload a new one.

Next, another chance to show what you’re working on. Replace the icon and text and link towards posts, action pages or more Deep Dive Topic pages.

Keep your visitors up to date with relevant information to the topic. The Articles block takes all new posts by default, so make sure to select the right Tag and Post type in the right sidebar, under the Block options.

Here, you’ll find a Gallery. To add images to the gallery, click on Upload (and upload multiple new images) or on Media Library. If you want to select multiple images from the Gallery, make sure to hold the Control button (or Command button on Mac) to select several images at once. Once that is done, confirm.
There are three different styles for the Gallery; Slider, 3 columns and Grid. By default, it’s on the grid option for this page template but you’re of course free to change that.

🧑💻 To learn more about the Gallery block, go to this page in the Handbook.
Finally, let people stay up to date, by allowing them to sign up for a newsletter. Simply select an already existing form from the Dropdown options.
Keep in mind you’ll first need to create a form in Gravity Forms (and connect that Form to Hubspot).

🧑💻 To learn more about Gravity Forms, go to this page in the Handbook.
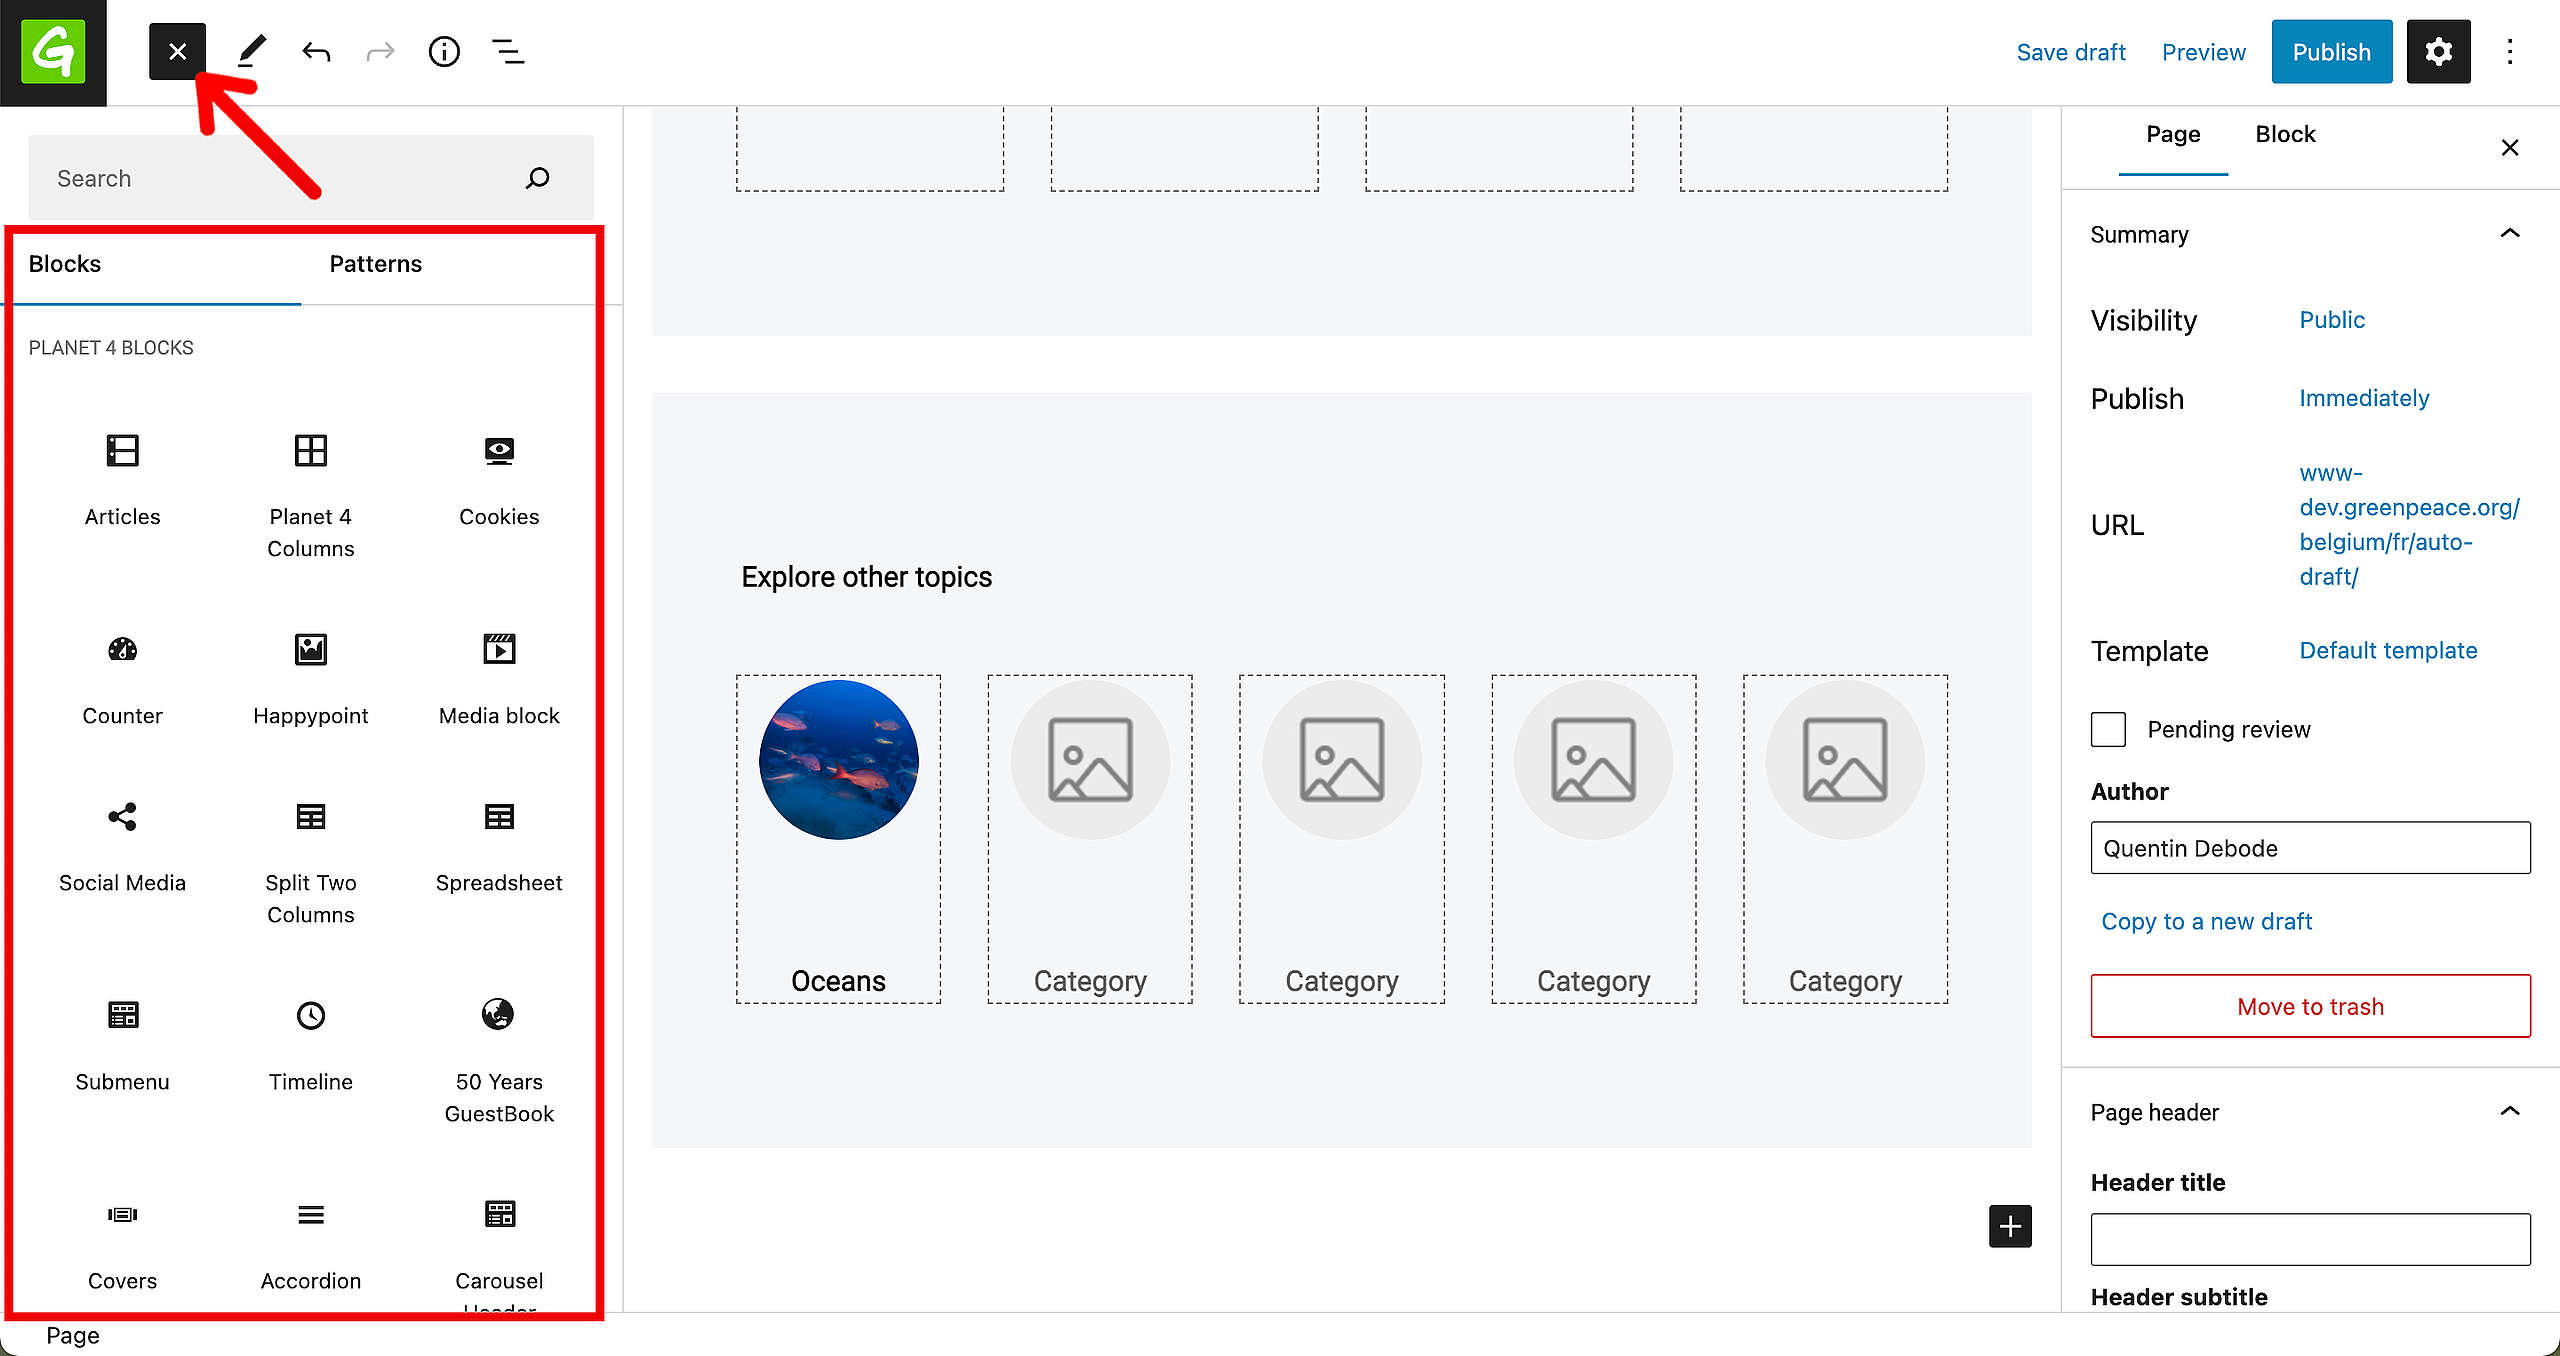
Add / remove blocks and patterns
You can always add / remove extra blocks and patterns by opening the box on the left. We recommend sticking to the selected template but you’re of course free to customise the pages completely.
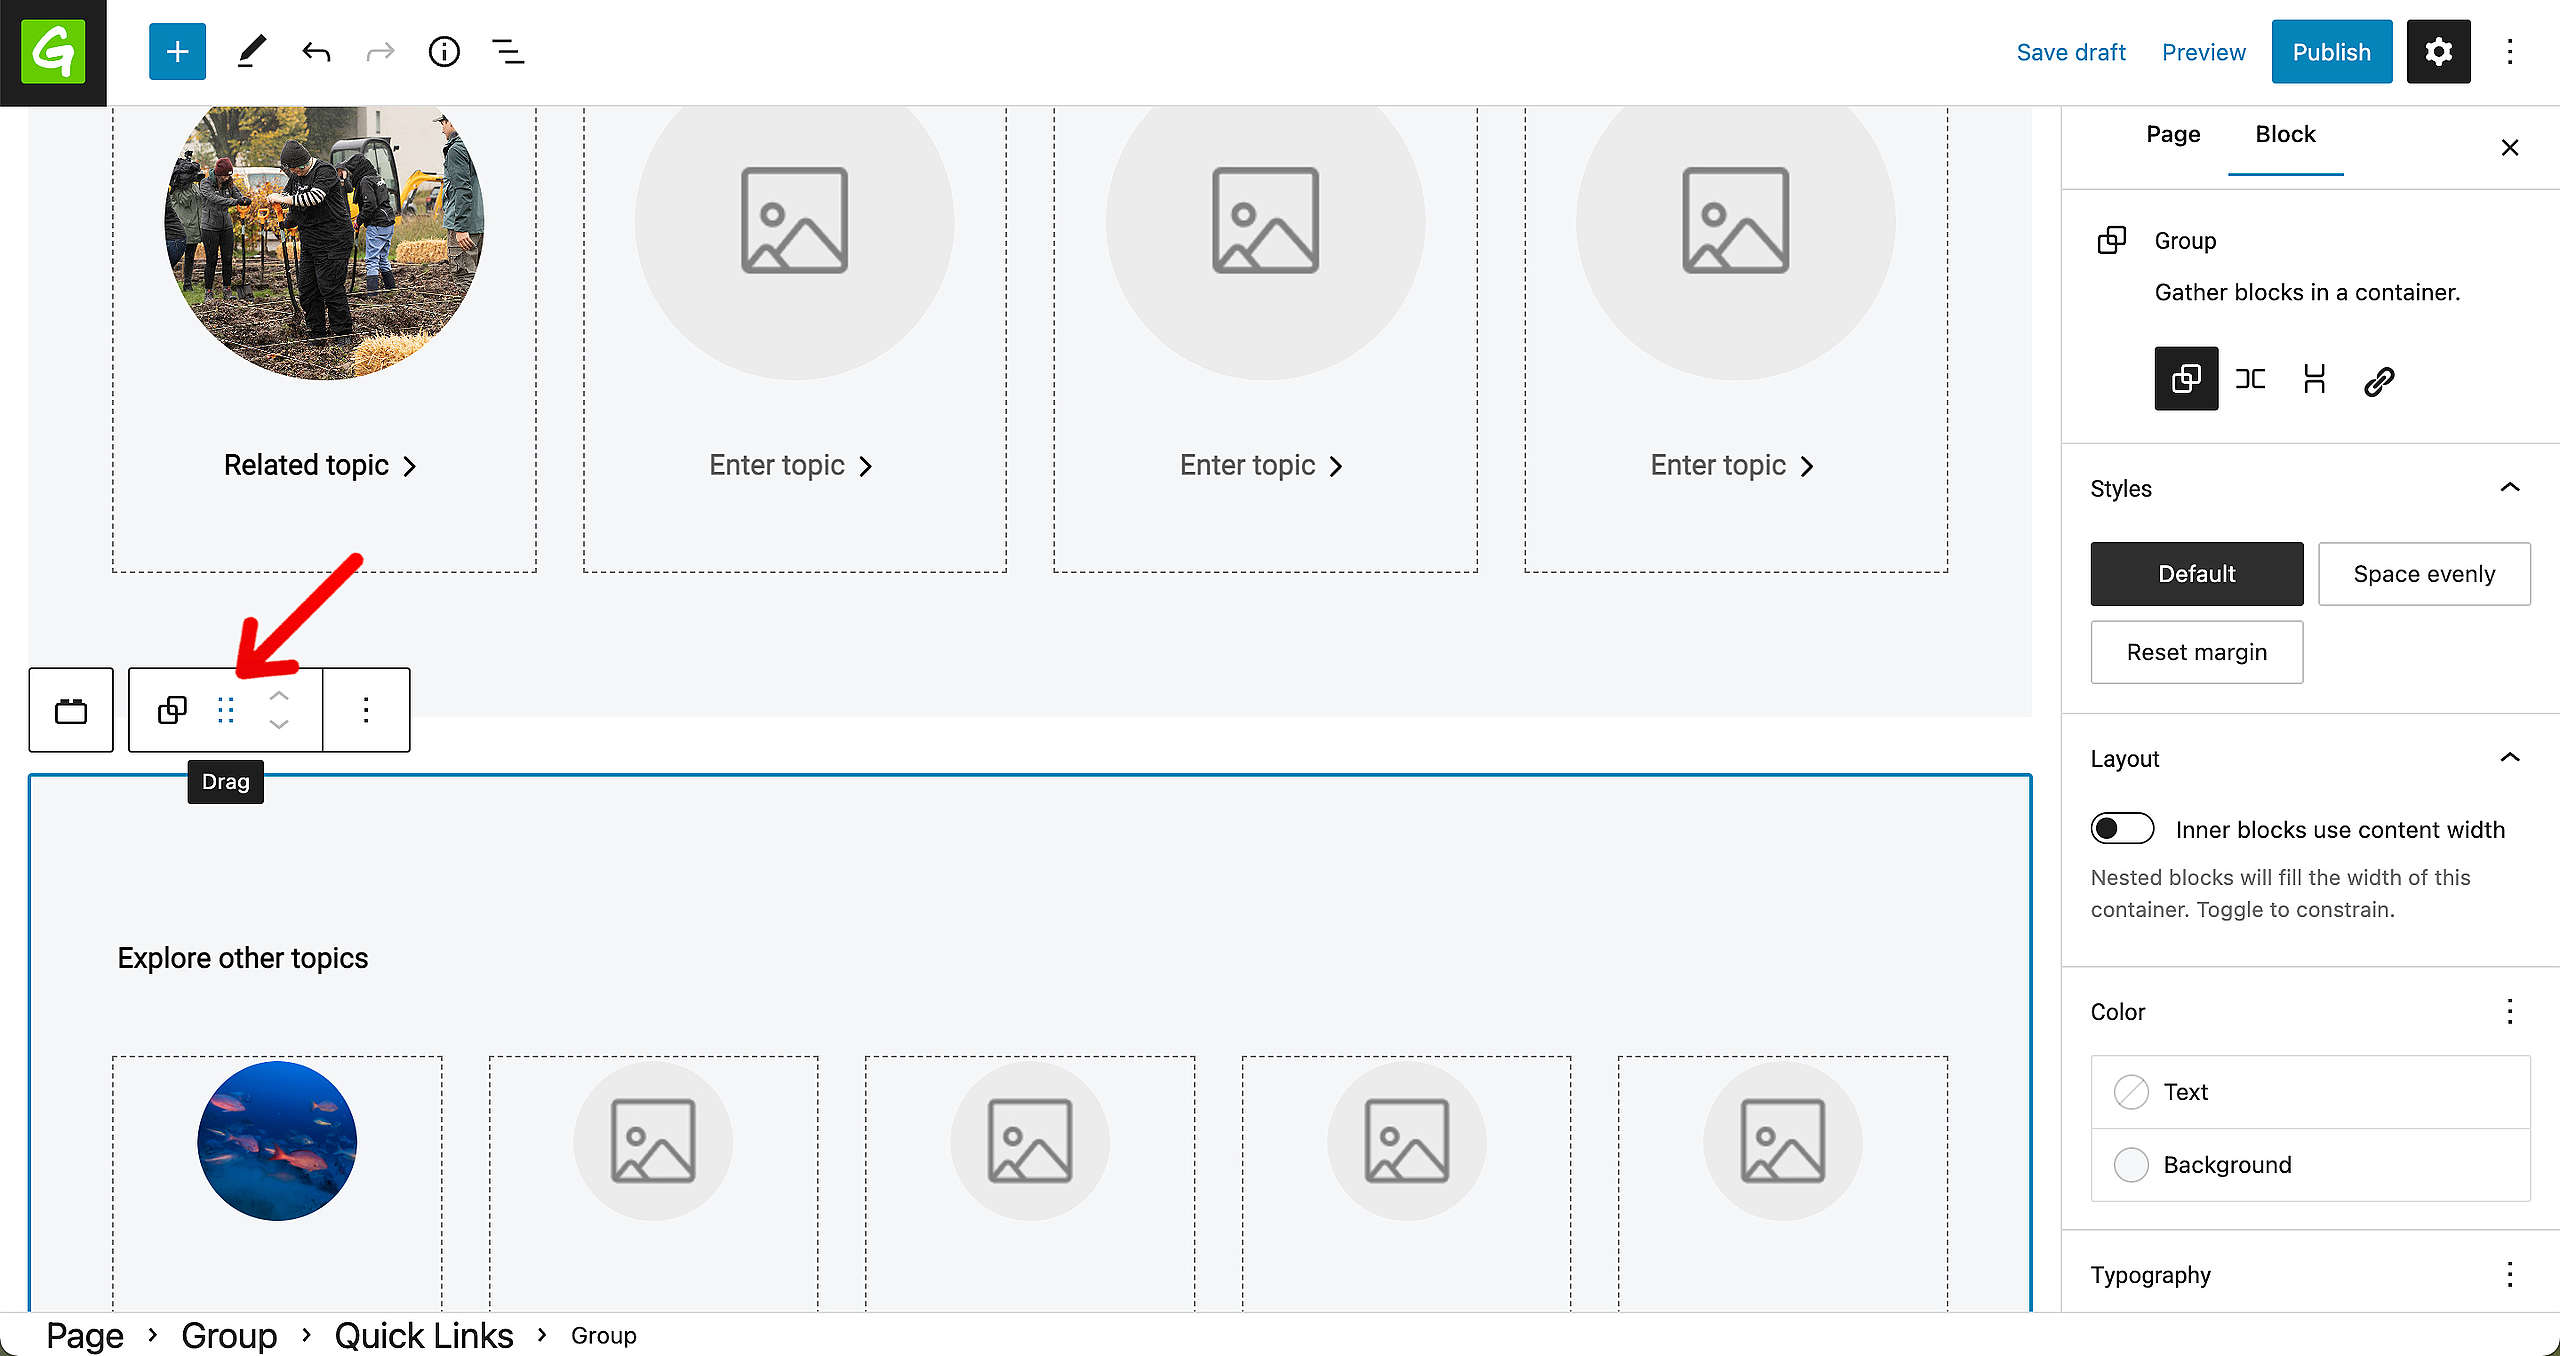
Changing the order is done with the arrows that appear once a block / patterns has been selected. You can also drag and drop with the six dots that are next to the arrows.
Hide page title
Don’t forget that this page works best if you select the Hide Page Title option. You can do so in the header options, in the sidebar.
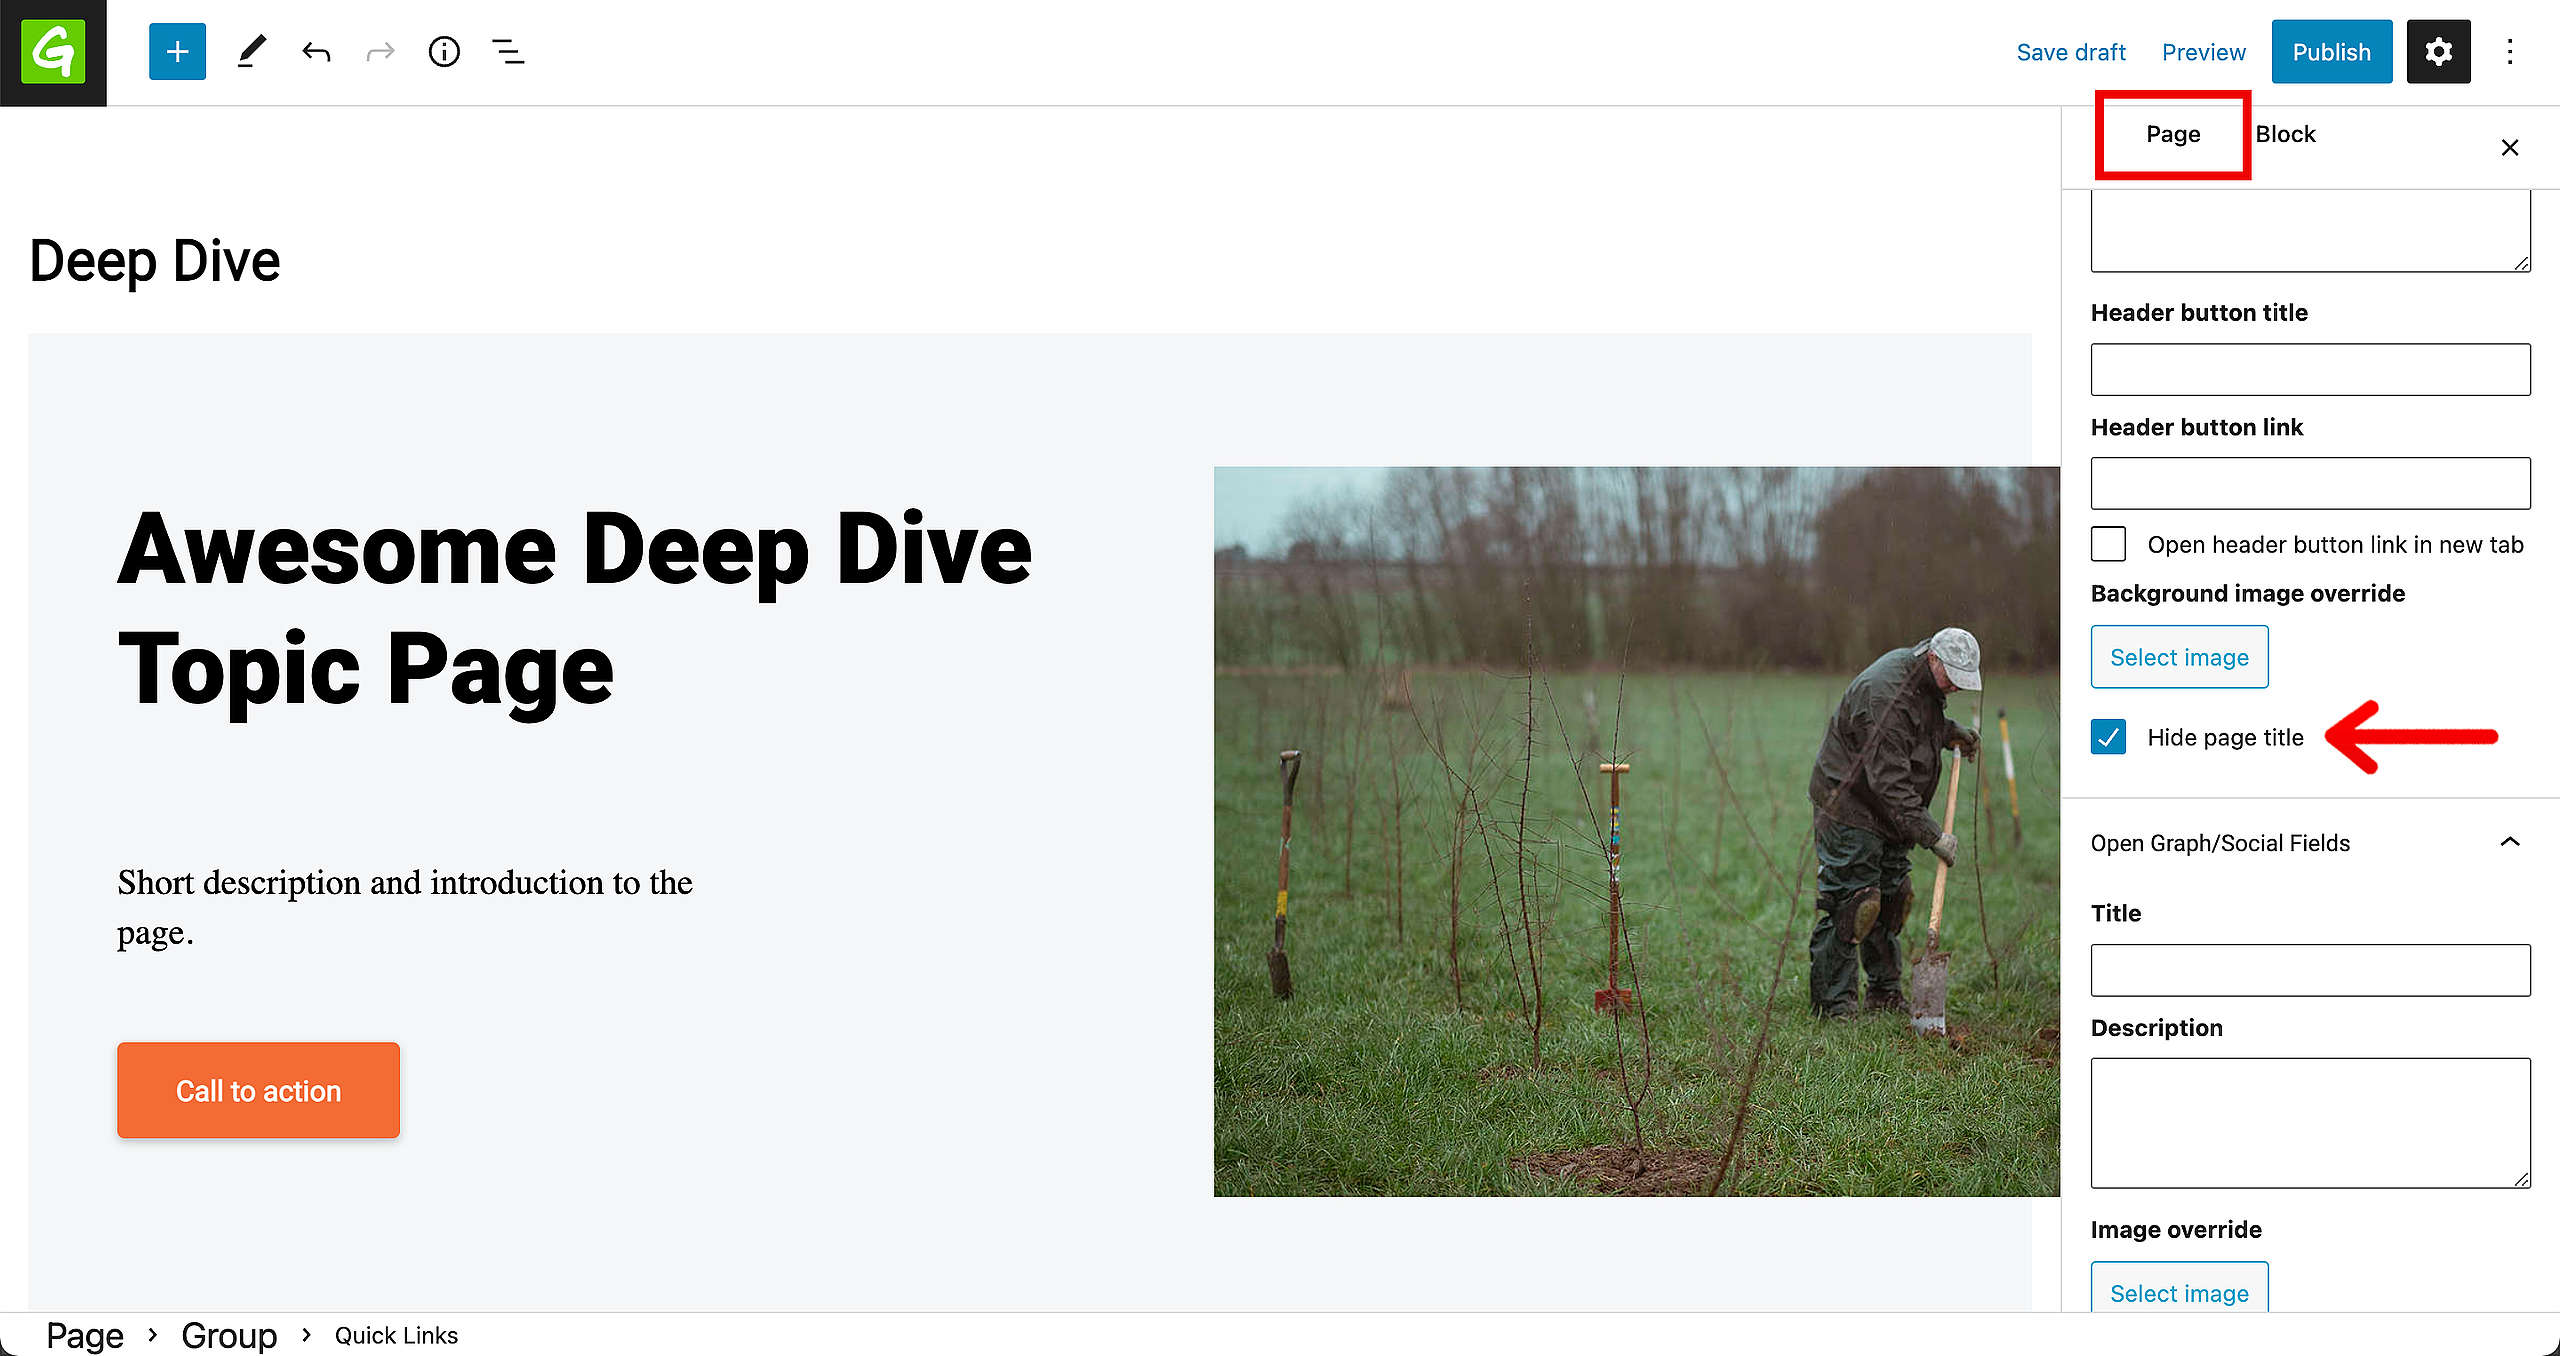
🤔 Tip : Just to be double-sure that nothing will appear in the Page Header, make sure to keep all the fields empty.
More on Creating and Managing Pages
Video
All you need to know about how Navigation, content types and pages interact with one another is in the P4 Admin Video.
- 00:55 Homepage, Act and Explore pages
- 15:00 Page Blocks
- 16:55 Navigation and Footer
- 21:05 Settings
- 26:26 Categories and Tags
- 32:55 Issue pages
- 37:55 Tags page
- 39:00 Take Action pages
🤔 Tip : Need subtitles? Enable them in the YouTube Video Progress Bar! You can do this by adding the timecodes in the description of your YouTube video.
Links & Resources
“Checking technical options, we discovered…” – Technical investigation
Architectural strategy – Multi-instances approach decision
Creating the first prototype – implementing Multi-instance P4 sites