For both Posts and Pages, there are a lot of options in the Sidebar. Here’s an overview.
📚 Manage Planet 4 > Administration > Setting up the Basics > Sidebar
What’s the Sidebar?
The Sidebar is the place where are all the different options and tools you get. Going from the Visibility, to the Featured image and Social Media excerpts. They are used in both Posts and Pages (not all options are available for both: some are only for Posts, some are only for Pages). Here’s an overview of all the Sidebar options you have available, what they do and how to use them.
Overview
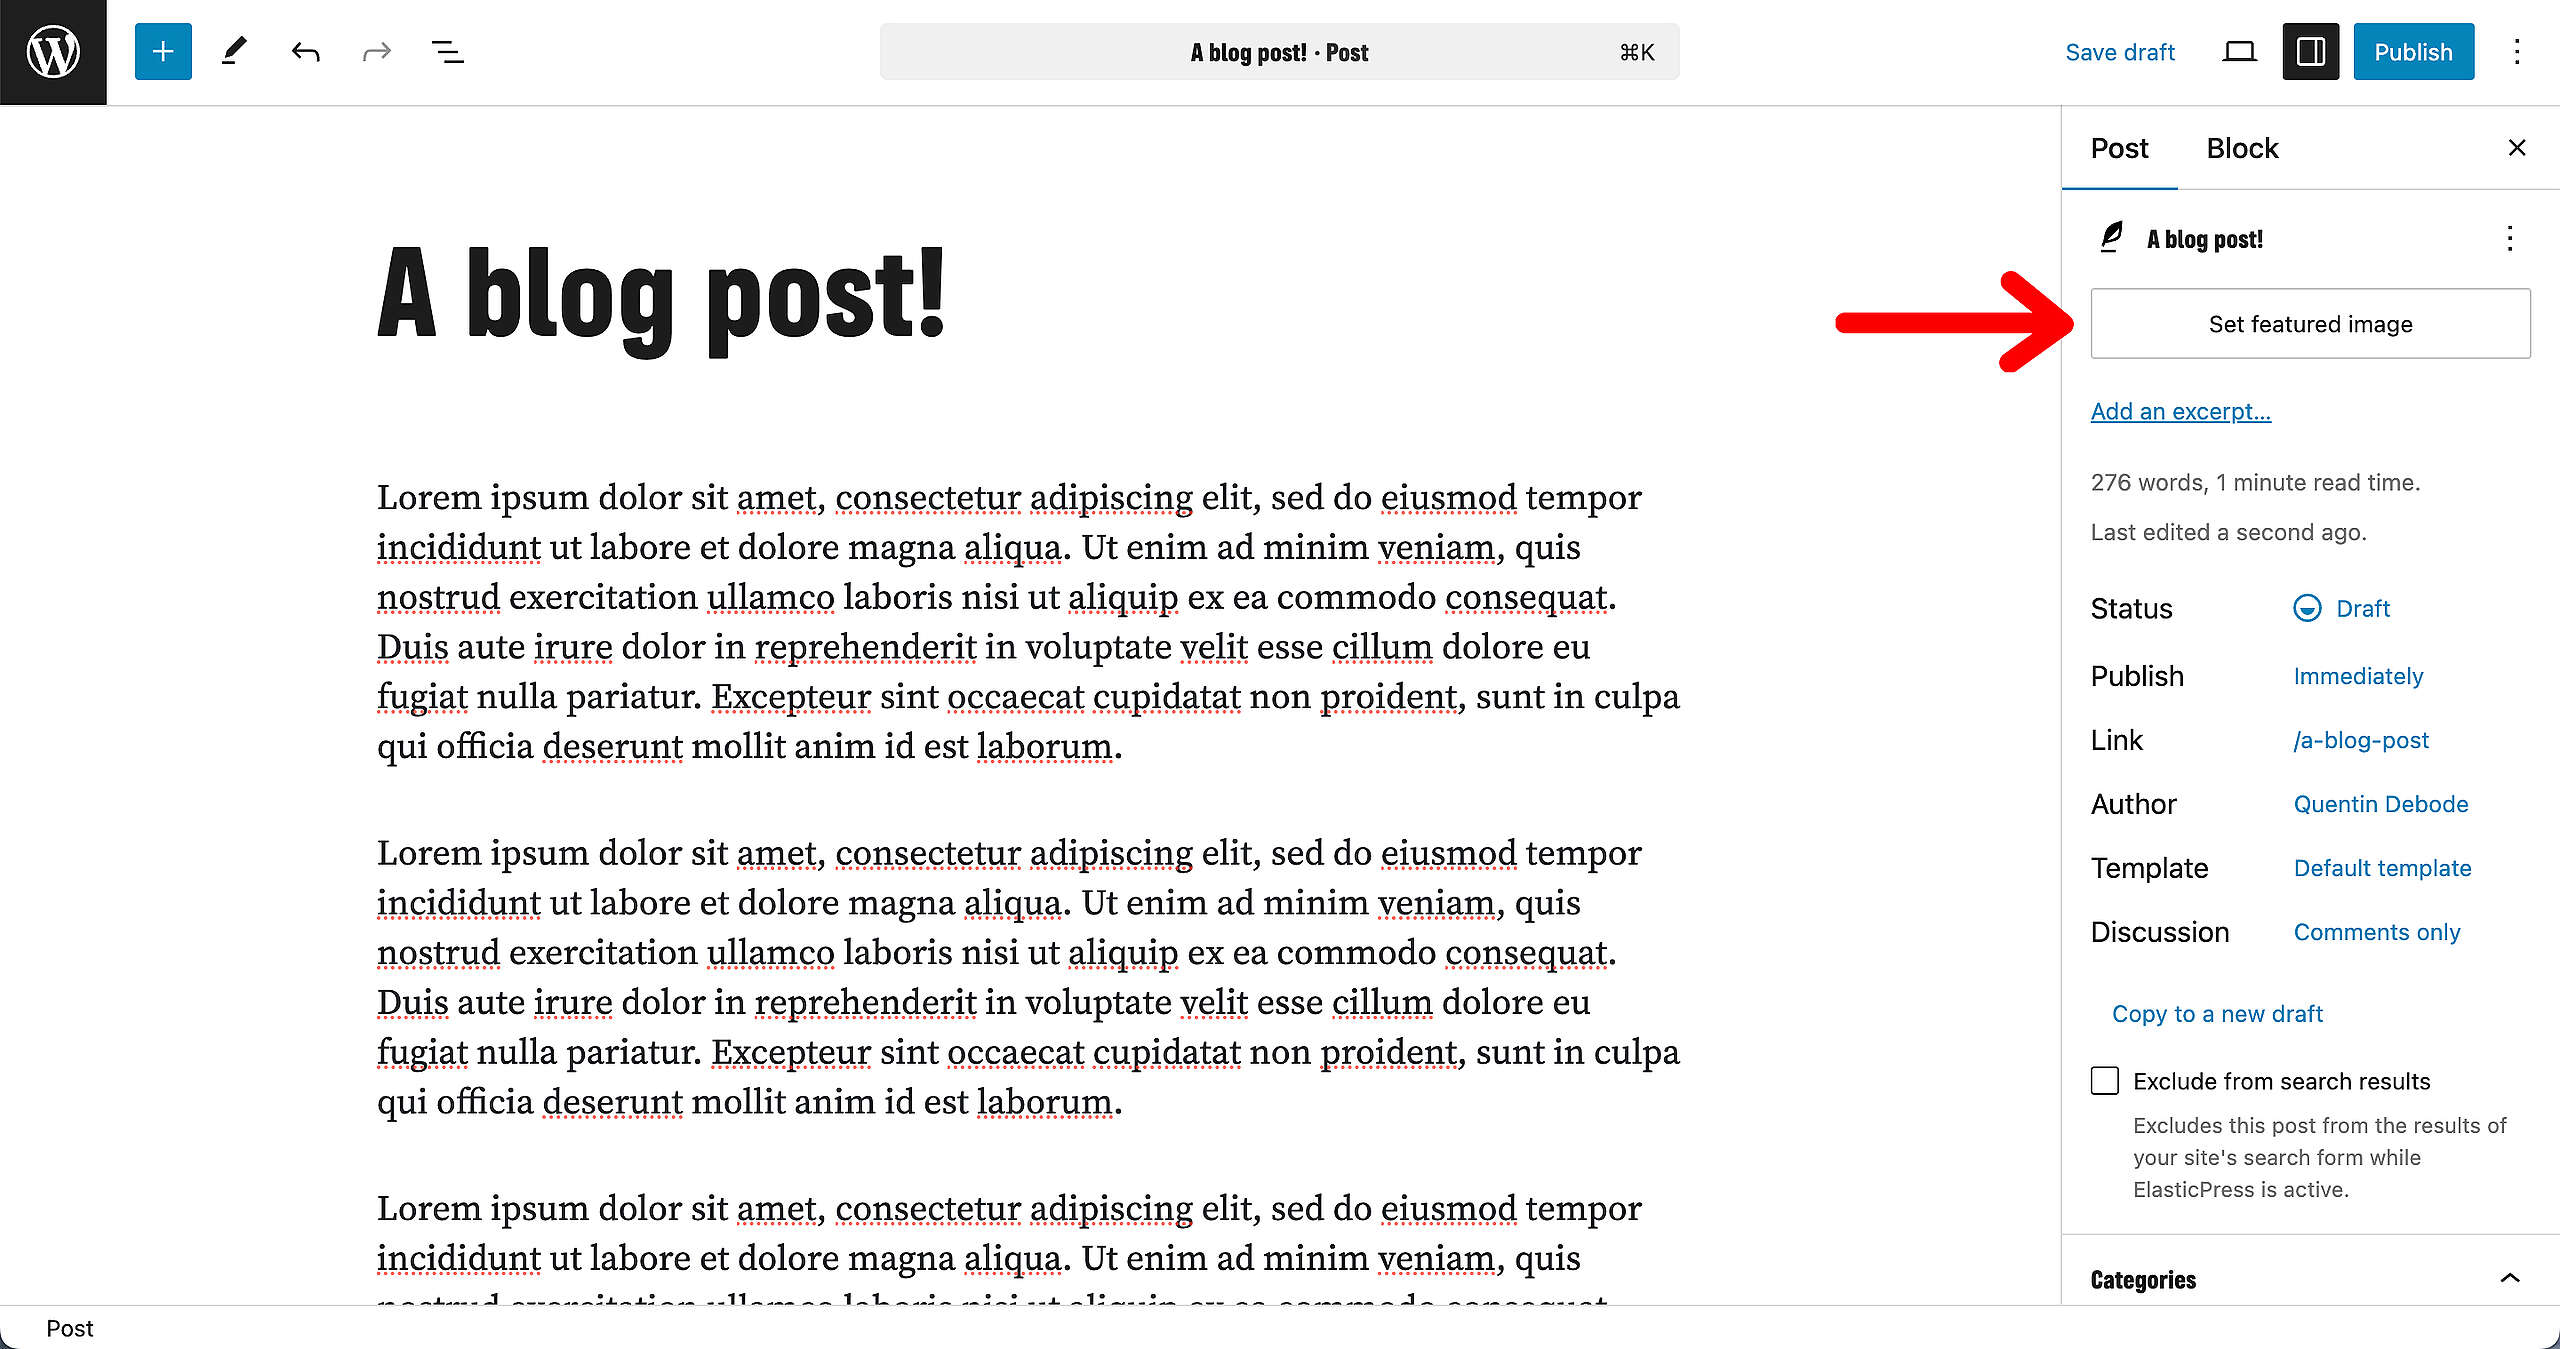
Featured Image
Click on Add Media > Featured Image or select Set featured image in the Right Column. Either upload a new image, or select an existing one from the WP Media Library. A featured image is mandatory! You will not be able to publish Posts or Pages if you haven’t selected a featured image, so choose a good one.
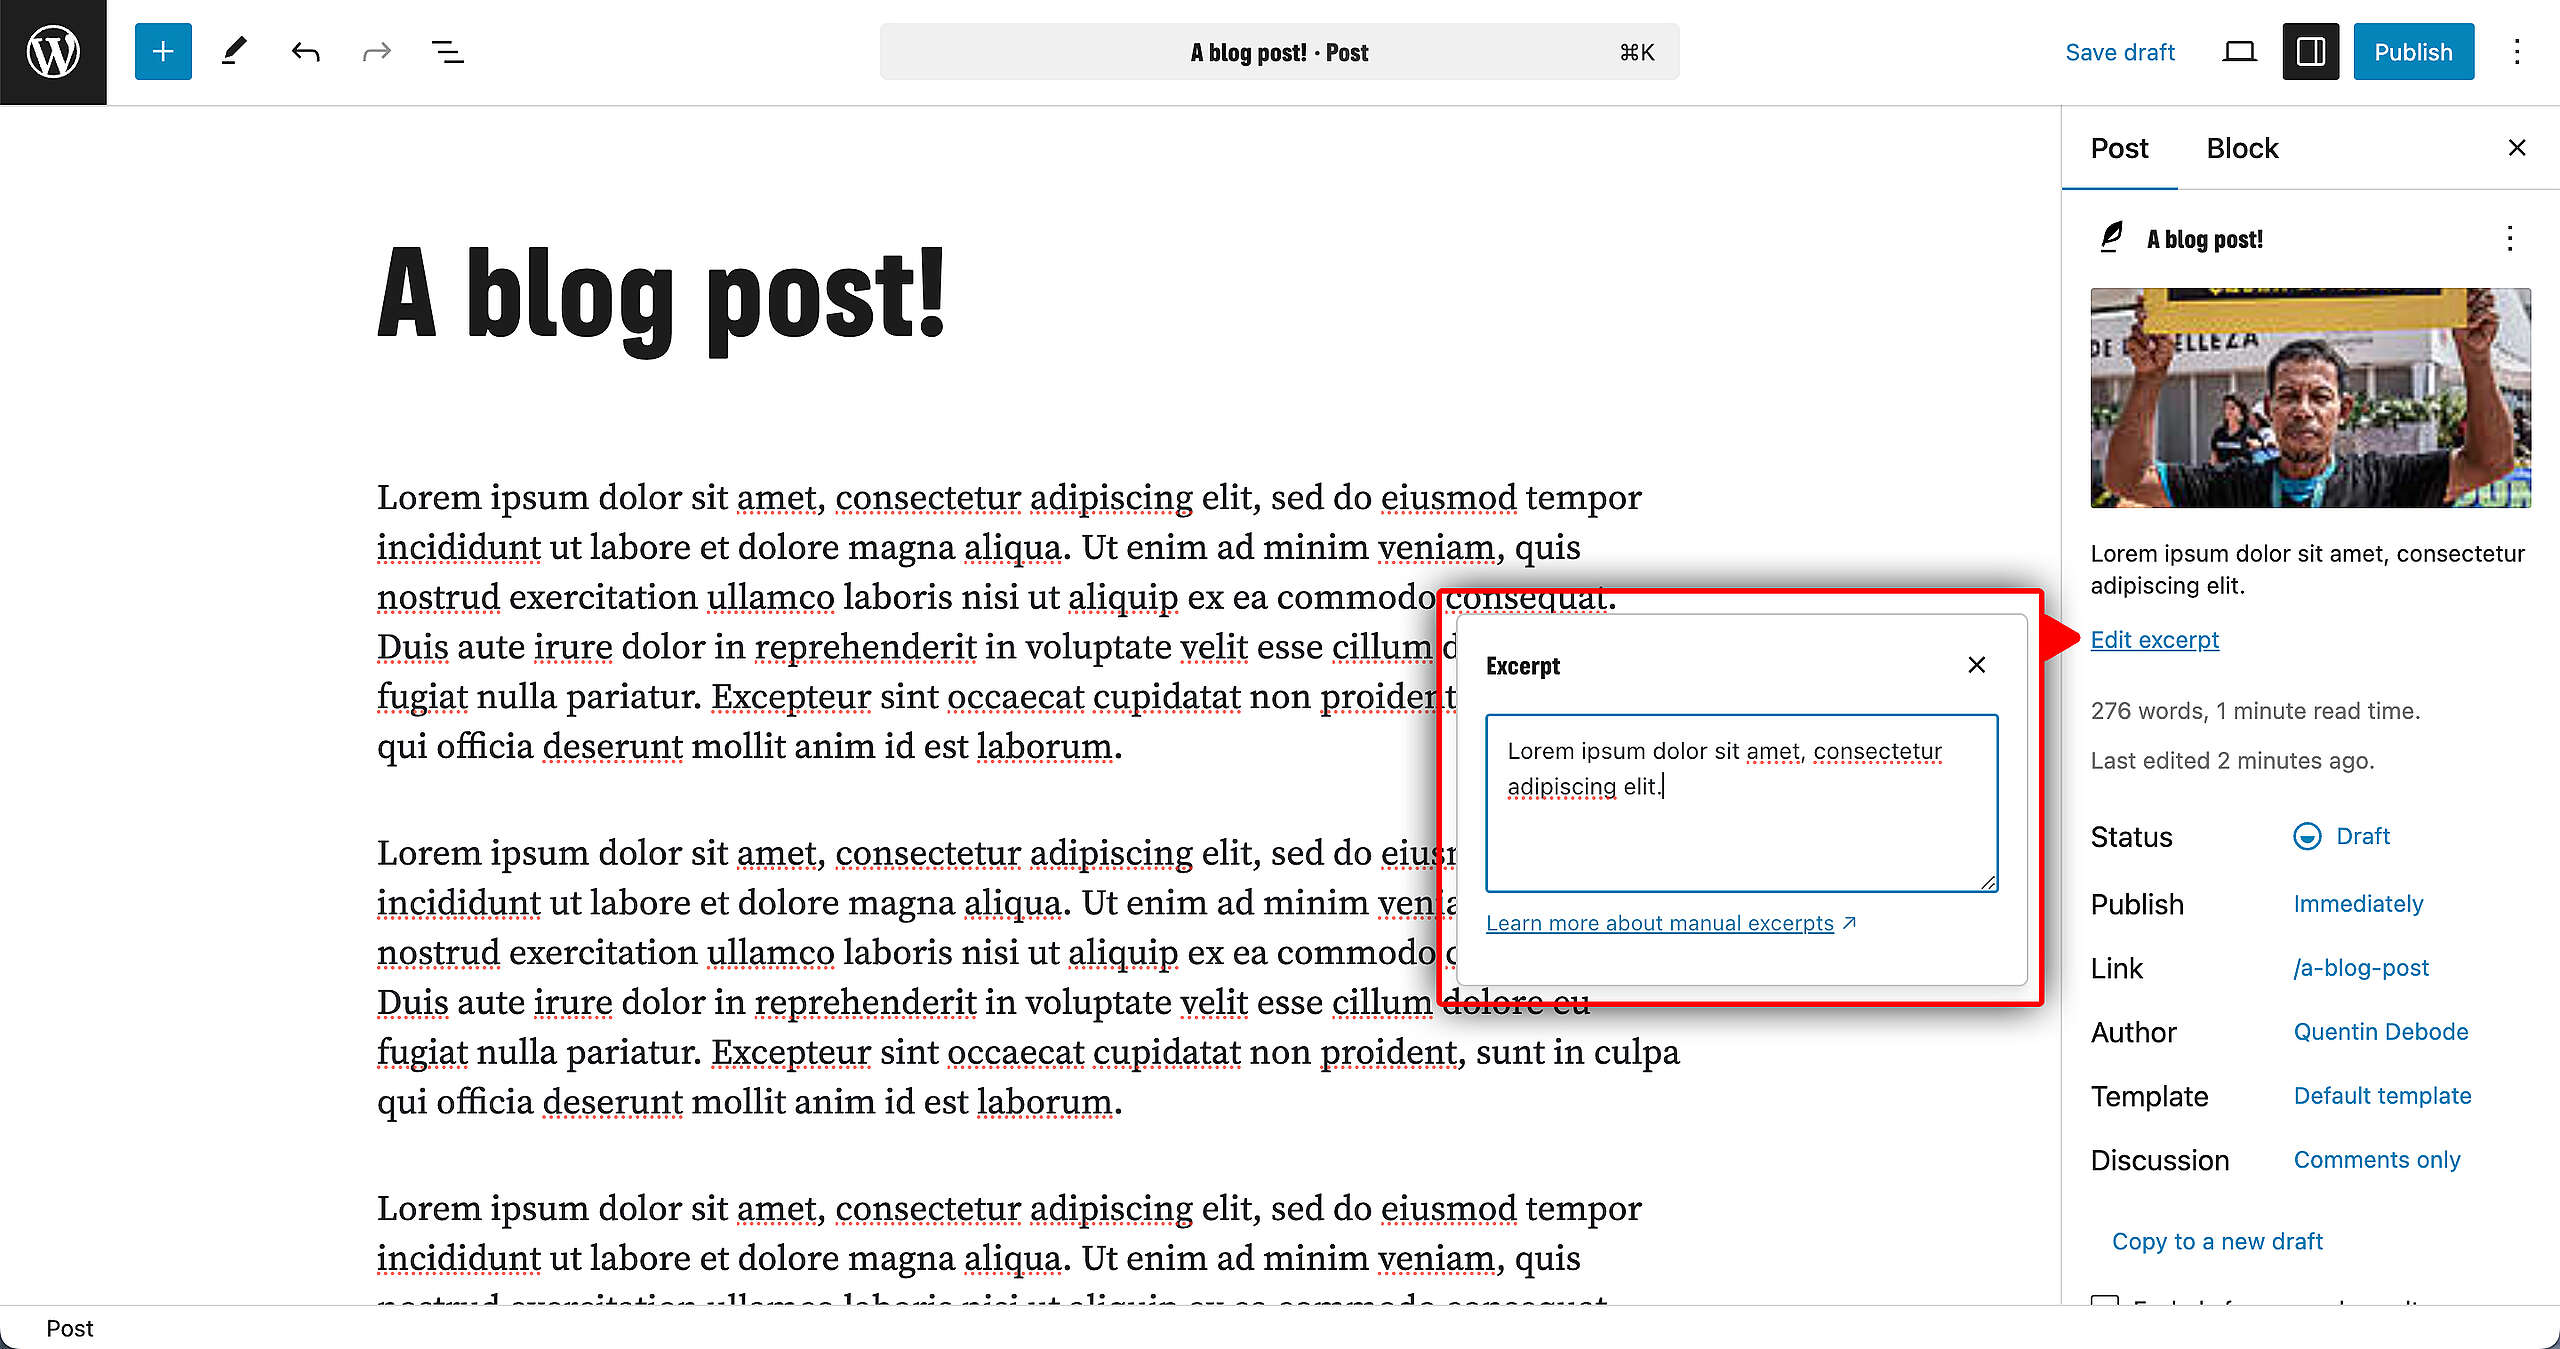
Excerpt
Excerpt of at least the first 30 words of the content is now automatically generated when creating a Post. The caption will cut off at 30 words; the front-end will replace any content above with an elipsis ( . . . ). Think of it as a teaser text for the Post.
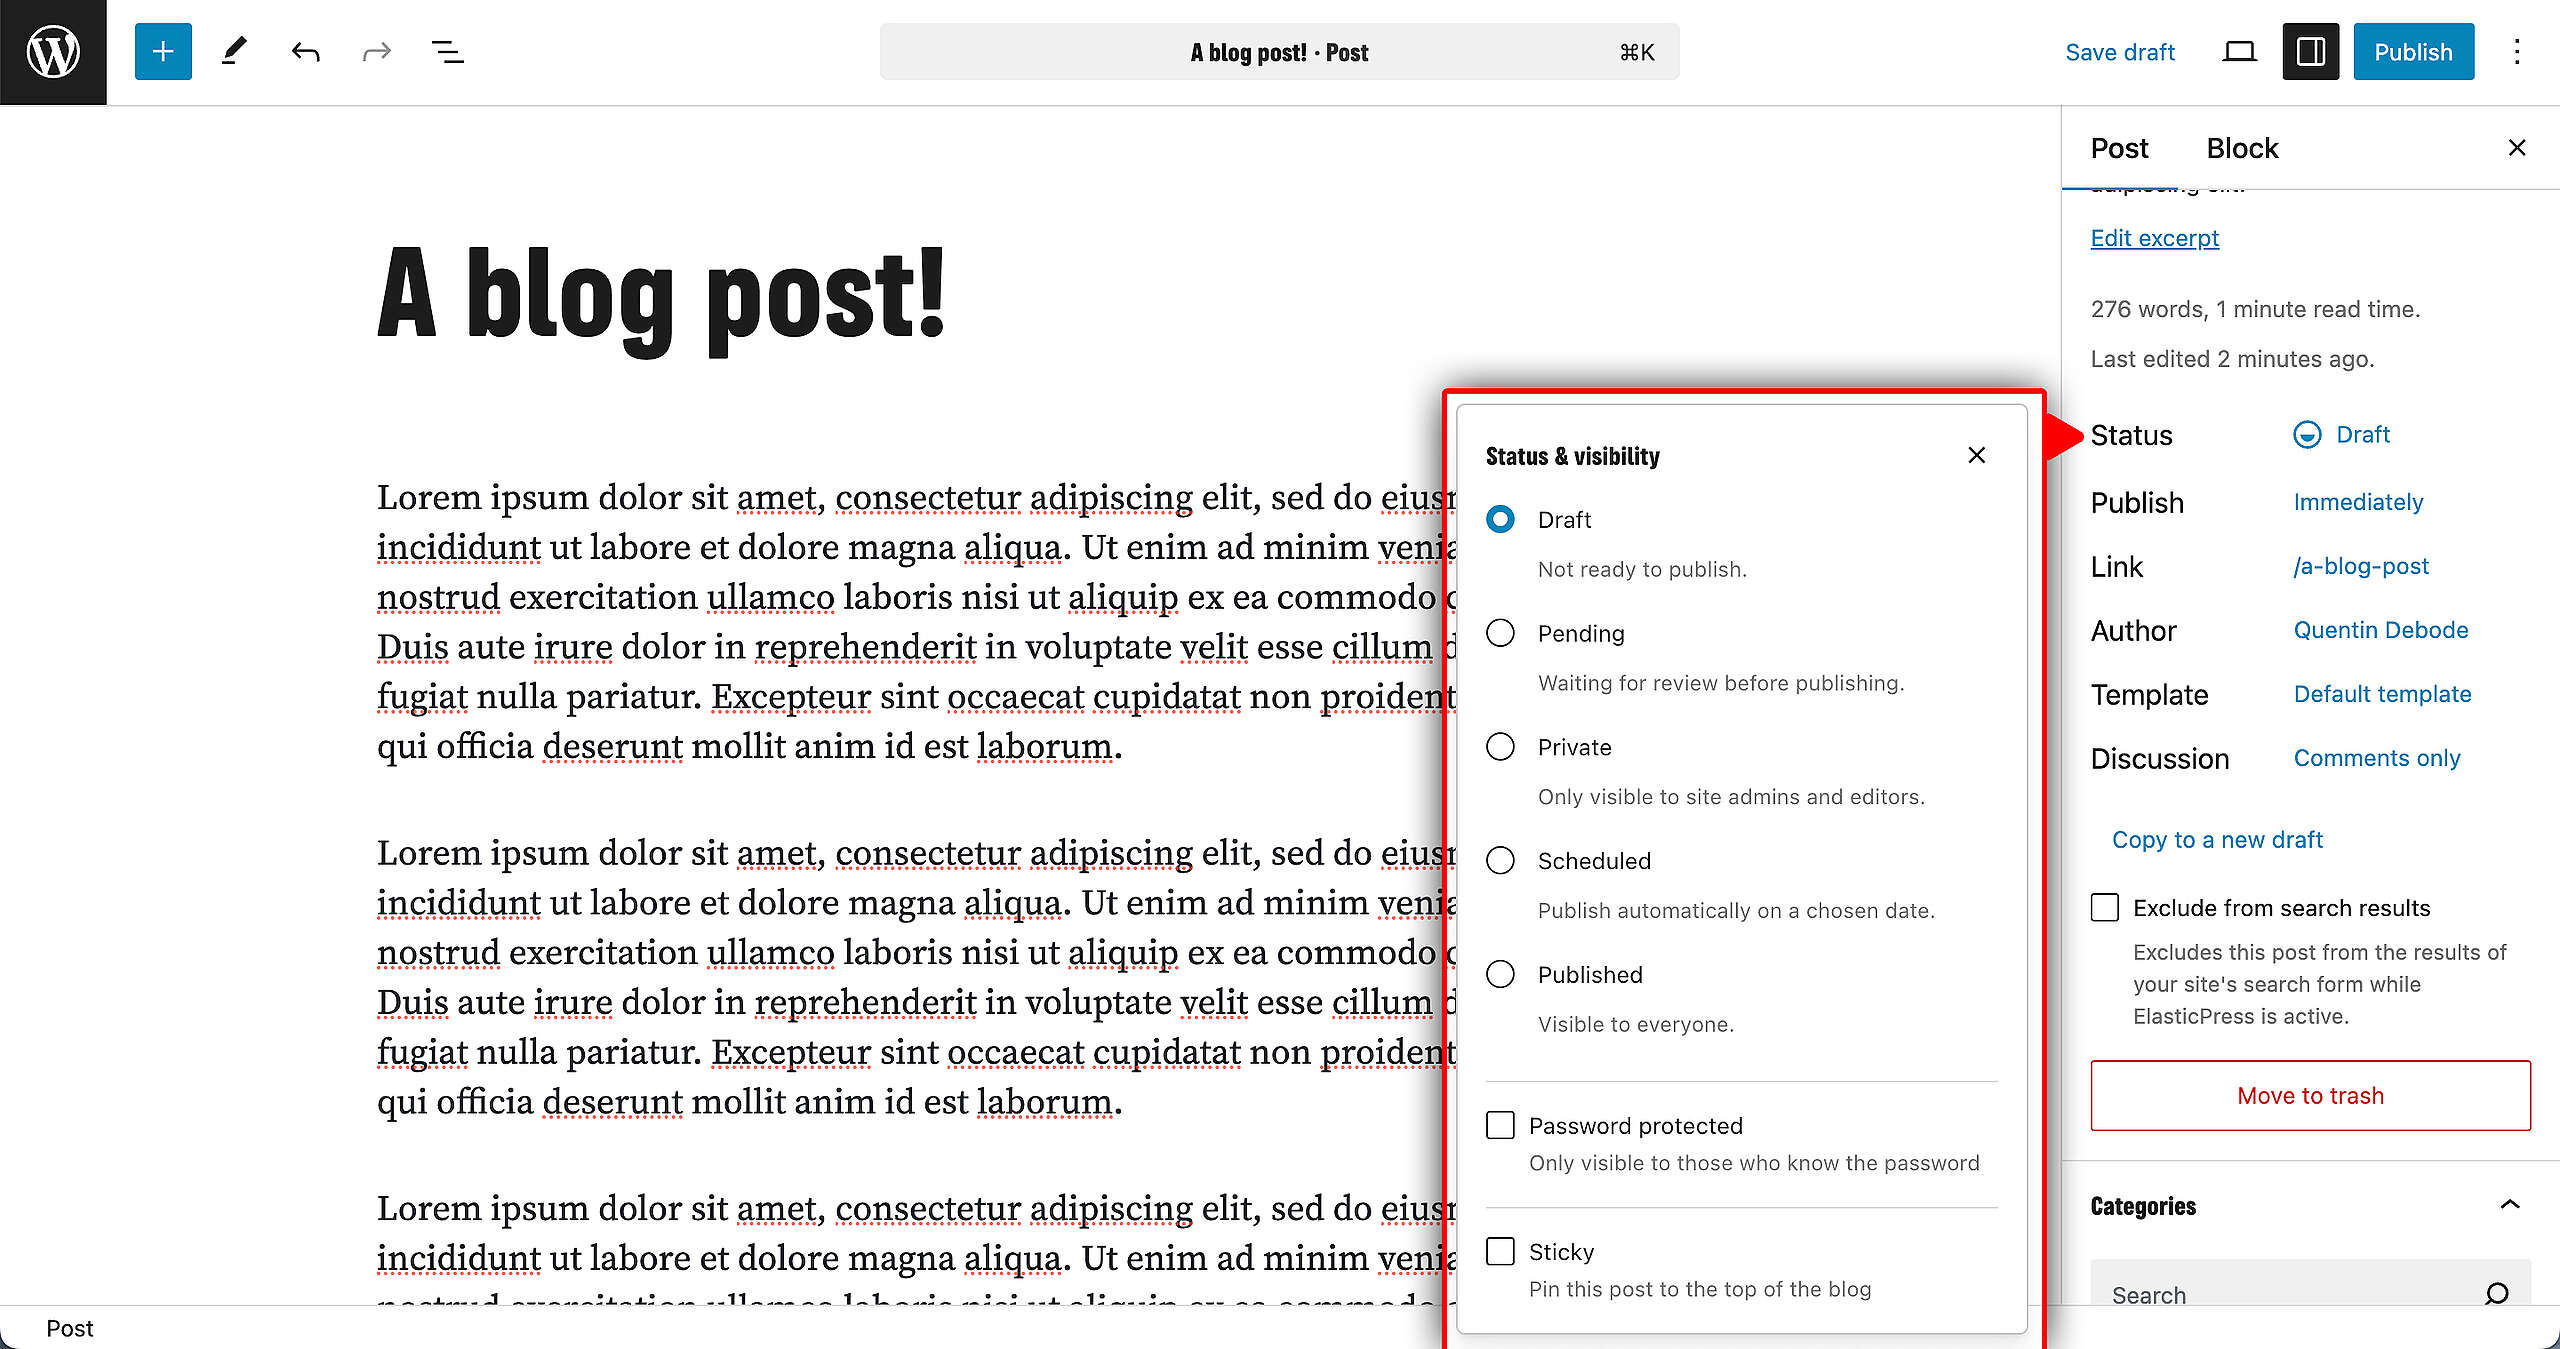
Status
By default, content will be visible to the outside world as soon as it is published. You can change that and choose from a variety of Visibility options:
- Draft – keep the Post/Page as a draft to come back to later
- Pending – submit the Post/Page for review
- Private – the Post/Page is only visible to site admins
- Scheduled – the Post/Page will automatically be published at a specific time and day
- Publish – the Post/Page goes online for all to see
🧑💻 To learn more about Status and Visibility, go to this page in the Handbook.
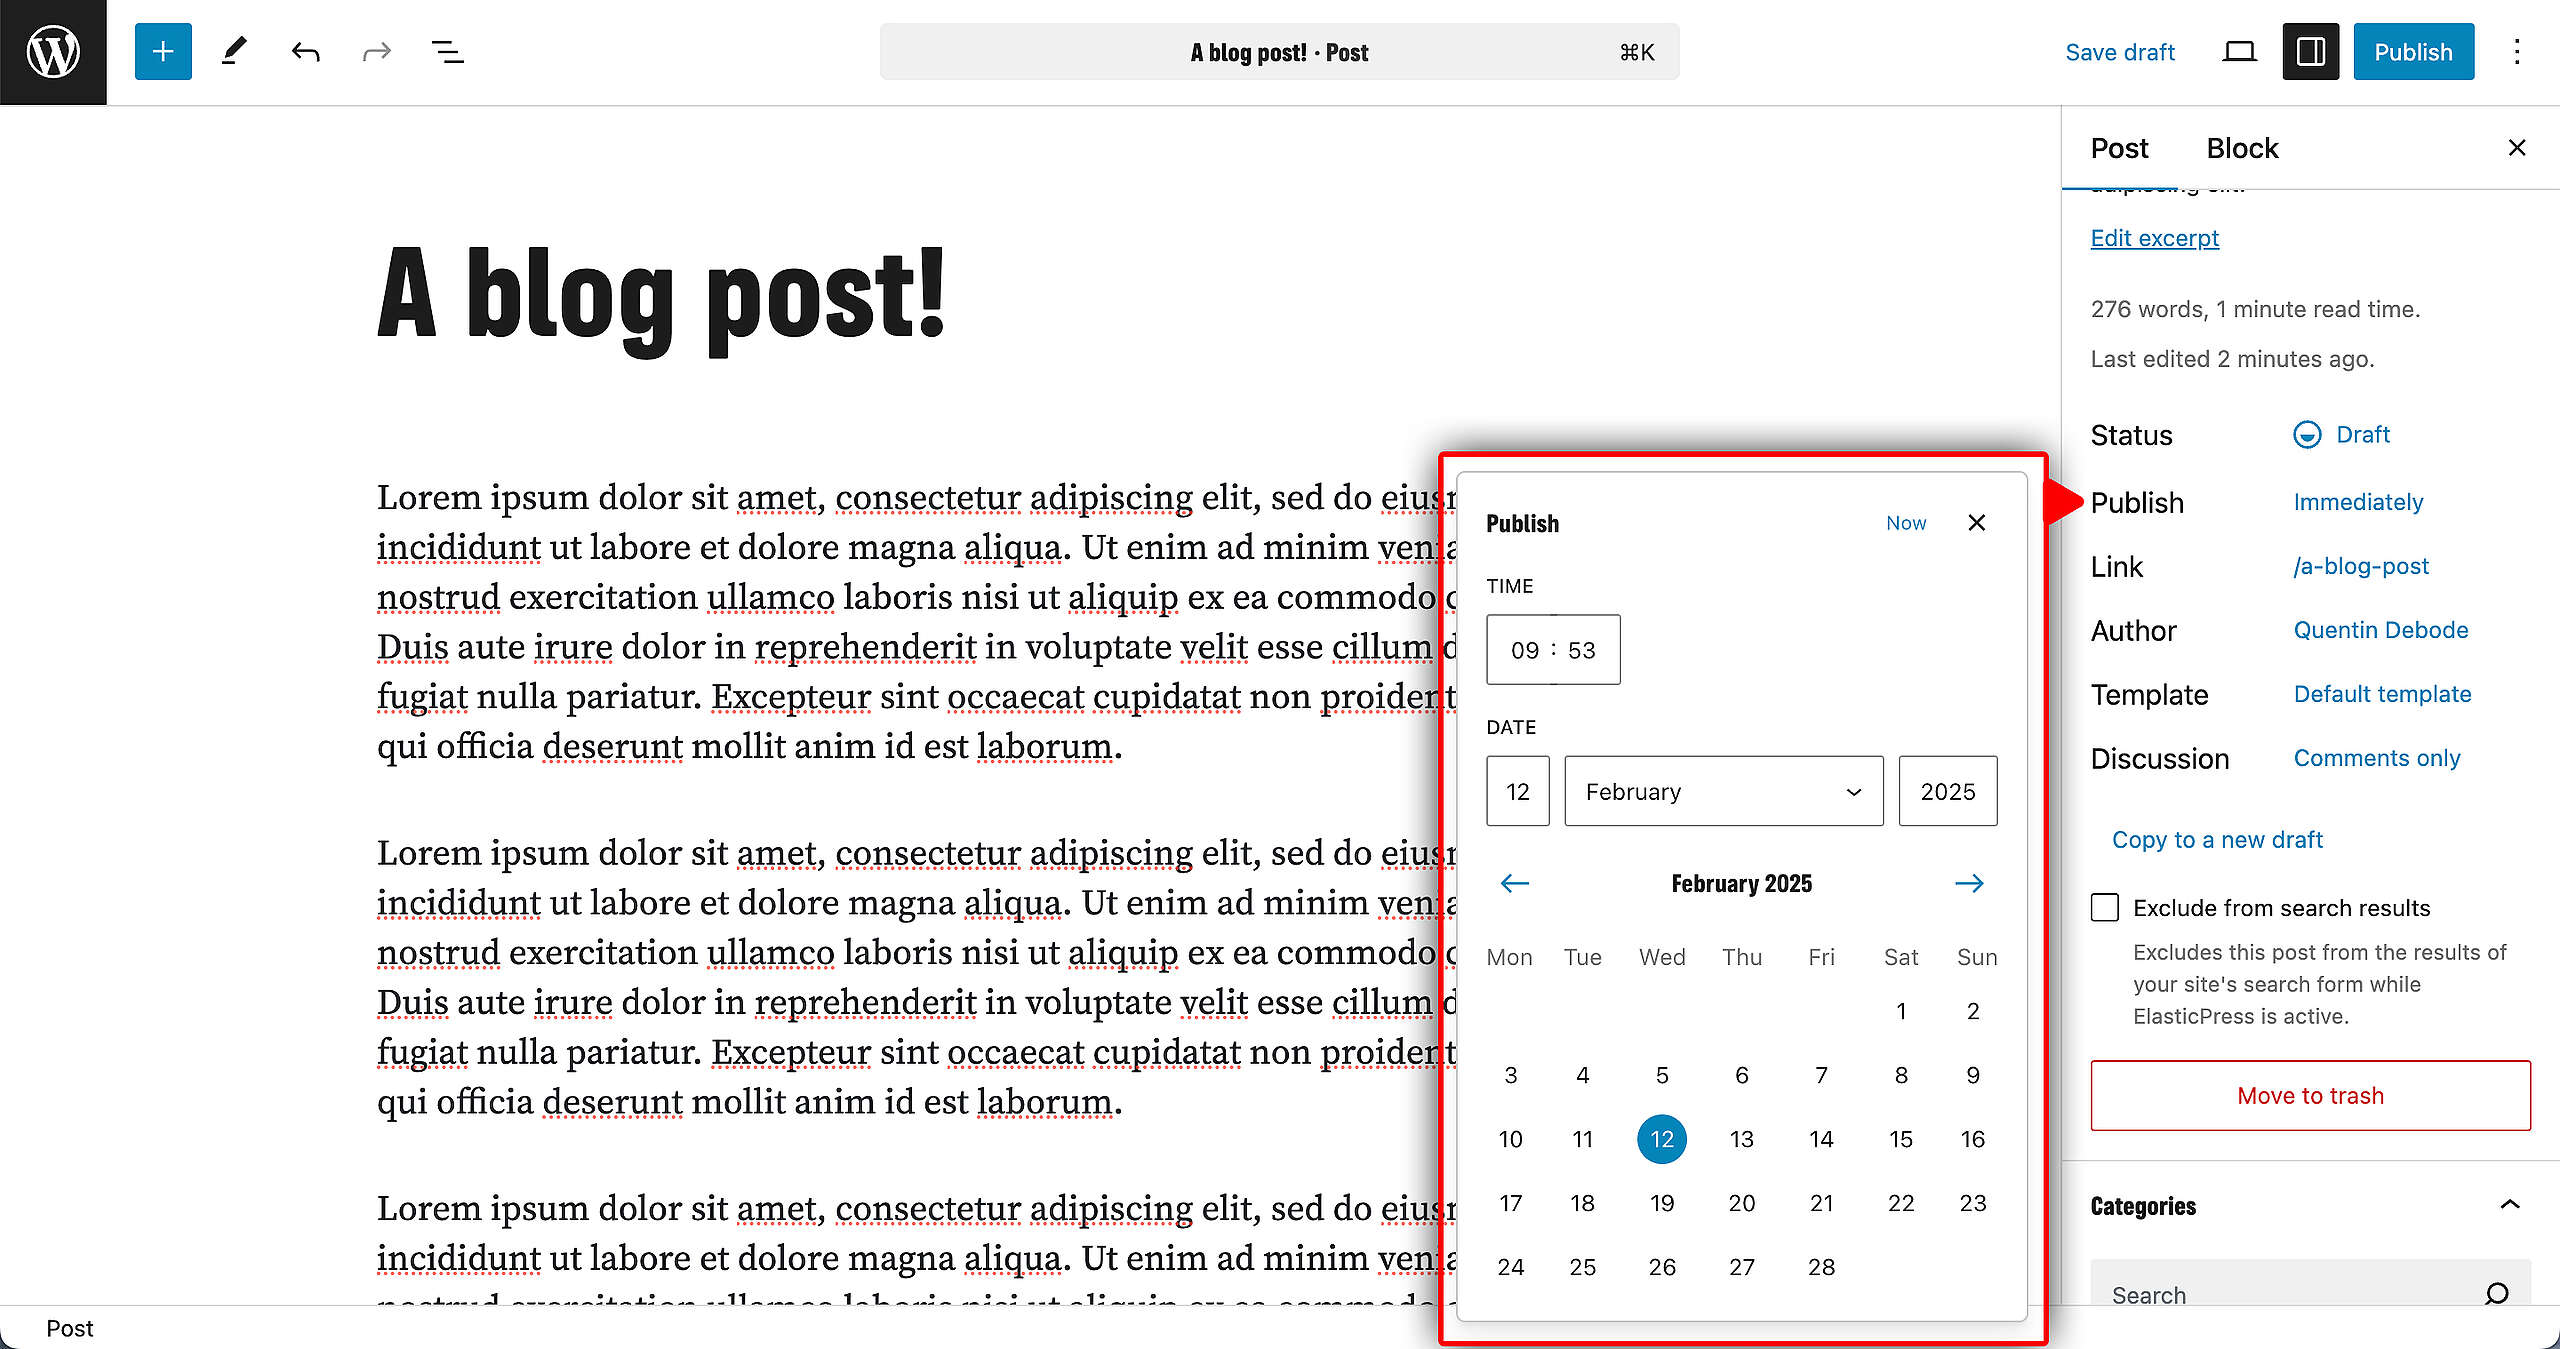
Publish
If you’re going to publish the Post/Page immediately, there’s no need to change anything here. However, if you want it scheduled at some later date, you can change it here. Pick the date and time.
Keep in mind this will change the Status from the Post/Page, to “Scheduled”.
🧑💻 To learn more about Status and Visibility, go to this page in the Handbook.
Permalink / URL
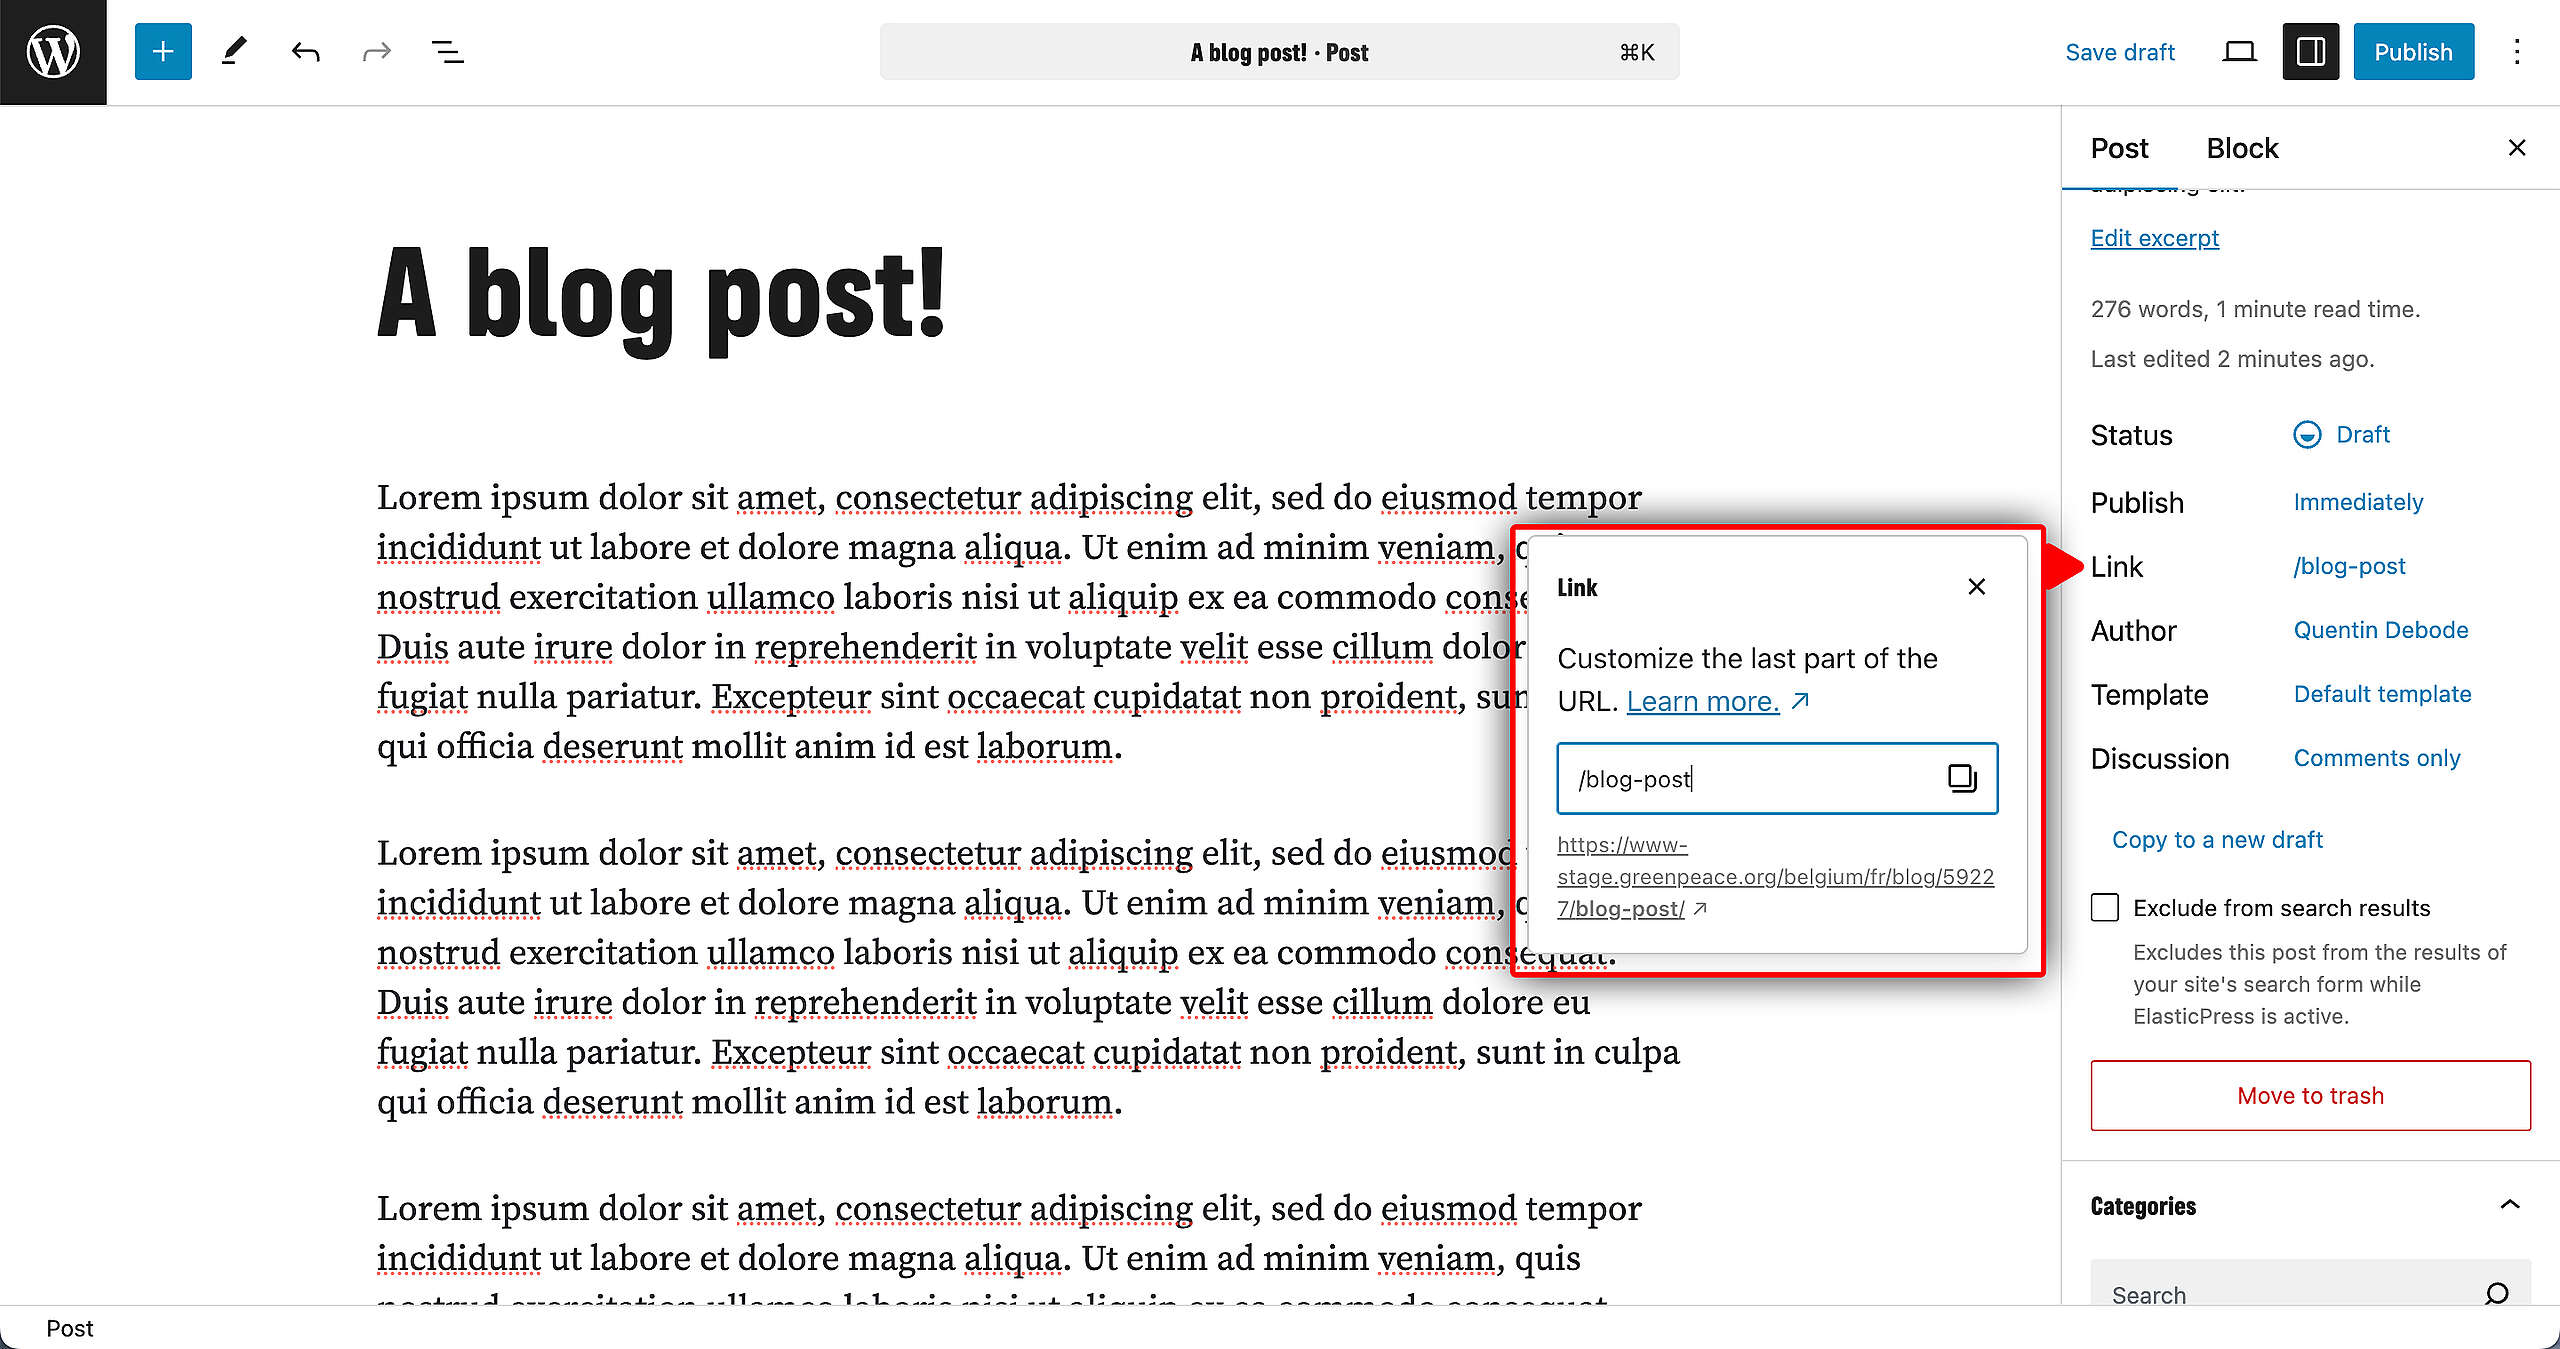
Ideally, the title and link should have keywords relevant to your overall story topic. This will generate the post URL, which can be edited.
- Keep it brief – remember it’s a ‘mobile first’ engagement platform.
- Avoid using connection words such ‘and’, ‘at’, ‘the’, pronouns – ‘ours’, ‘yours’ etc
- if you automatically save a post, the title will be saved as permalink – try editing it using only keywords and deleting the connection words.
- eg: instead of ‘what-i-learned-from-the-women-fighting-to-save-our-planet/‘ (which is automatically created from the title) a better permalink could be ‘learnings-from–women-fighting-to-save-the-planet’
The Title on Posts should be full width regardless if there is a card or not. Make sure to use the keywords from the article in the title.
Once you save the post as a draft or publish it, the option to edit the permalink will also appear on the right, under Document -> Permalink.
Author
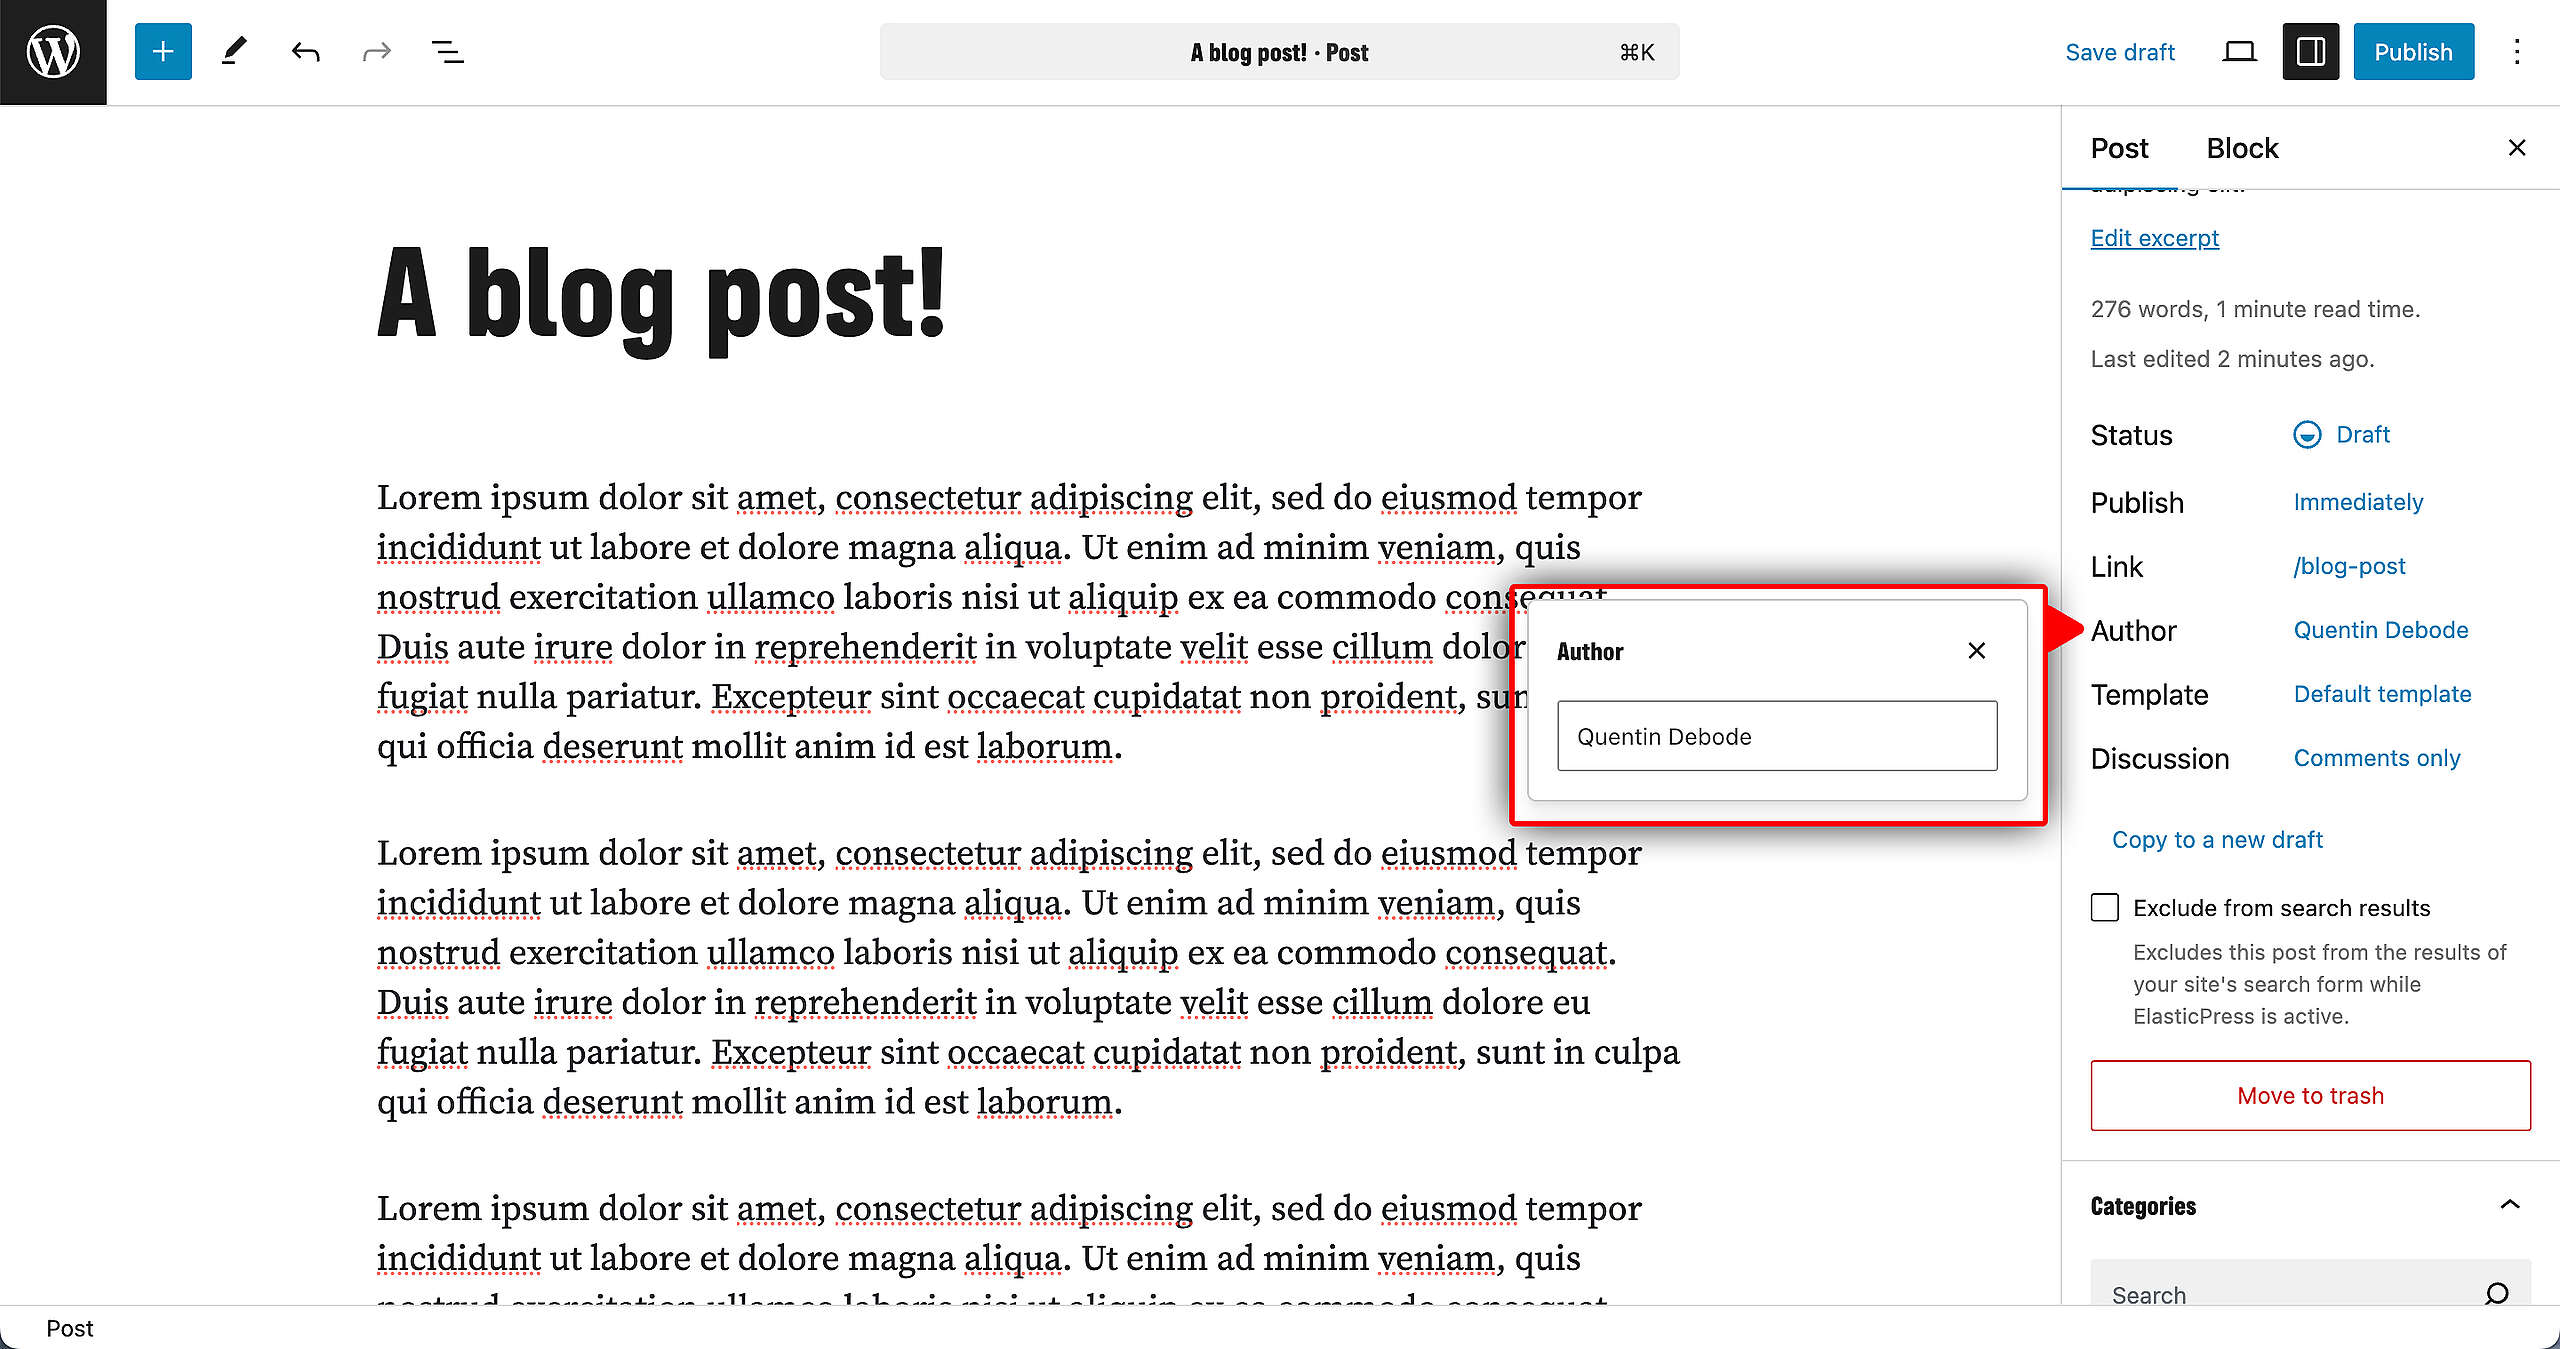
Change the Author of a Post/Page here. If that person has an account on your P4 Site, you’ll be able to select them. If they don’t have an account, you can still type in the name. It will then however not be clickable and have a grey standard image as a profile picture.
Discussion
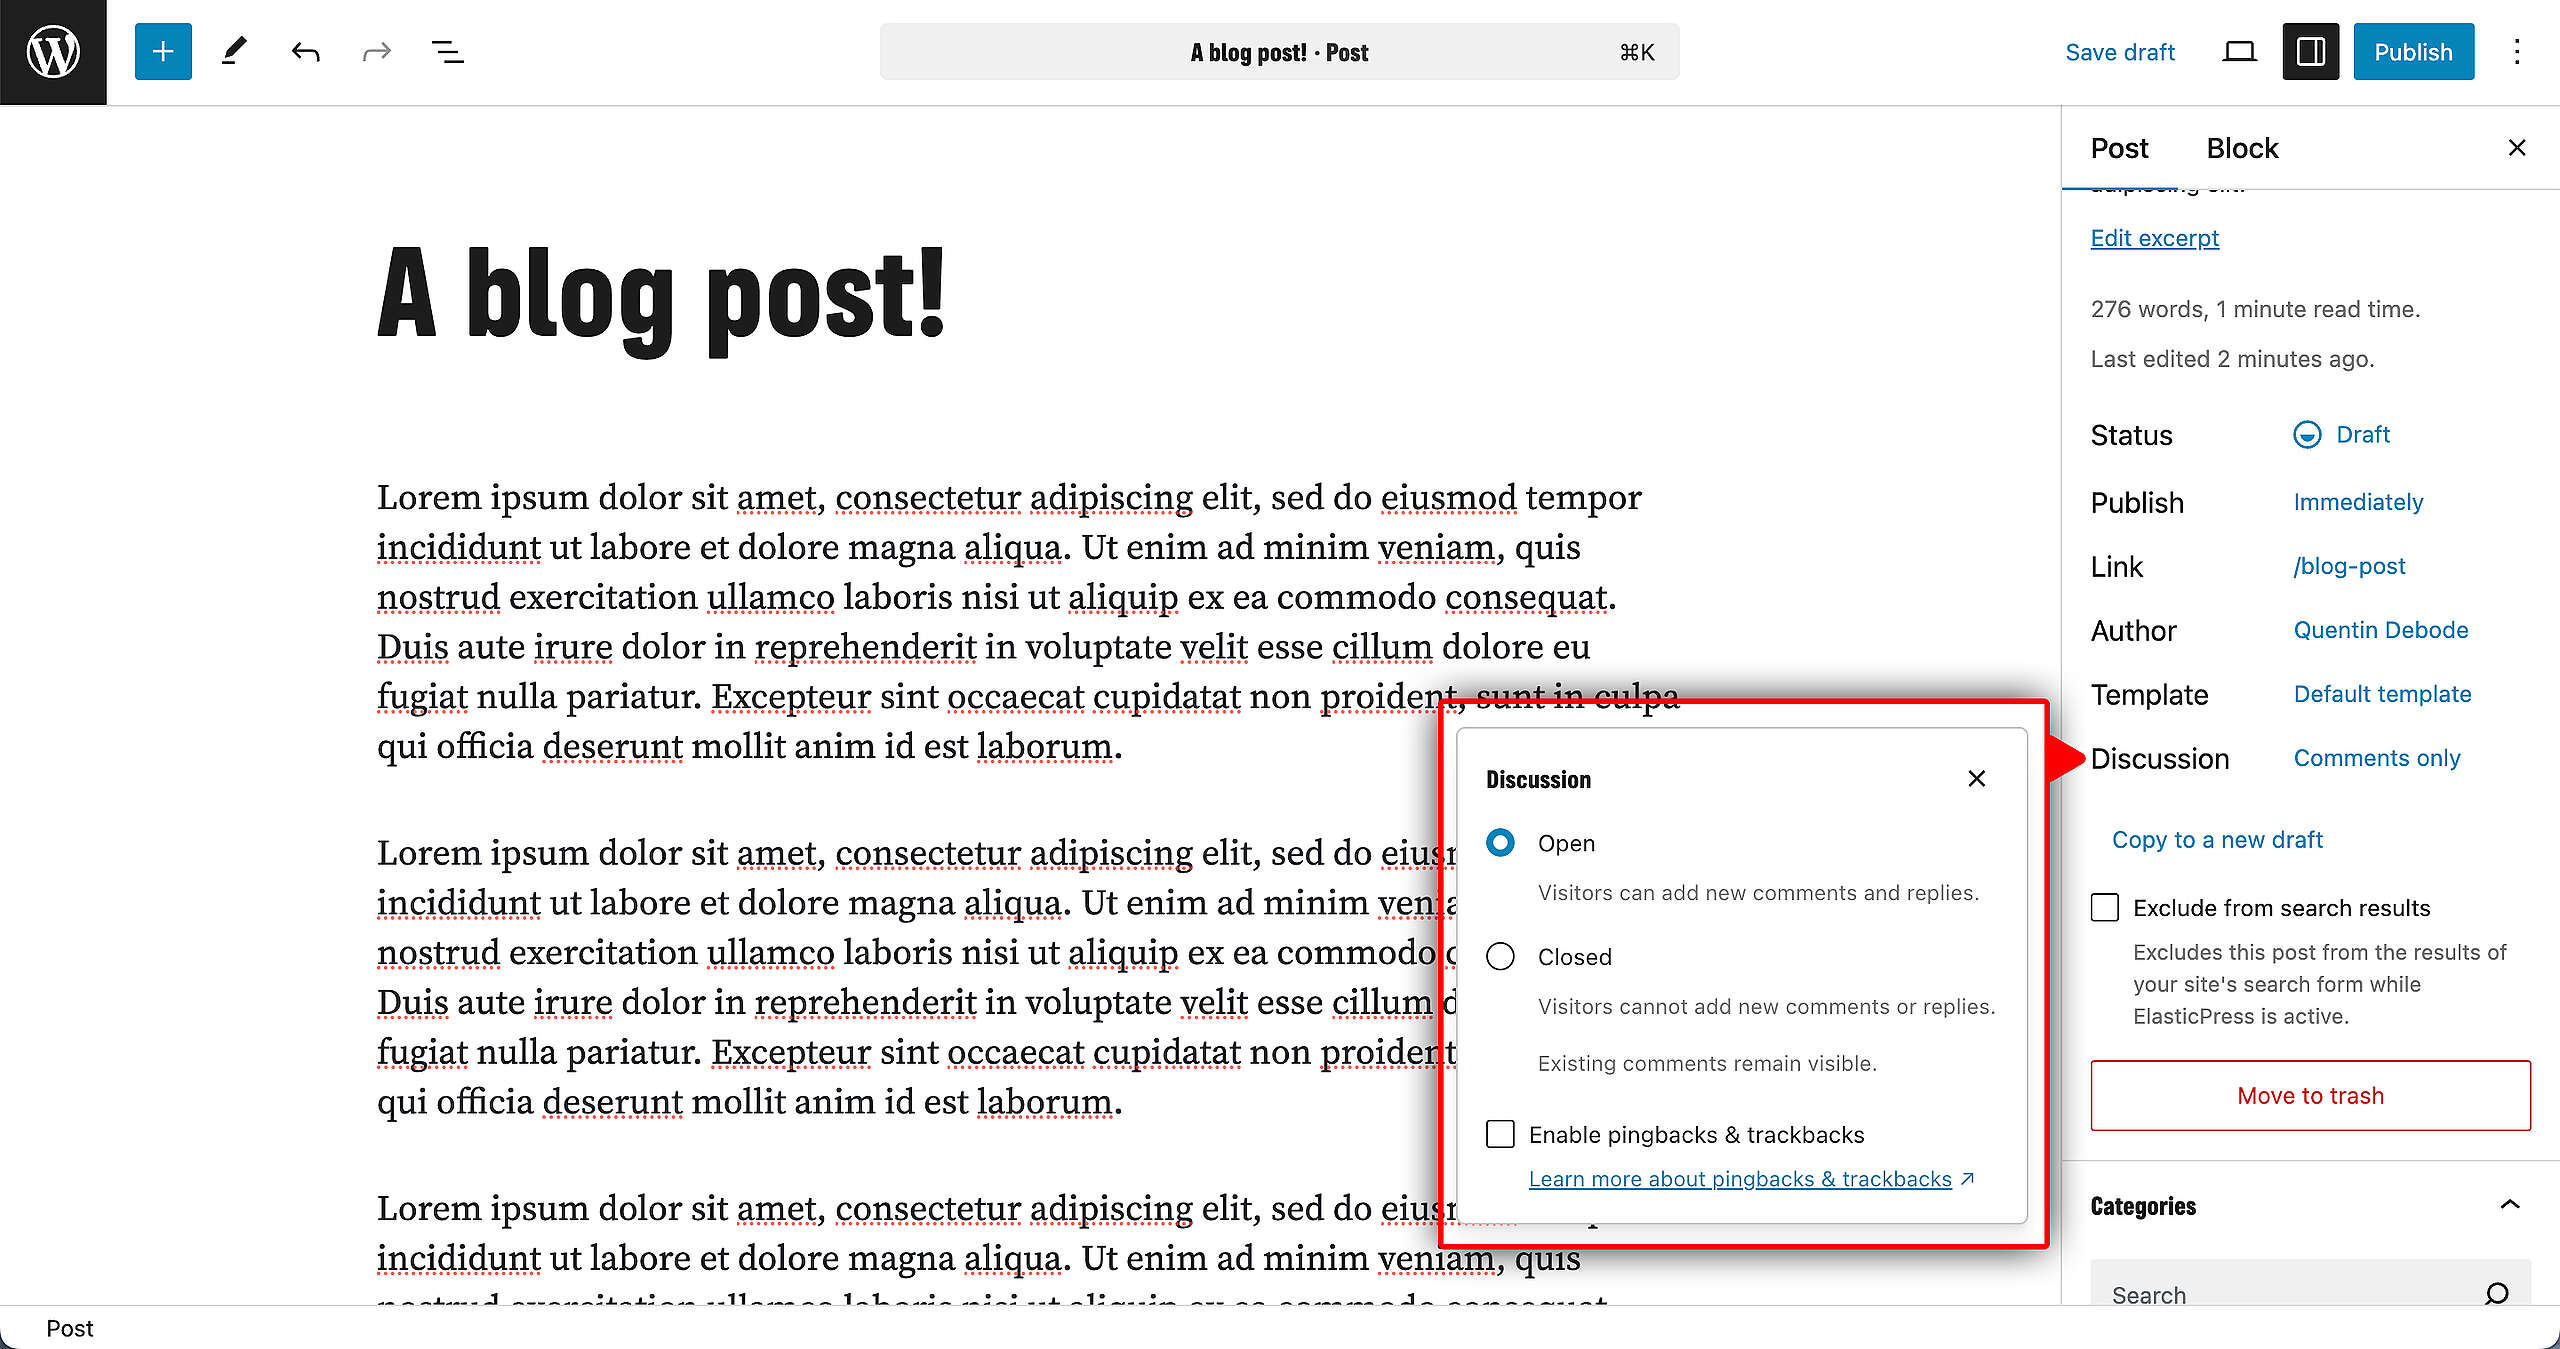
You can edit the option to have you comment section open or closed, and to allow pingbacks & trackbacks.
🧑💻 To learn more about Discussion and Comments, go to this page in the Handbook.
Open Graph / Social Fields
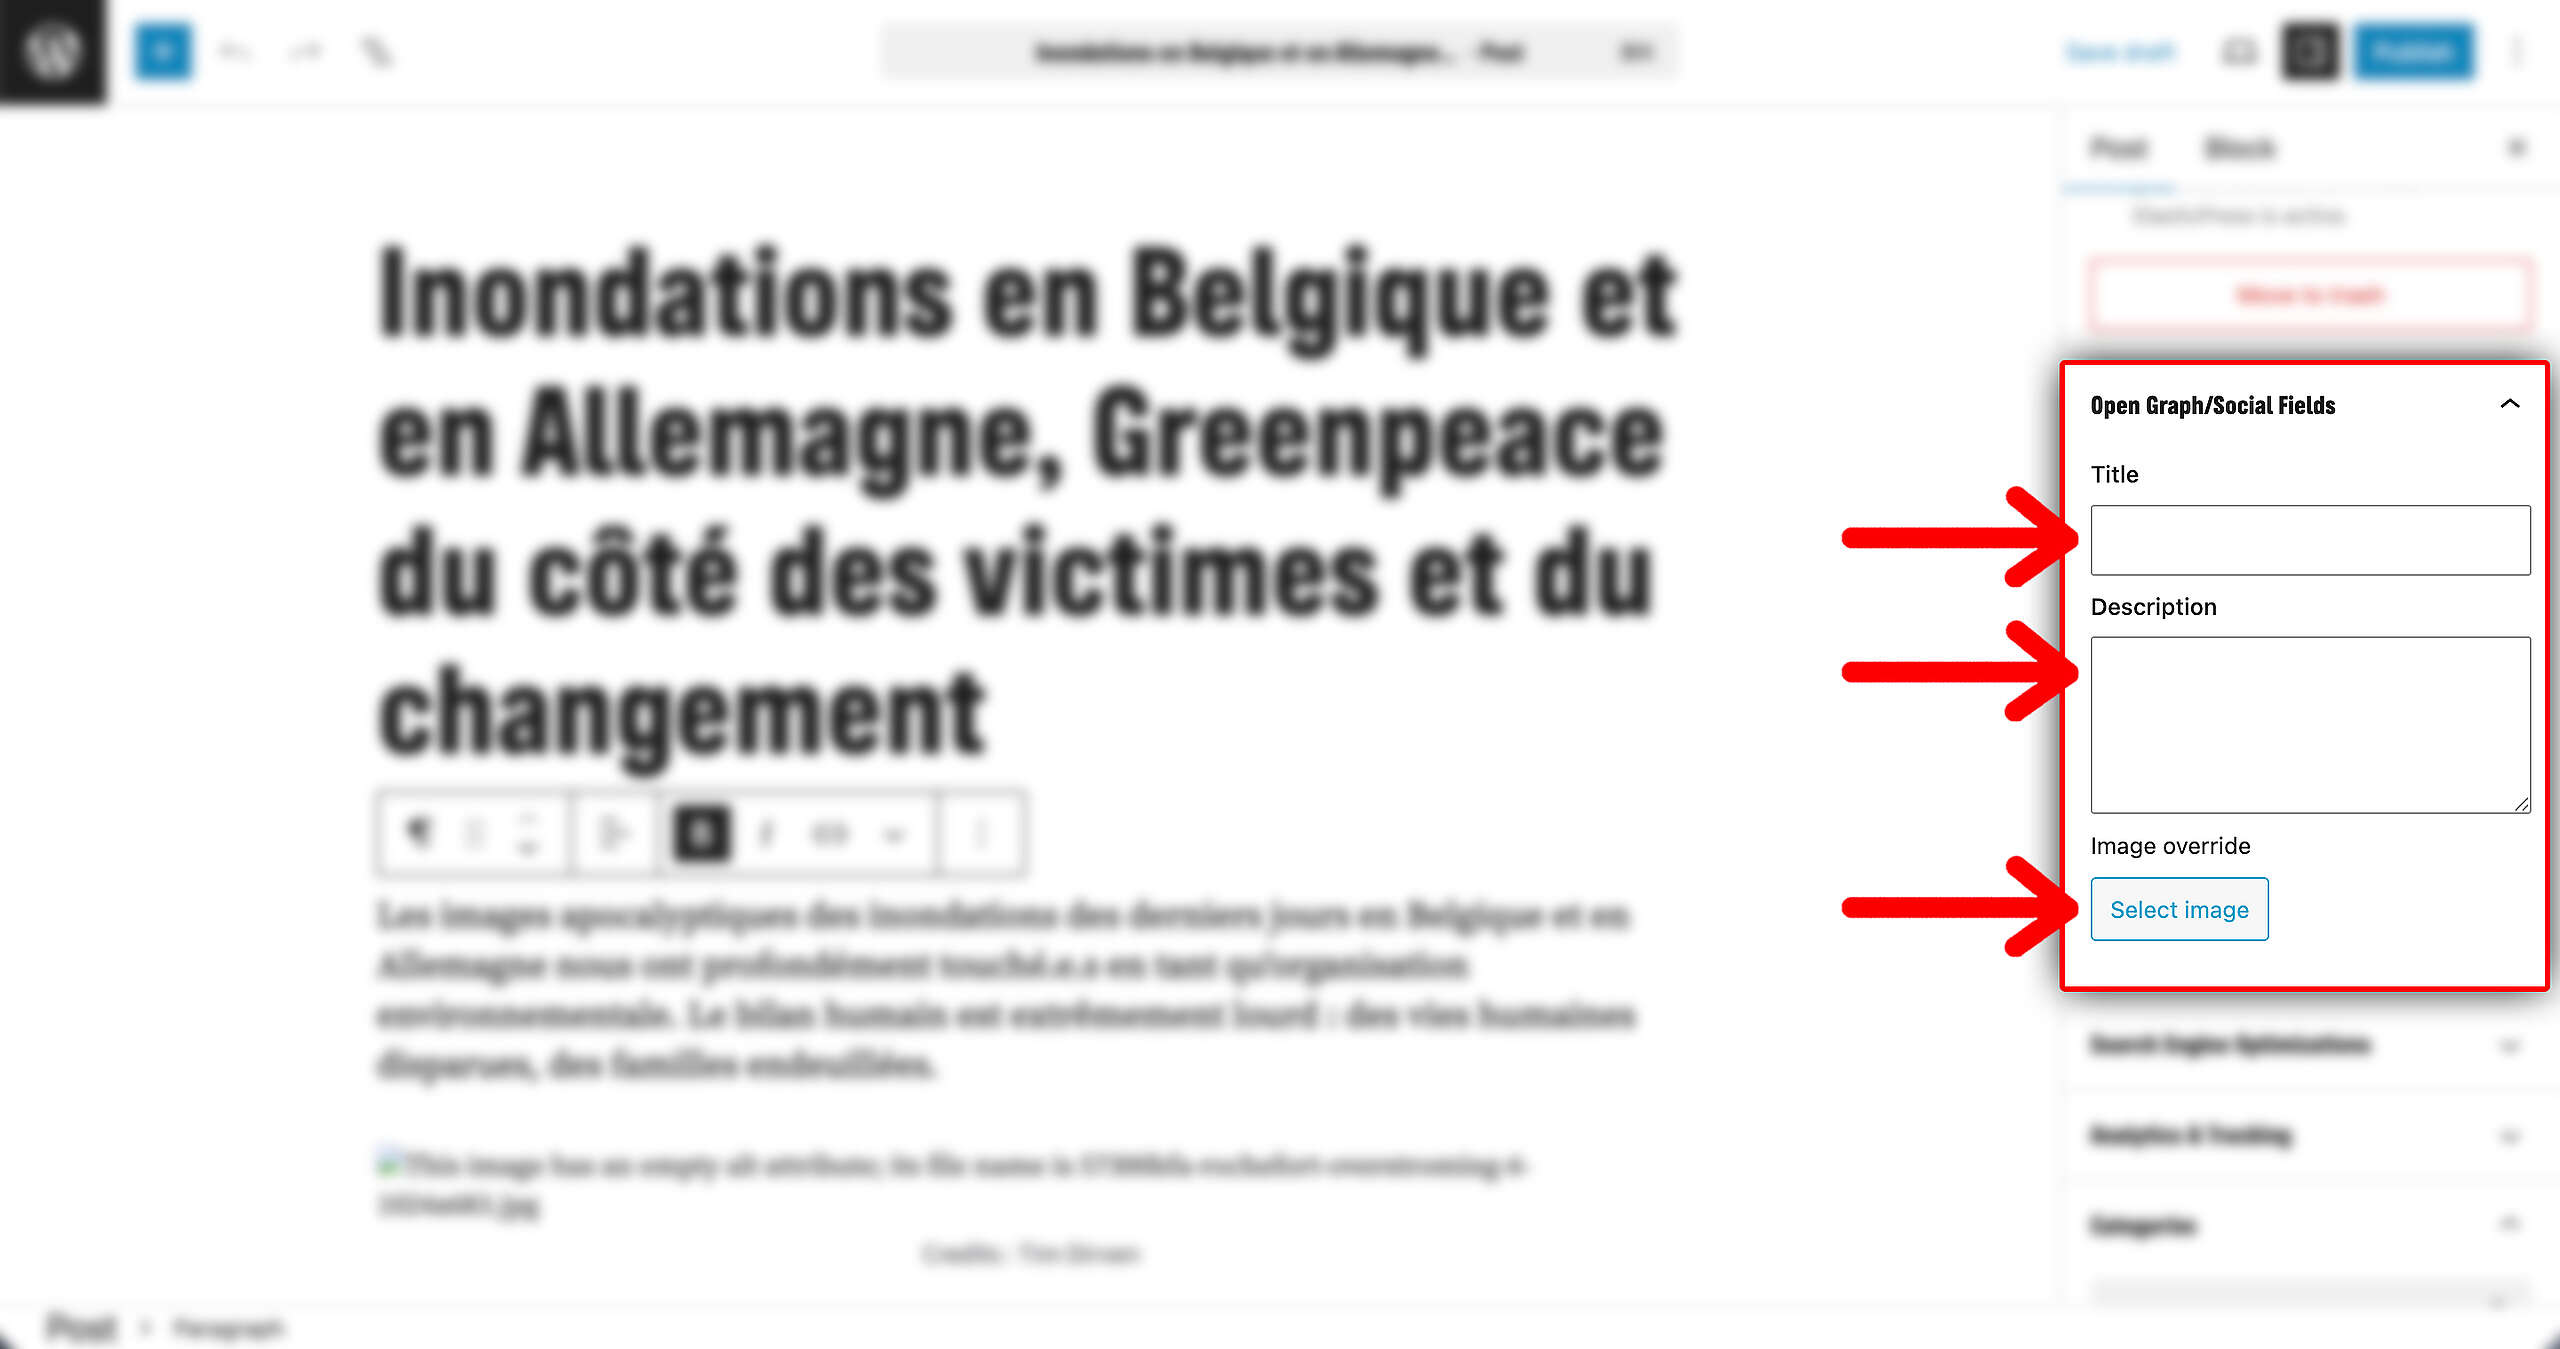
Only available for Posts, not Pages. This is where you can change the title, description and image for when you share the Post on social media. If left blank; the preview on social media will just take the title, description and image from the Post itself. But in case you want that to be different, you can change it here.
Categories
Make sure to give your Post/ Page a Category, so your visitors know what topic it is about.
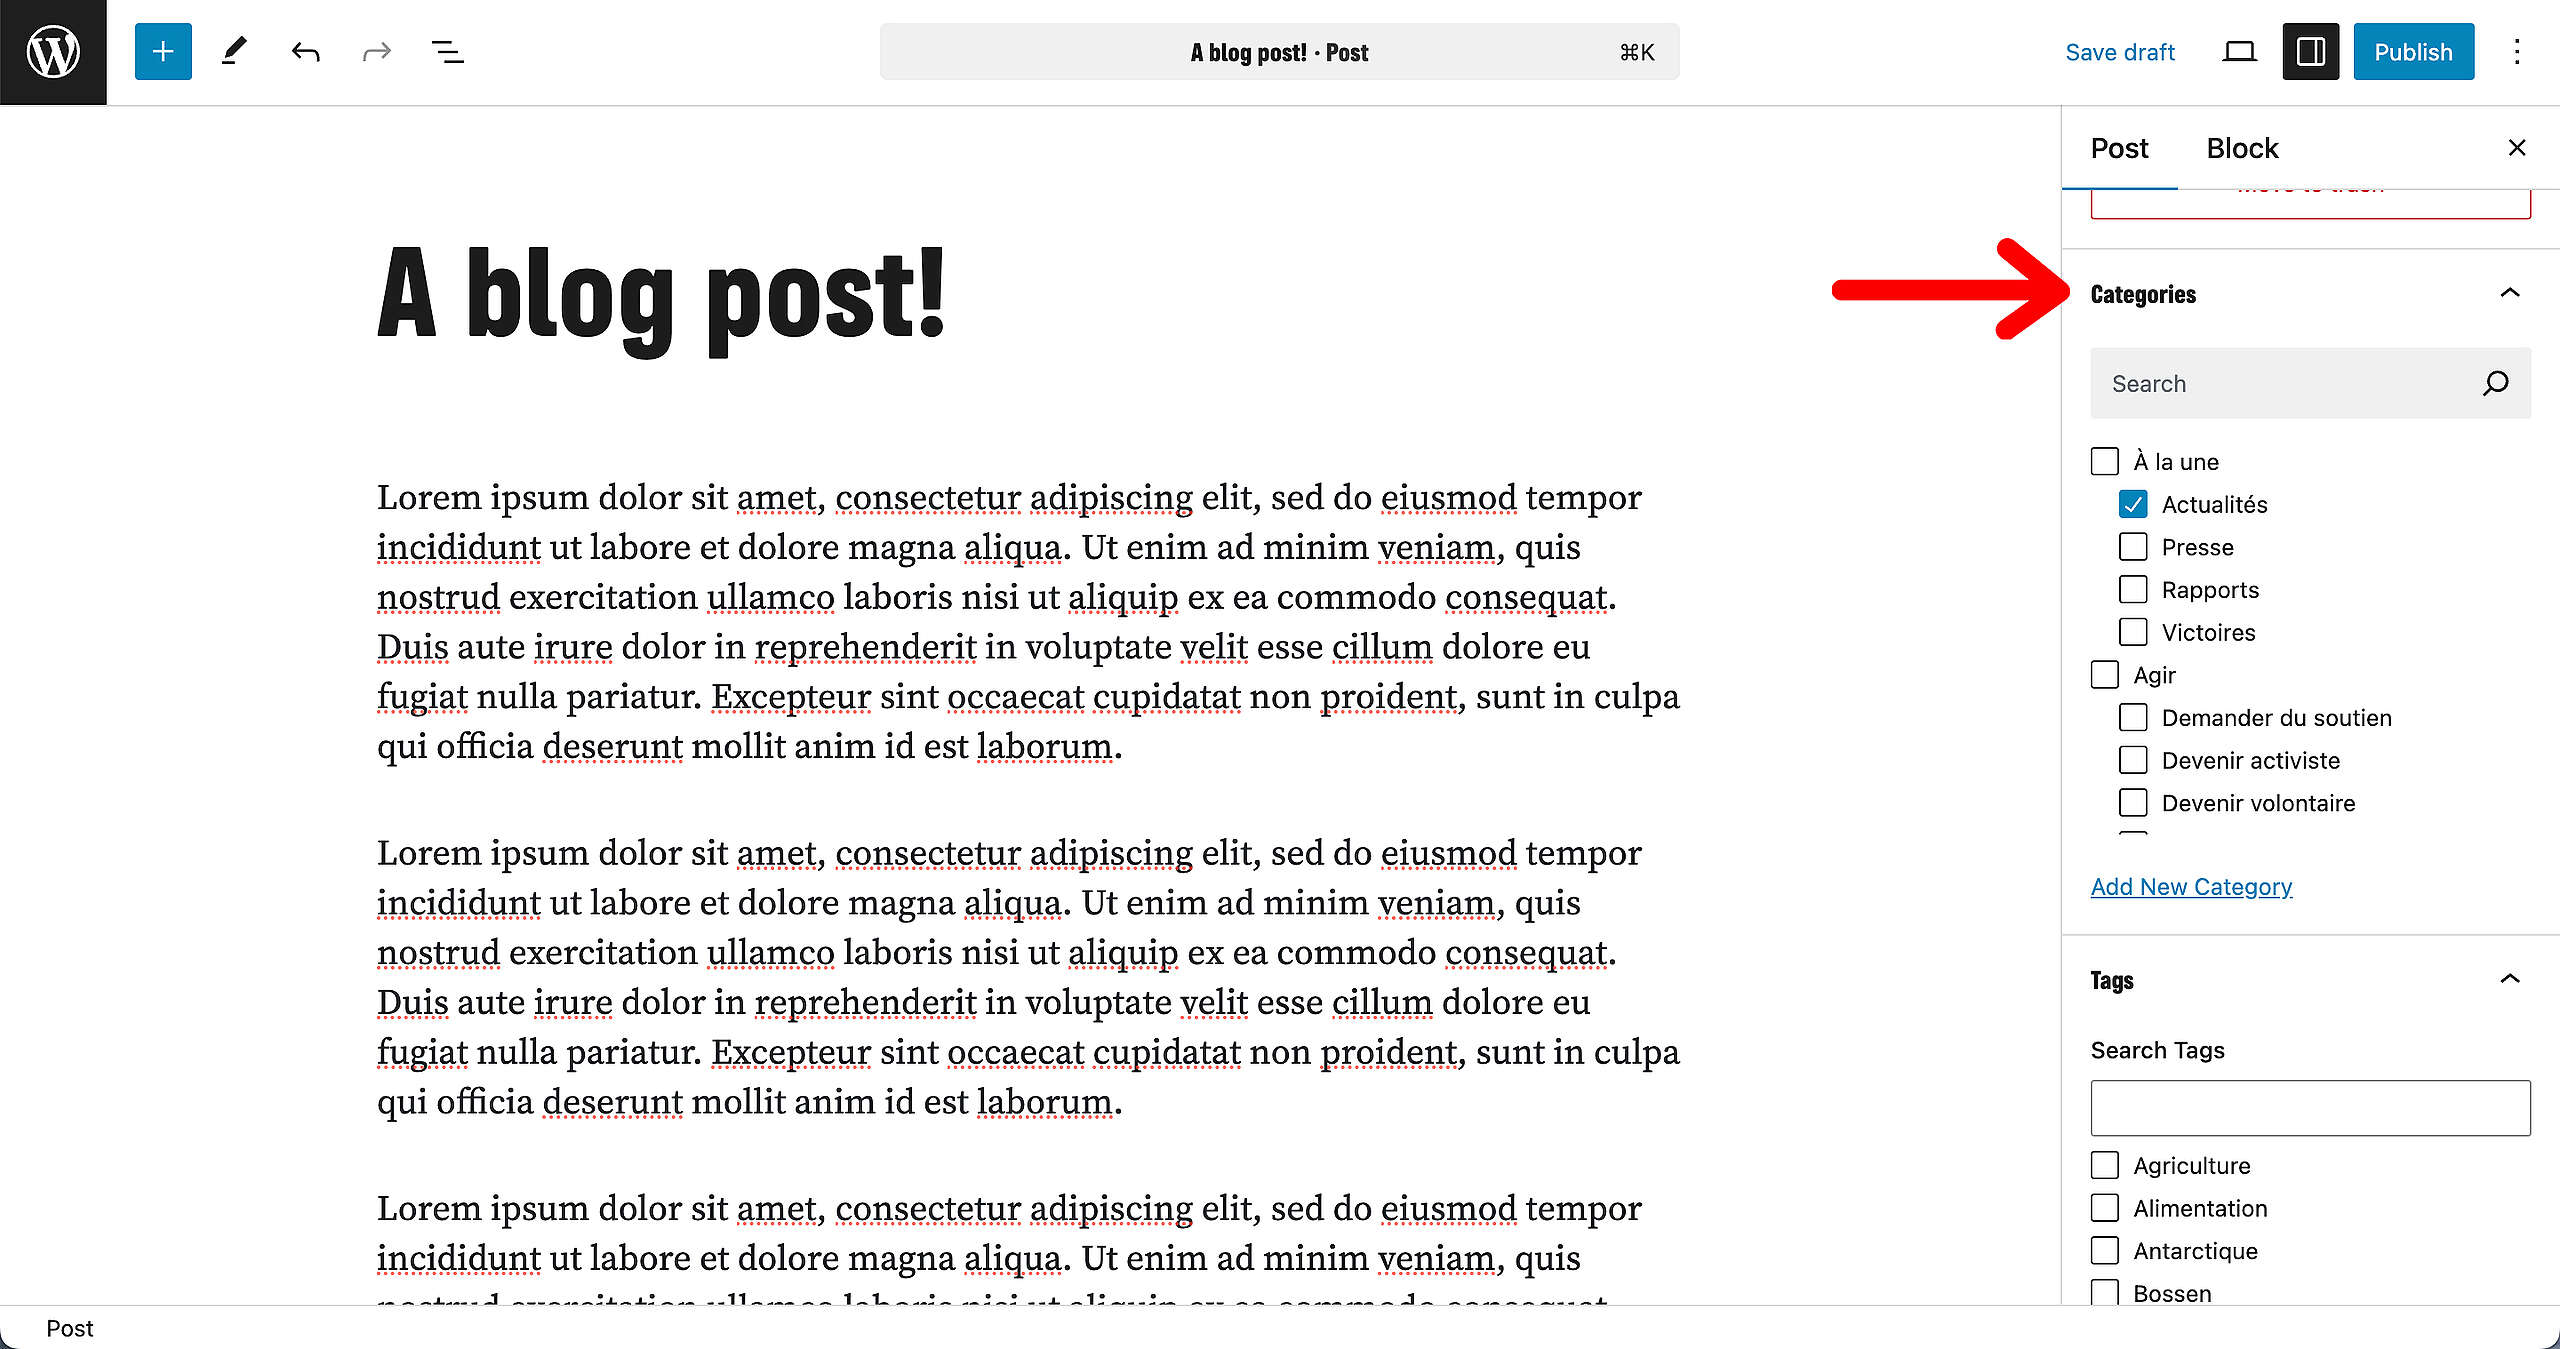
🧑💻 To learn more about Categories, go to this page in the Handbook.
Tags
You can also add tags in the same way, in the “Tags” section in the sidebar. (Type them in the Search field if you know it by heart, or just select one (or multiple) in the options below that.)
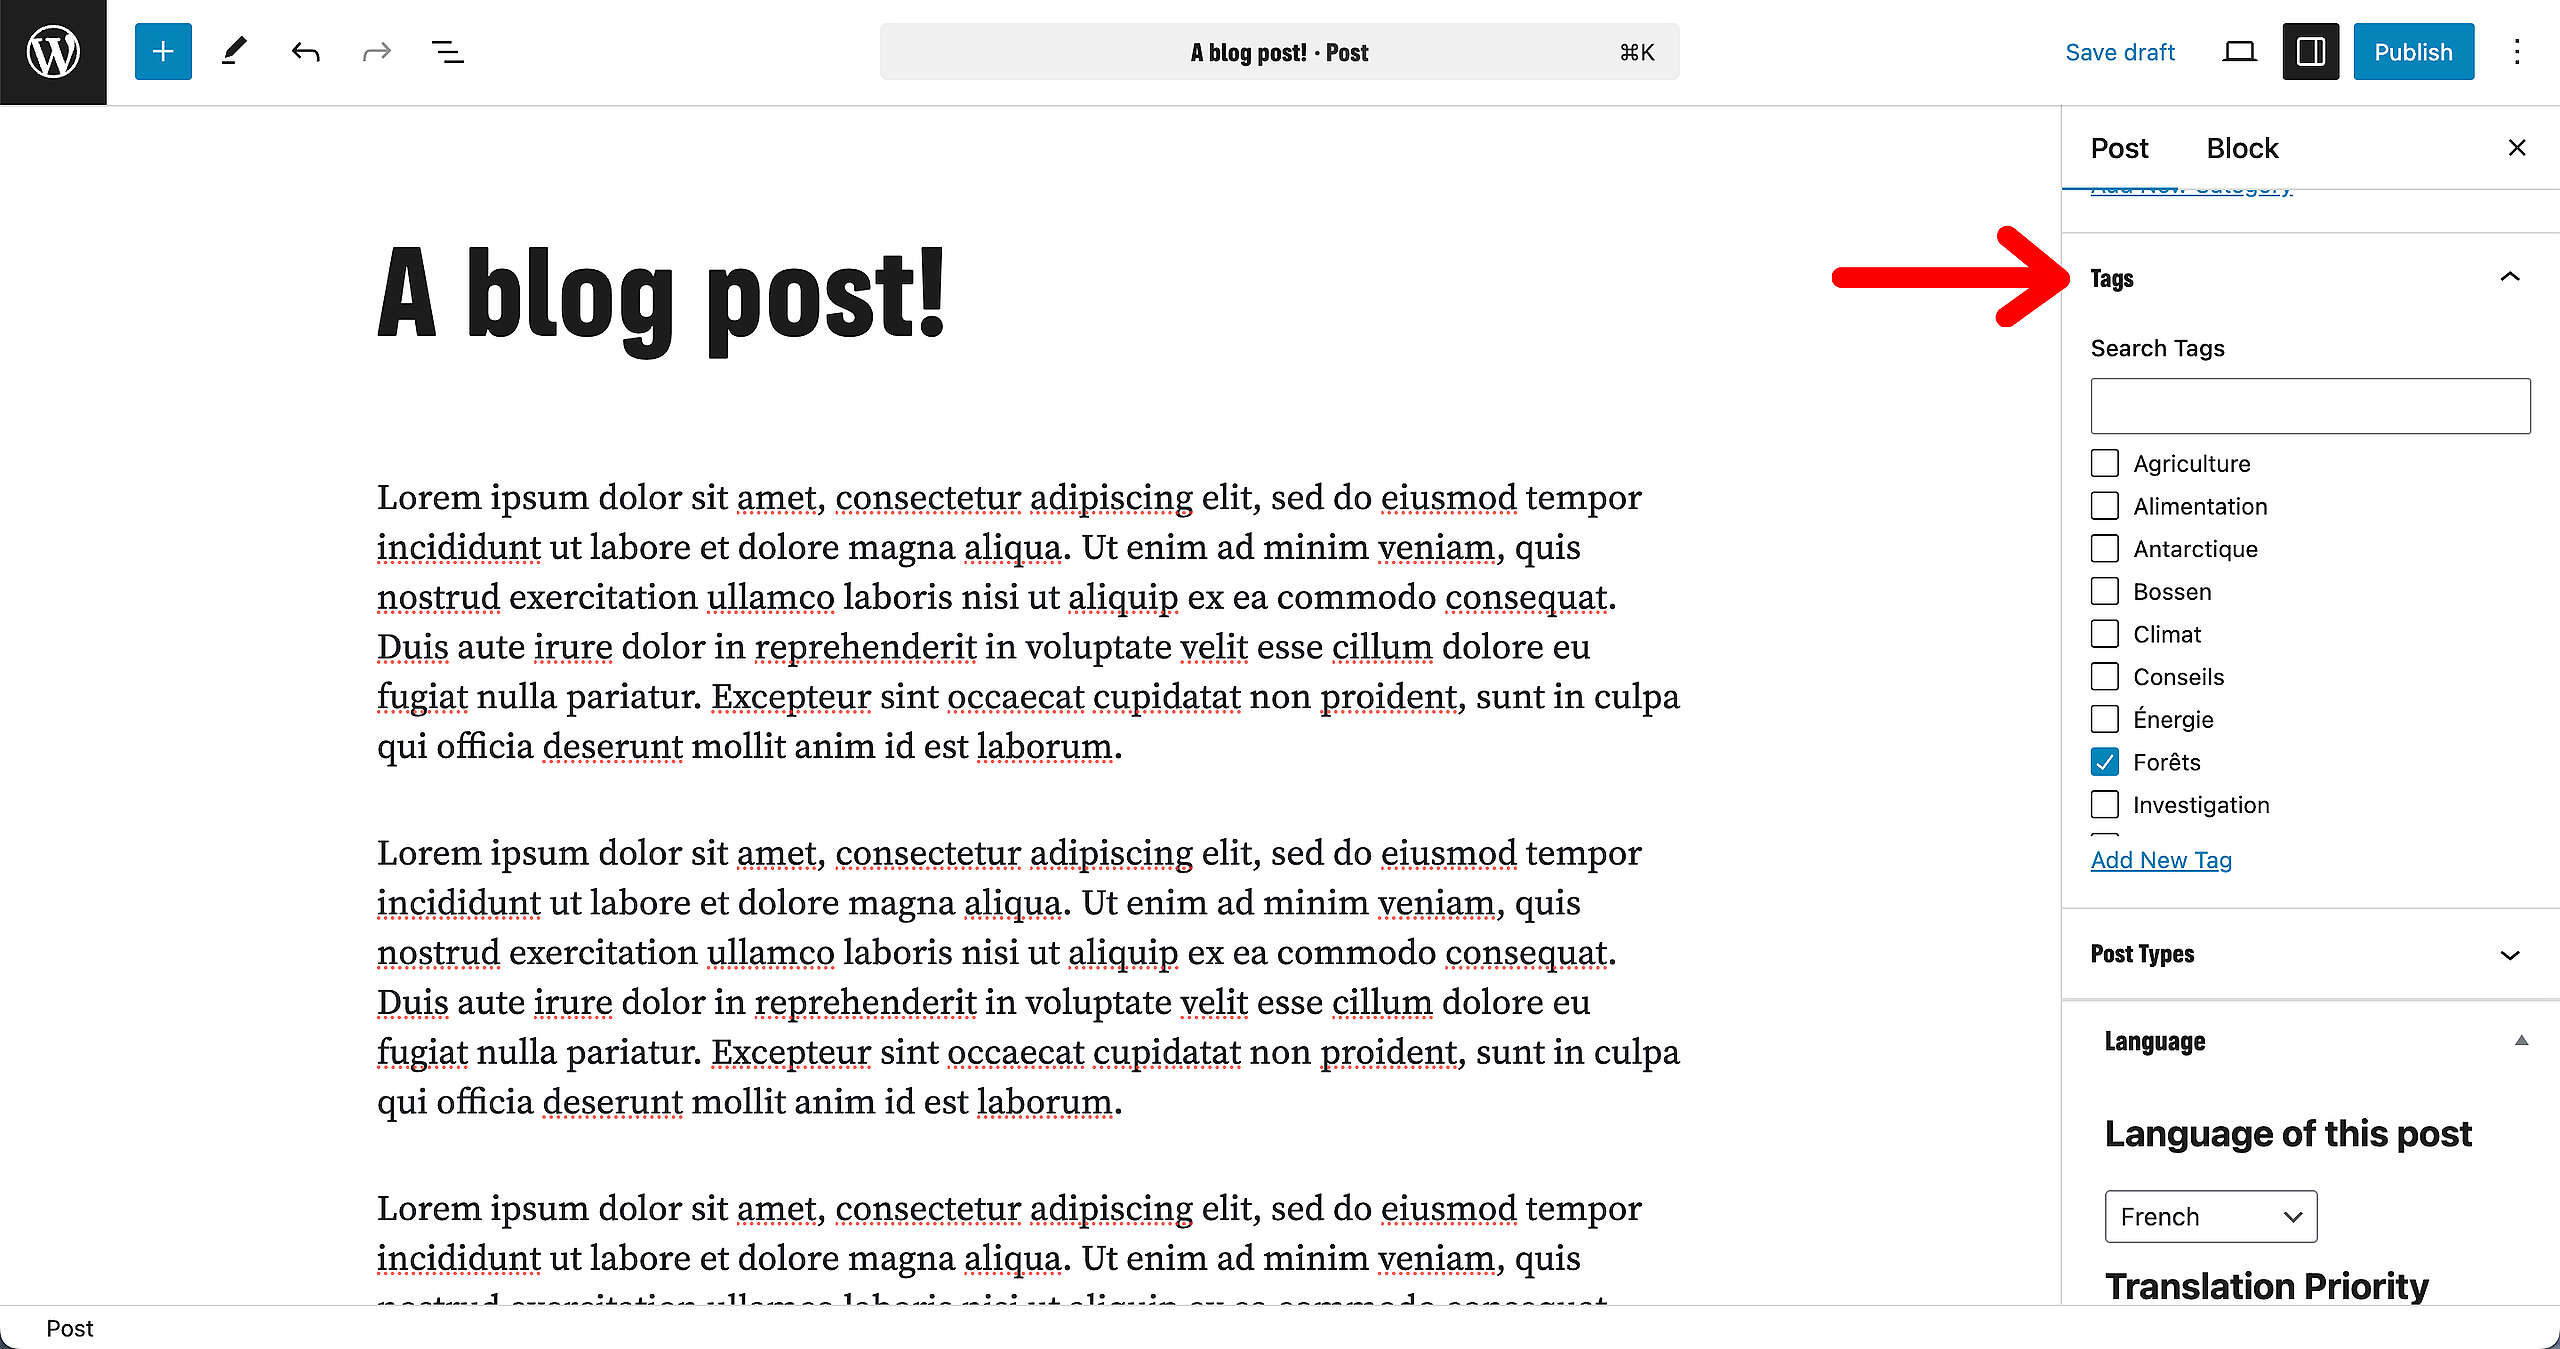
🧑💻 To learn more about Tags, go to this page in the Handbook.
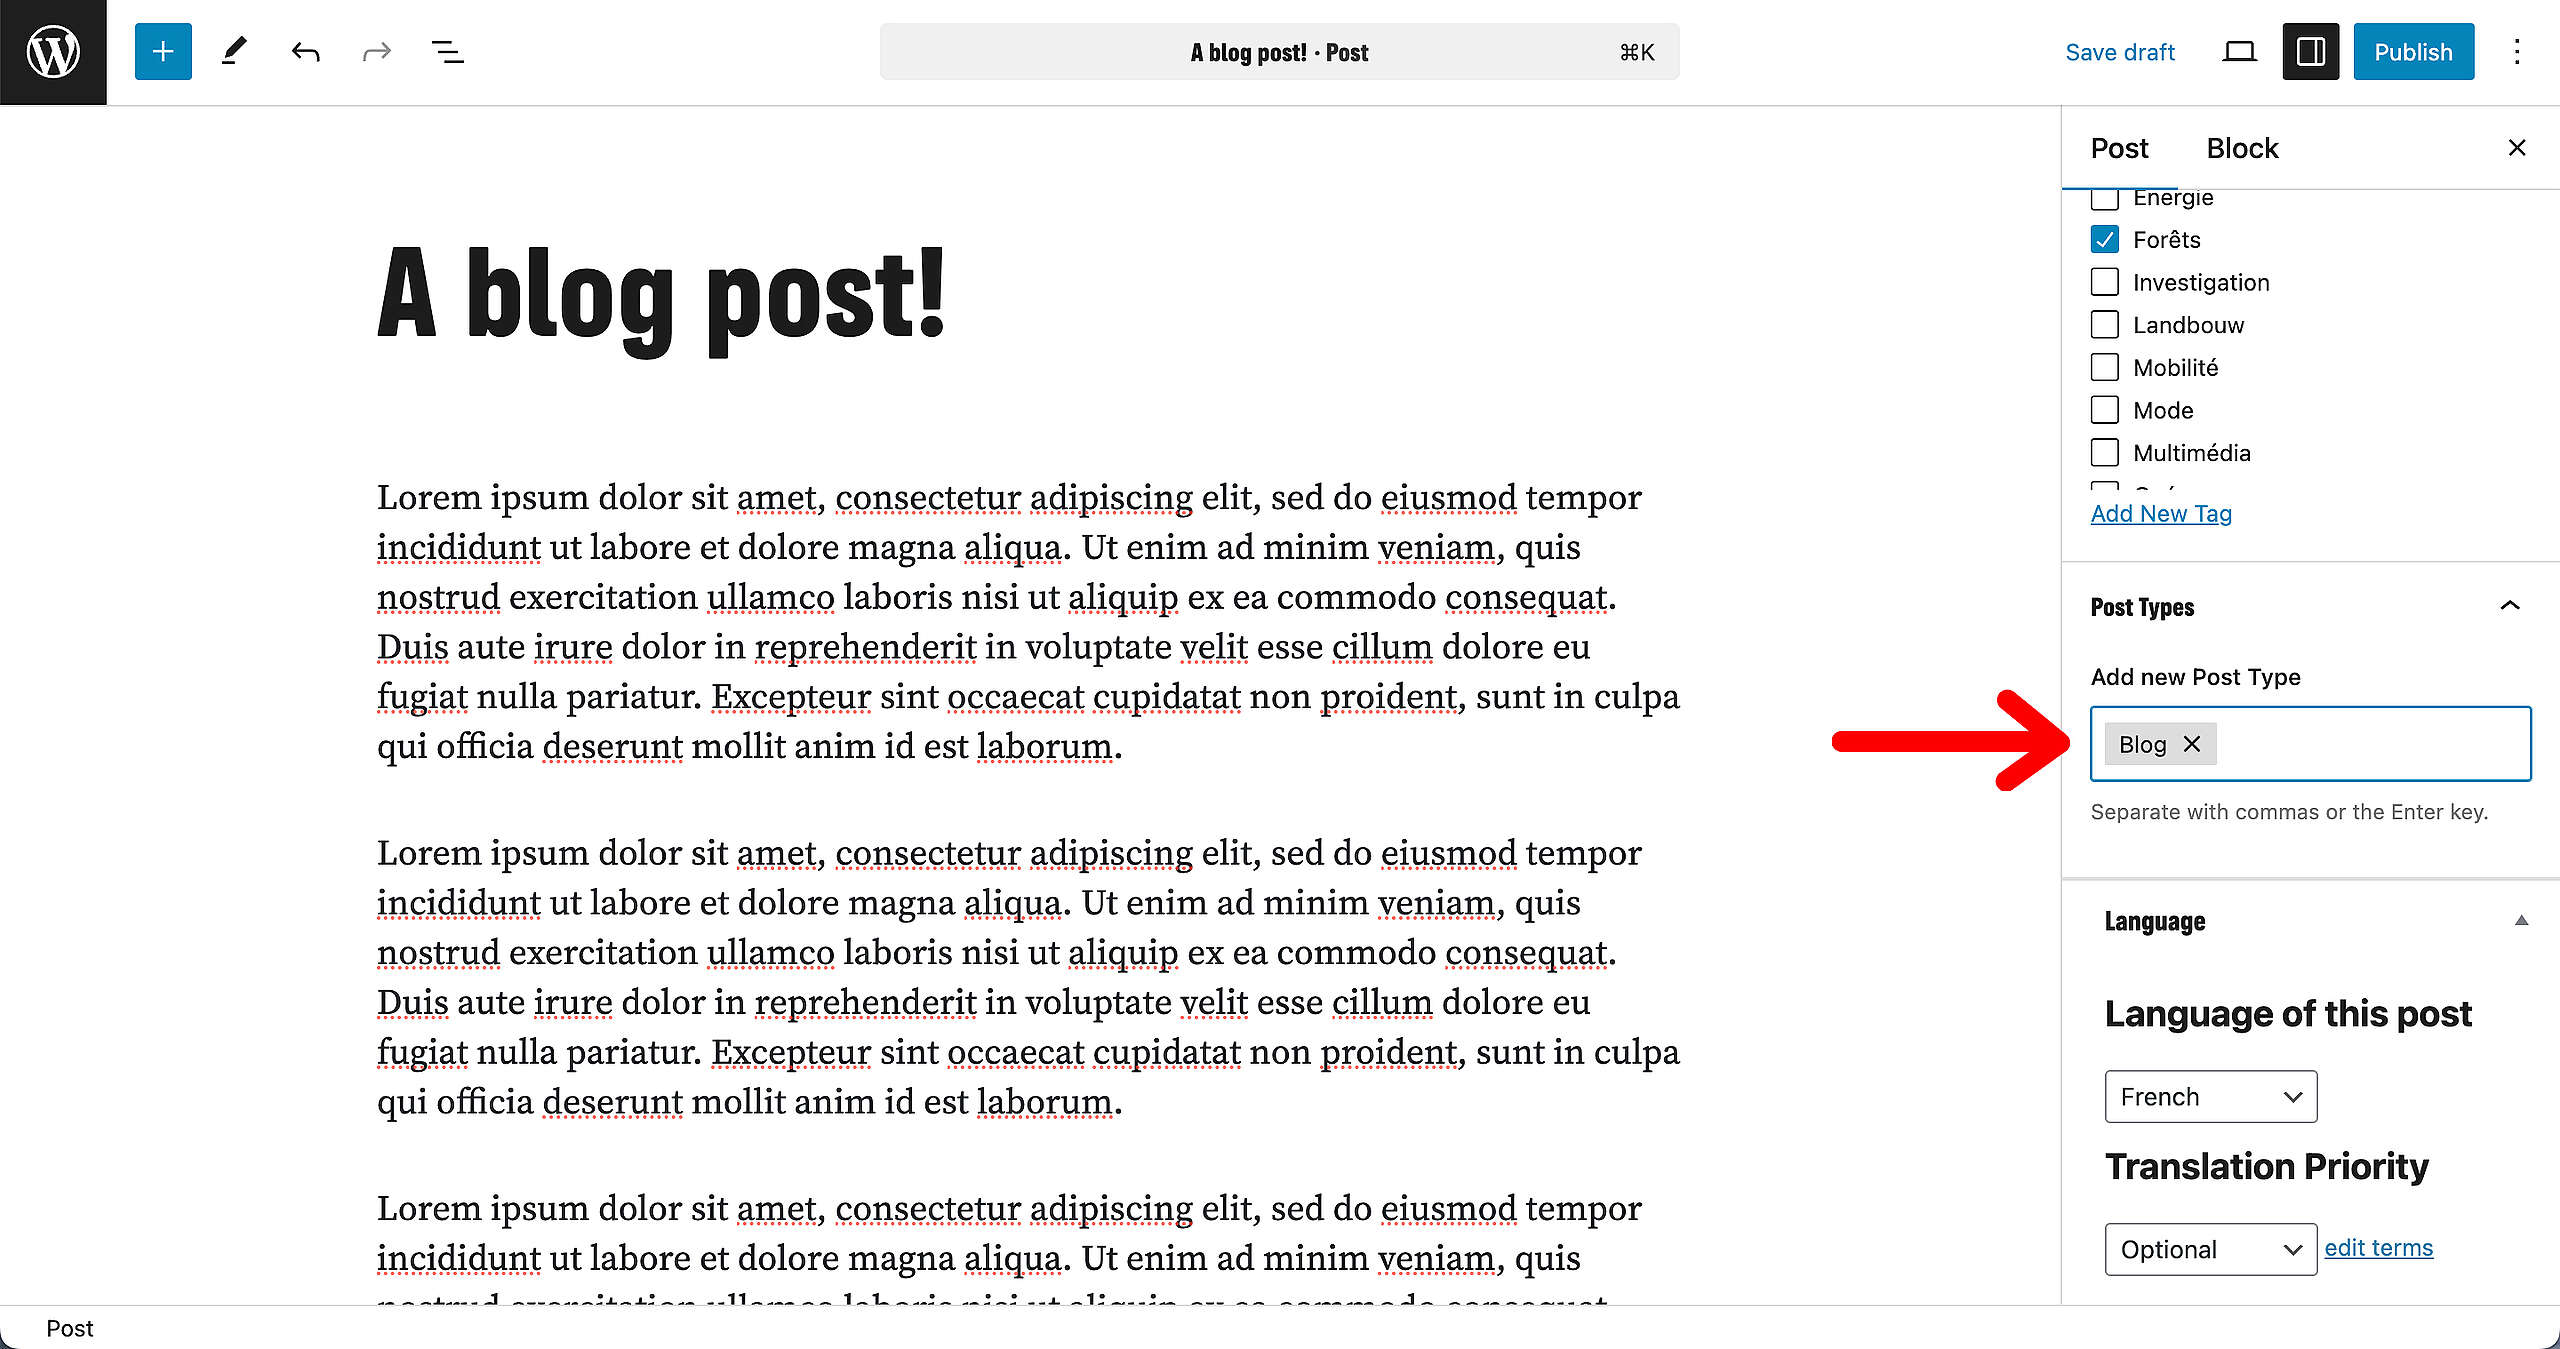
Post Types
Only on Posts, not Pages. Here you’ll get to select your Post Type. There should be a standard Post Type ready, but you can change it (or add to it) by typing in the box.
Languages
For multi language sites only: Here’s where you easily switch between the languages of your Post/Page. Once the Post/Page is published, there’ll be a plus sign next to the language box. If you click that, all settings from the Sidebar will be copied over into the other language. Both languages will be connected.
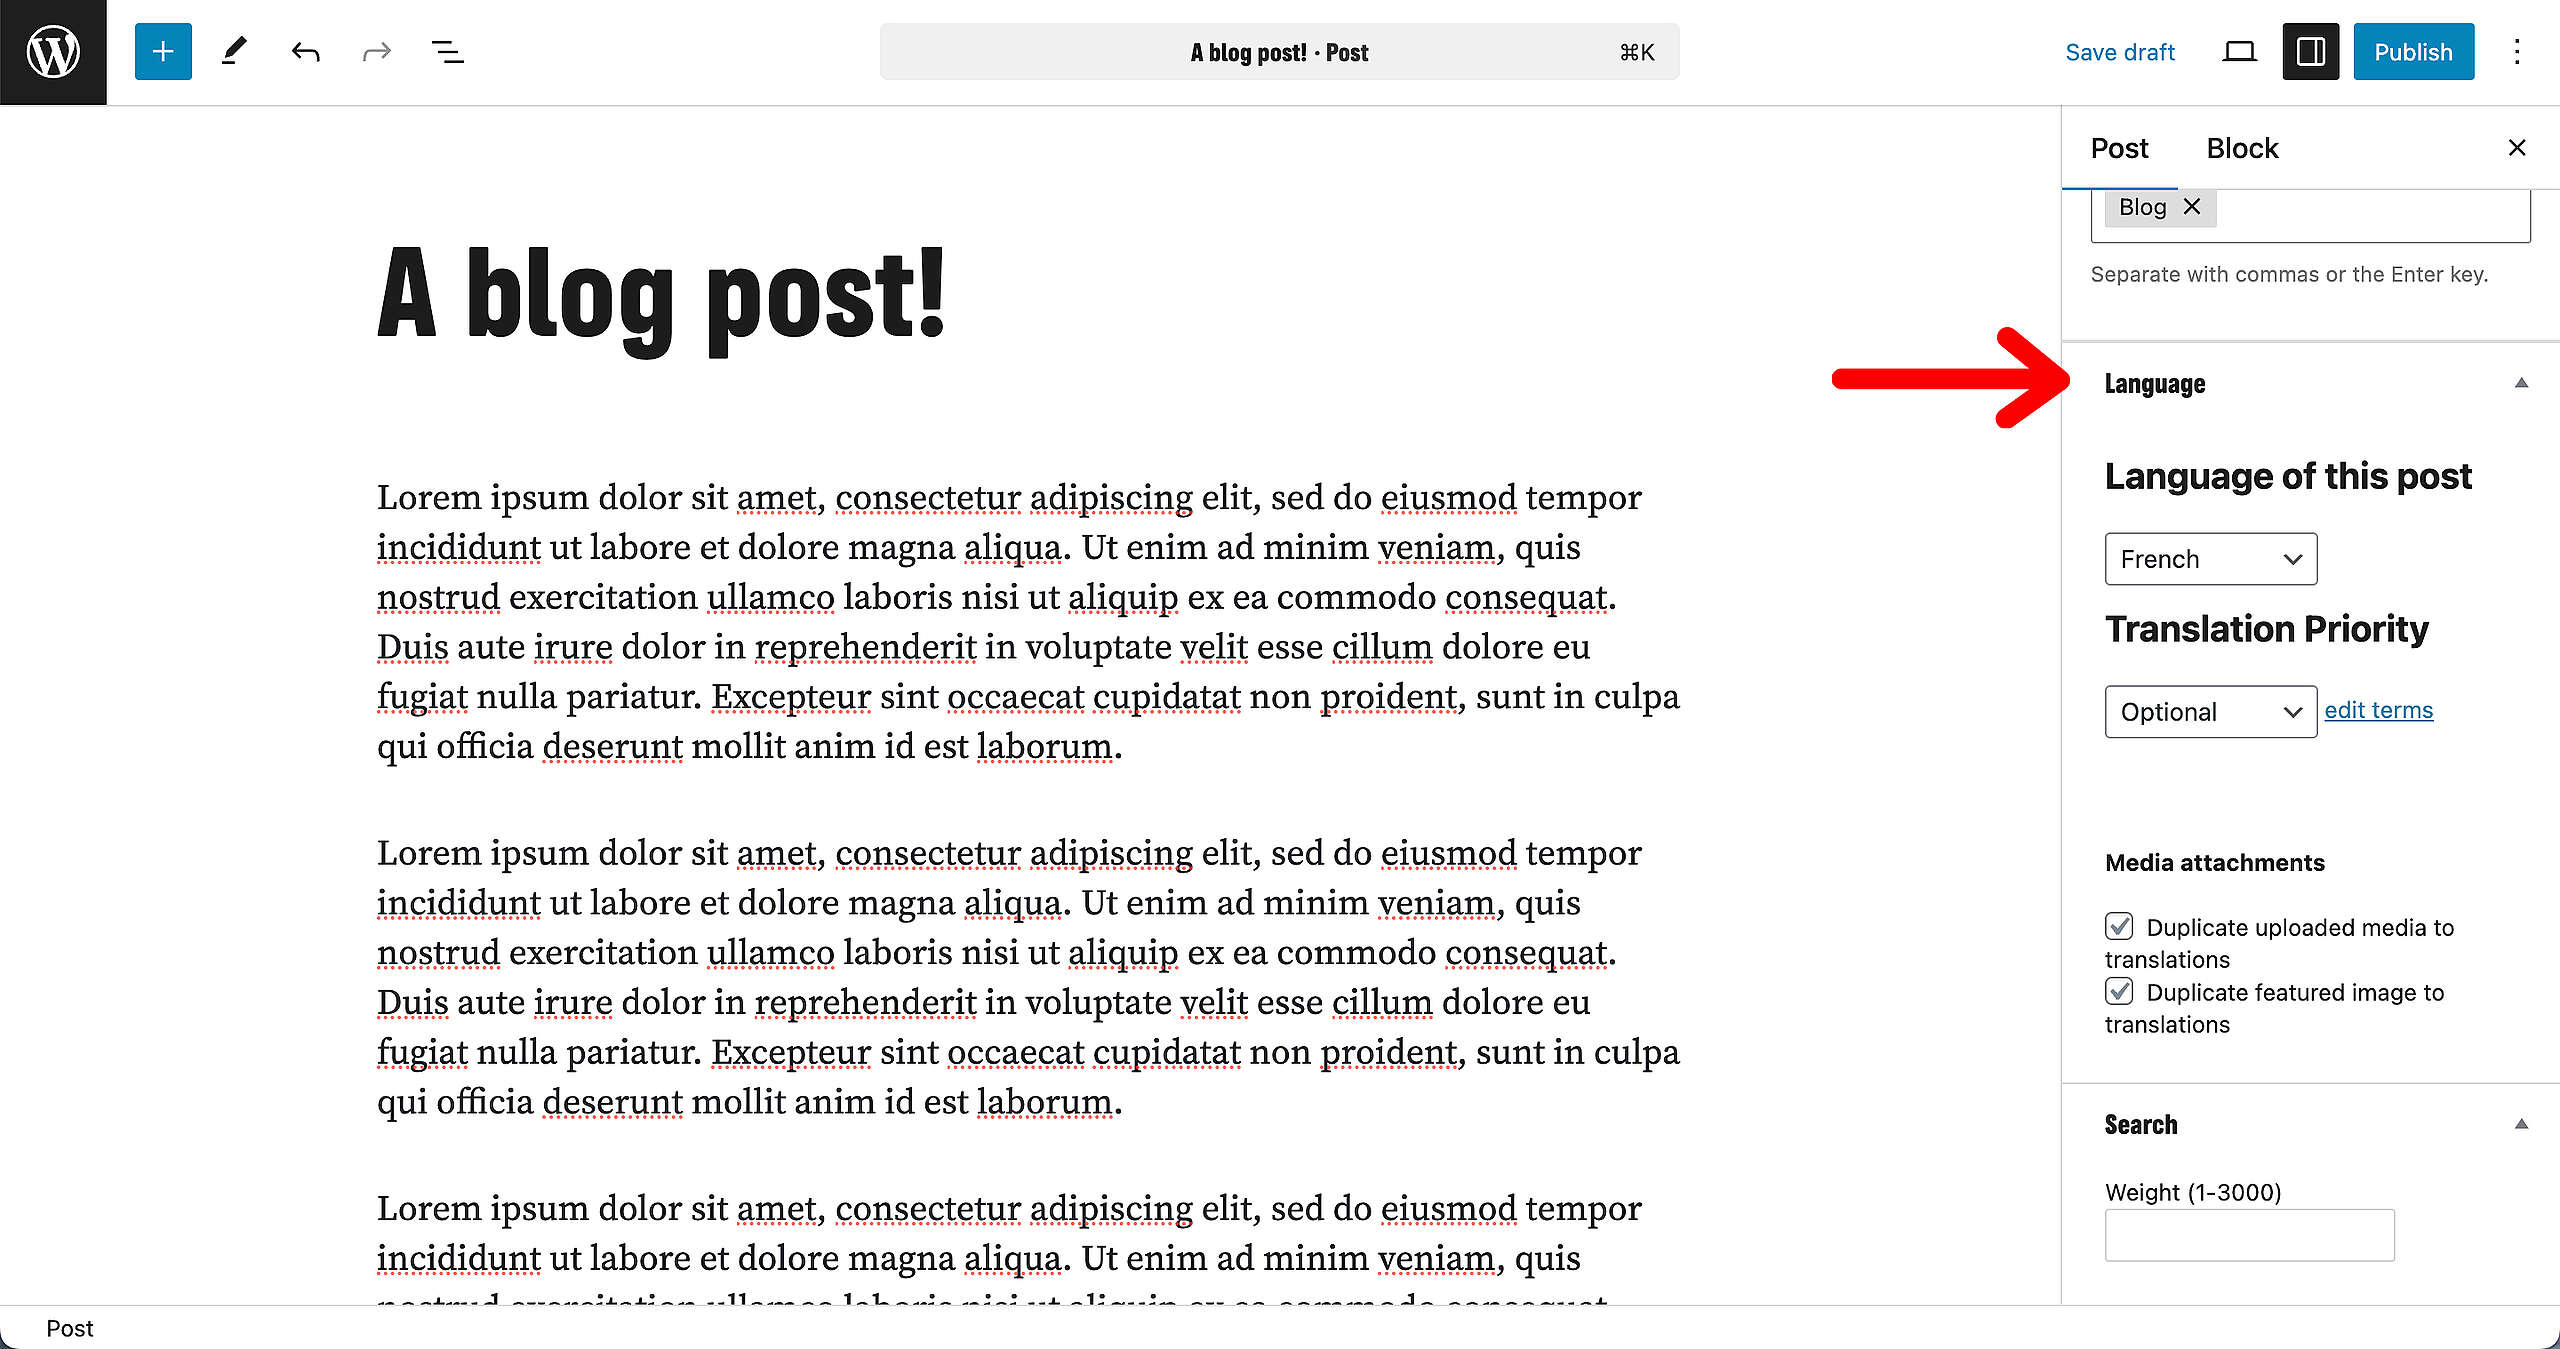
🧑💻 To learn more about Multi-Language sites, go to this page in the Handbook.
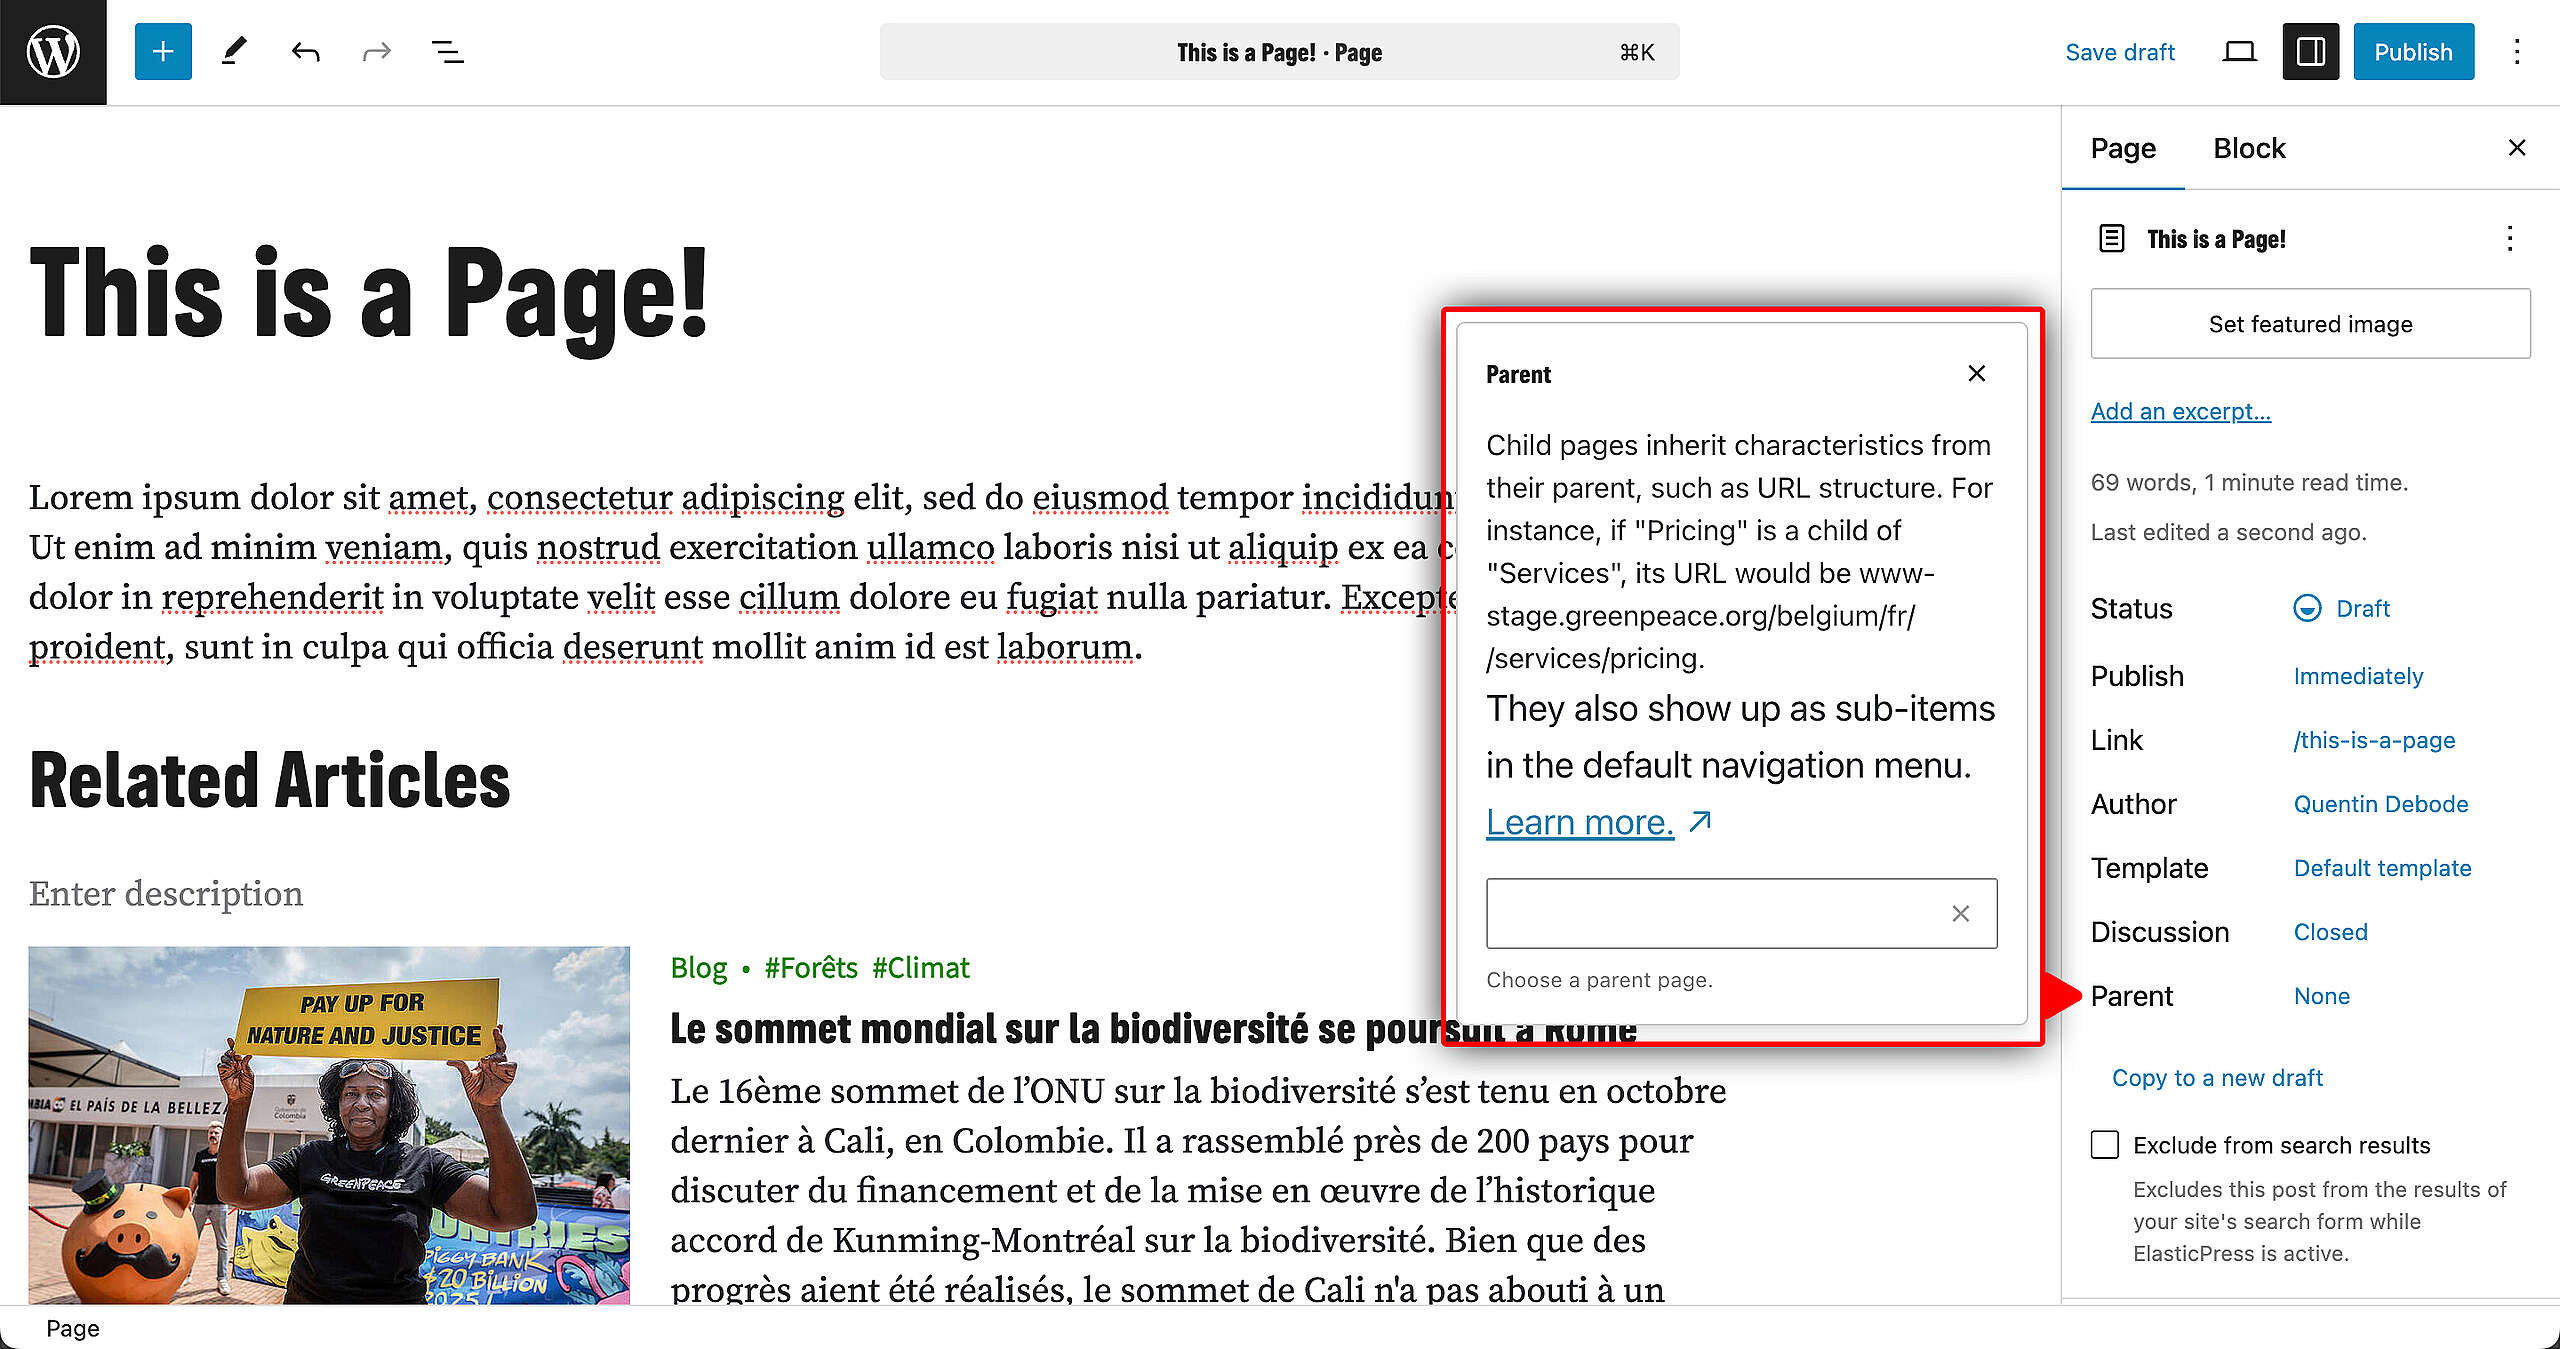
Parent
In case your page has to be under another page (as a child page), make sure to select the Parent page here. This will impact your URL, keep that in mind.
Links & Resources
“Checking technical options, we discovered…” – Technical investigation
Architectural strategy – Multi-instances approach decision
Creating the first prototype – implementing Multi-instance P4 sites
